

Authentik SCIM
Configure Authentik to automatically provision users in Doppler using SCIM.
This guide will show you how to set up an Authentik SCIM provider to automatically provision and manage user access to Doppler over SCIM 2.0.
Requirements
- Enterprise subscription
- Domain Verified (Settings page)
- Working installation of Authentik that can reach
https://api.doppler.com - Authentik SAML application for Doppler
Doppler will only provision users whose email address belongs to a verified domain on your workplace. Provisioning a user on an unverified domain fails with
Unable to add a user with an email address from an unverified domain for security purposes.Verify your domain before you begin.
Enable SCIM in Doppler
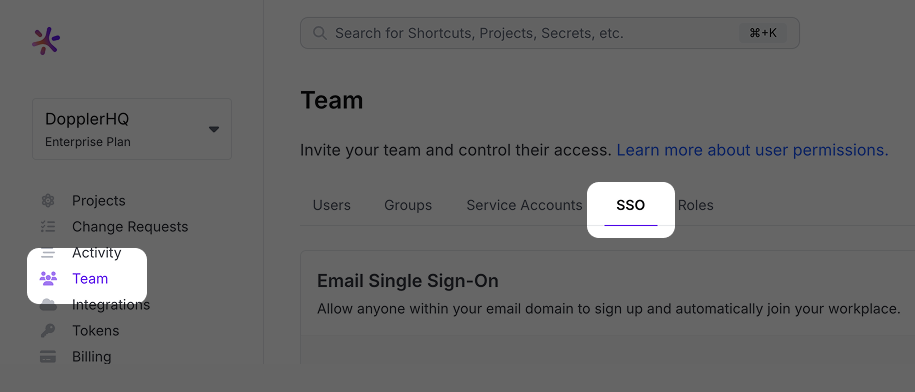
In a separate tab, browse to your Doppler workplace. Click on the Team link in the left navigation menu and then click on the SSO tab.
Scroll down to the SCIM 2.0 section, choose Enabled from the status dropdown menu, and then click Save.
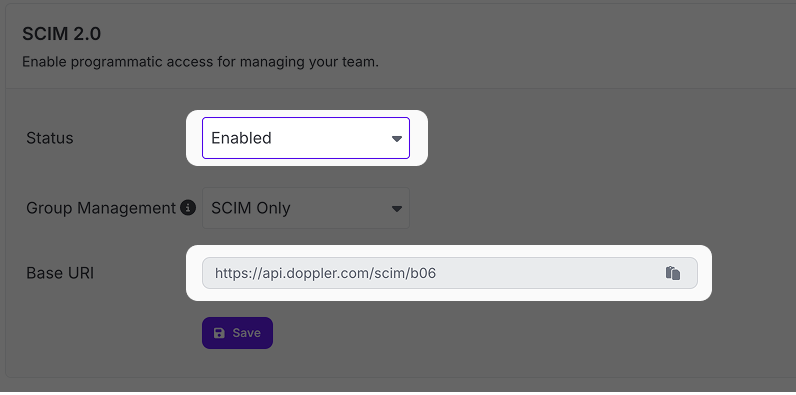
After doing so, a new Base URI and Authentication option will appear. These will both be used in the next section to further configure Authentik SCIM provisioning, so leave this tab open.
Roll a Doppler SCIM Token
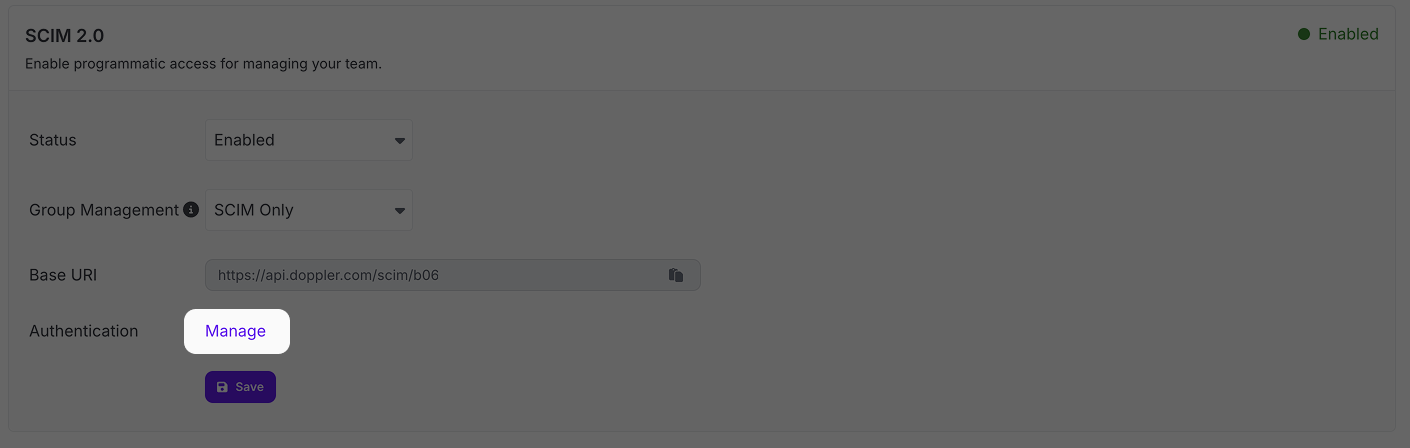
In your Doppler workplace tab, click on the Manage link next to the Authentication option in the SCIM 2.0 section. You'll be taken to the SCIM section of the Tokens page of your Doppler workplace.
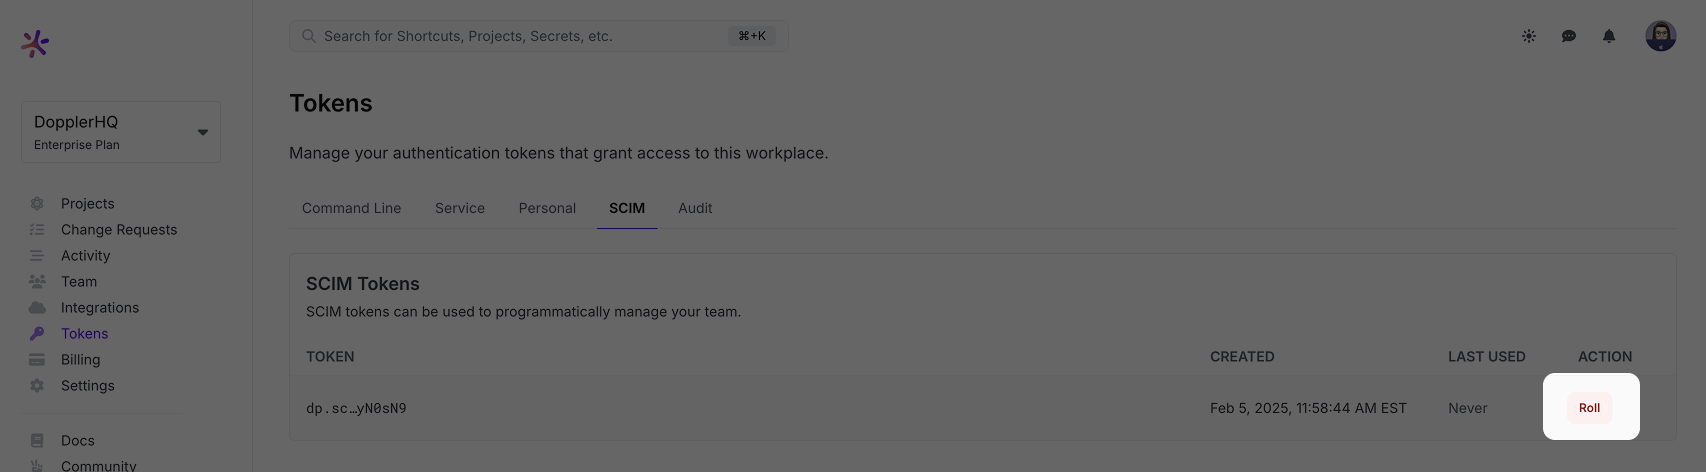
The next step involves rolling your SCIM token. If you're setting up SCIM for the first time, it's fine to proceed with this operation. However, if you had already setup SCIM previously keep in mind that performing a roll will invalidate the old token, so any existing SCIM setup using that token will stop working until it's updated with the new token.
Once there, click on the Roll link.
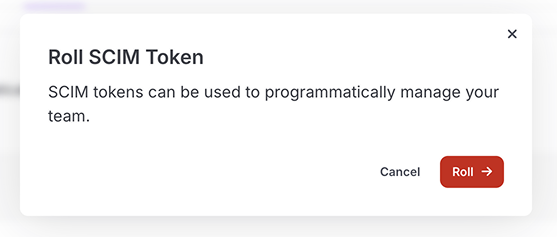
Click the Roll button in the confirmation dialog that appears.
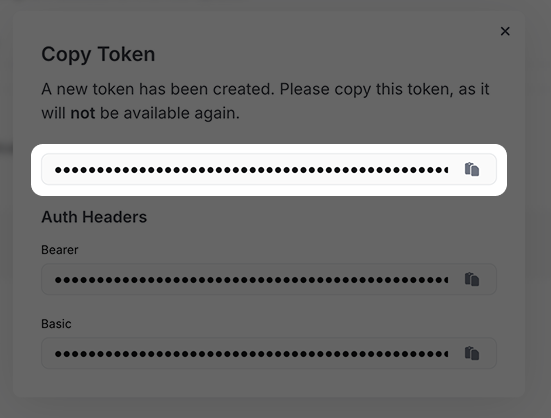
A new dialog opens containing the new token. Copy the token by clicking on the clipboard icon next to it.
Swap back to the SSO tab in Doppler and copy the contents of the Base URI field by clicking the clipboard icon next to it. Keep both the Base URI and the SCIM token handy. You'll paste them into Authentik in a later section.
Create a Doppler SCIM Property Mapping
Authentik's built-in authentik default SCIM Mapping: User mapping sends the Authentik username as the SCIM userName. Doppler requires userName to be the user's email address, so you need a mapping of your own.
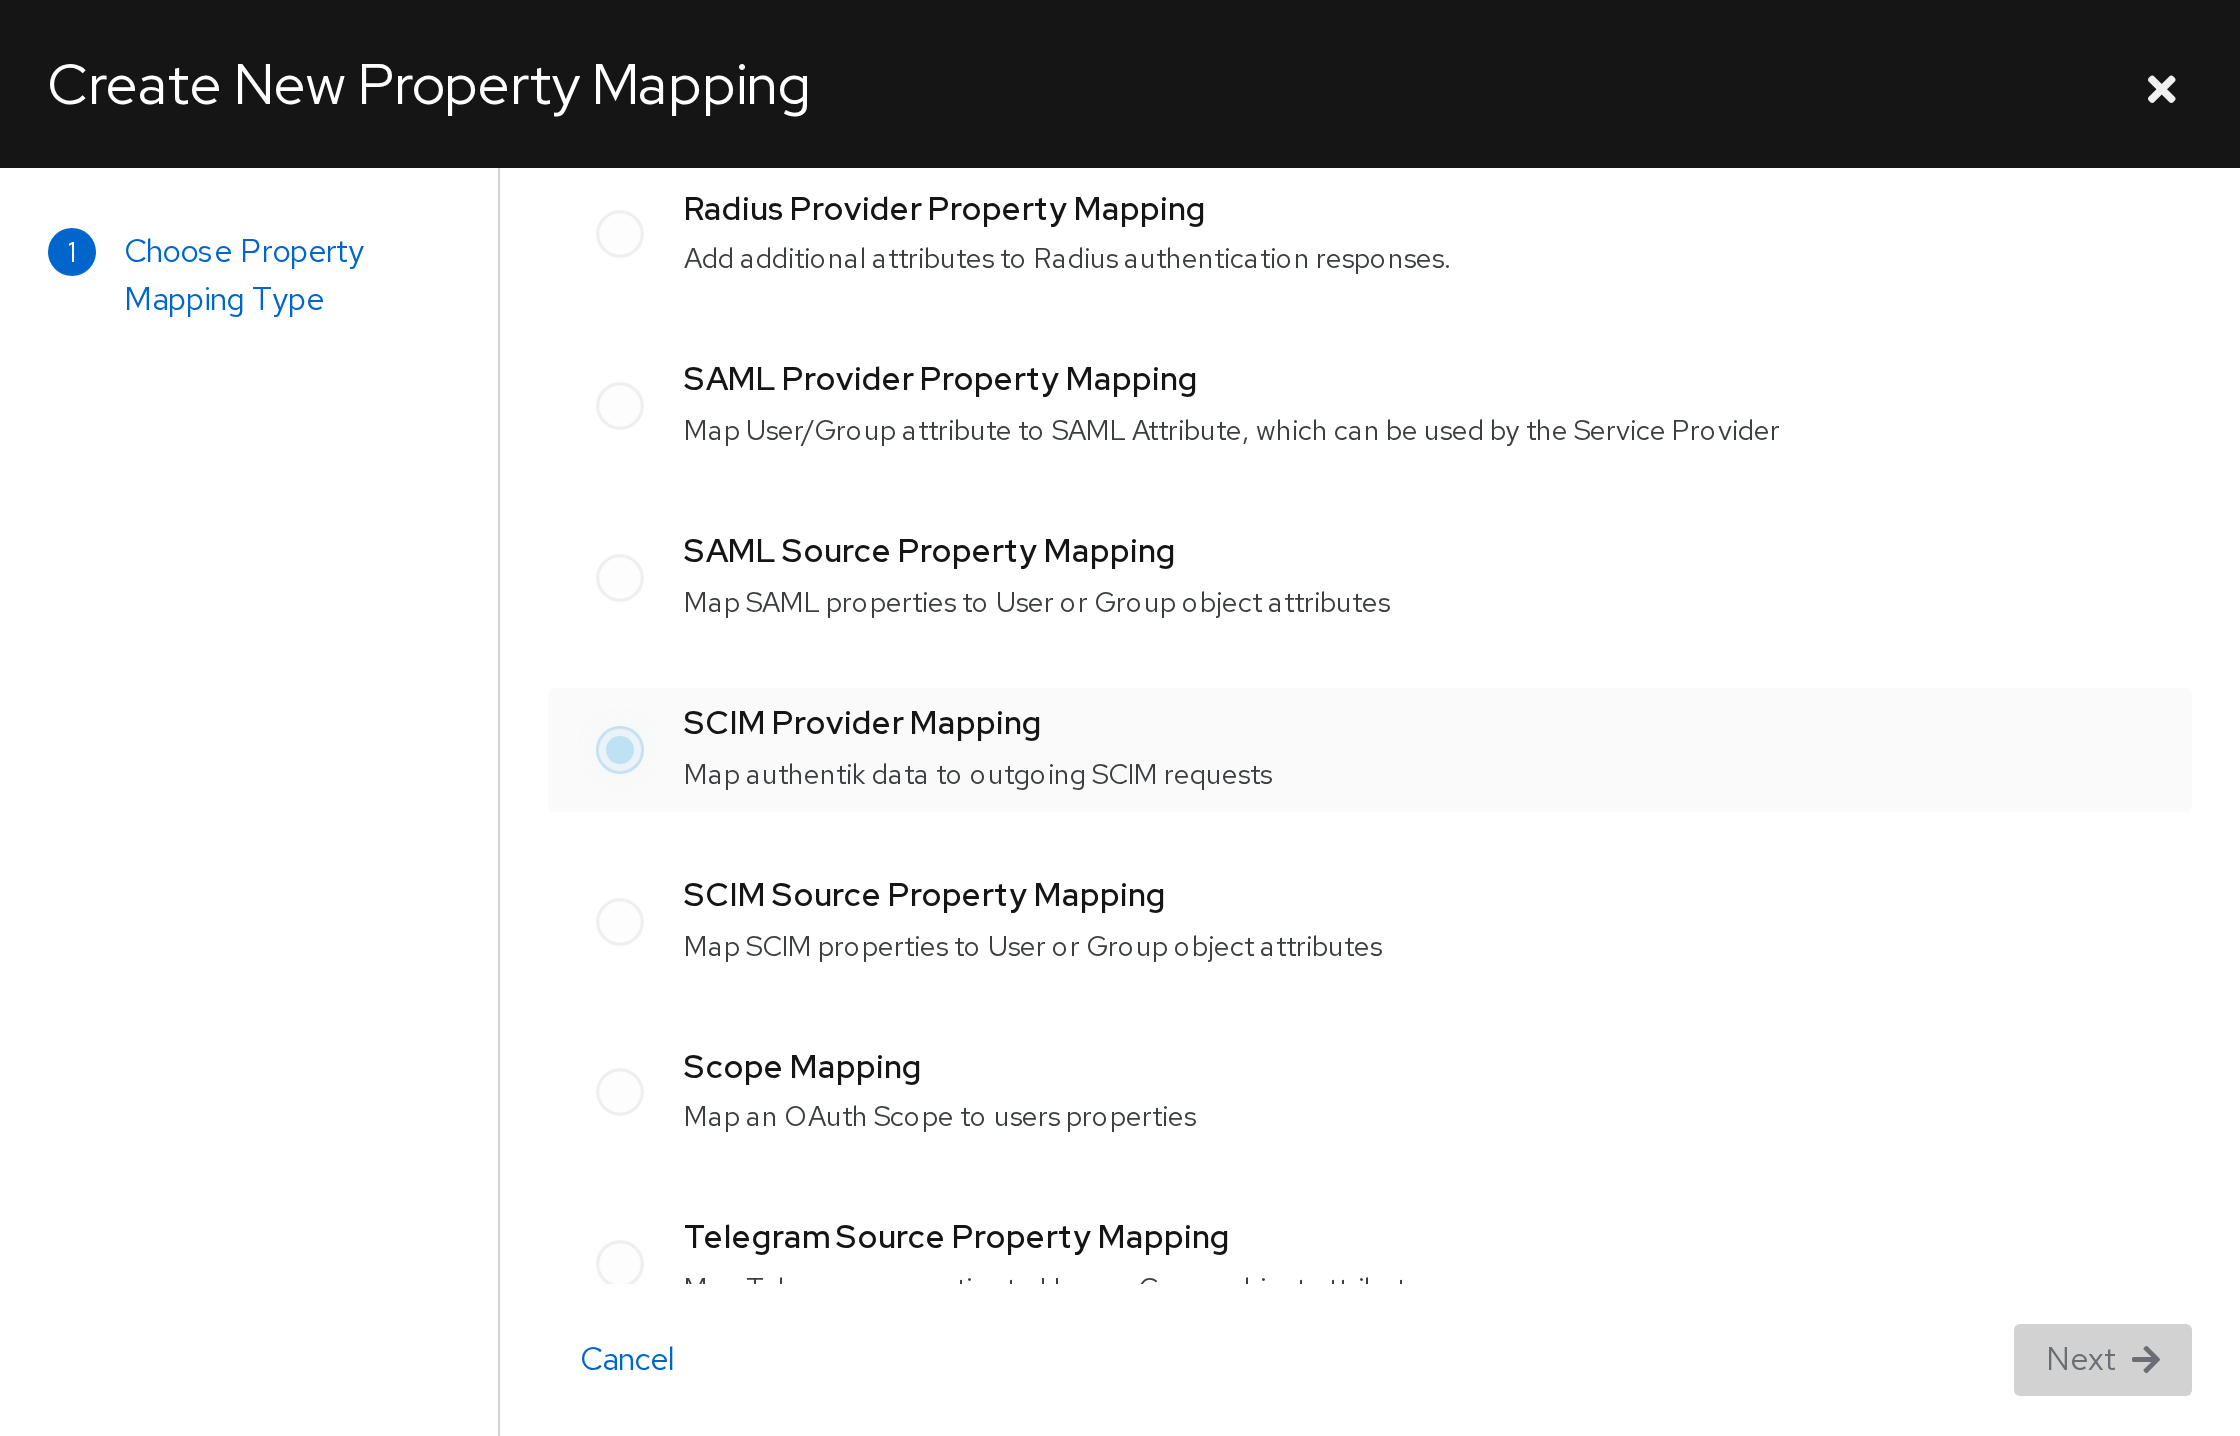
Open up a new browser tab and browse to your Authentik admin interface. Navigate to Customization → Property Mappings and click New Property Mapping. Select SCIM Provider Mapping, and the mapping form opens.
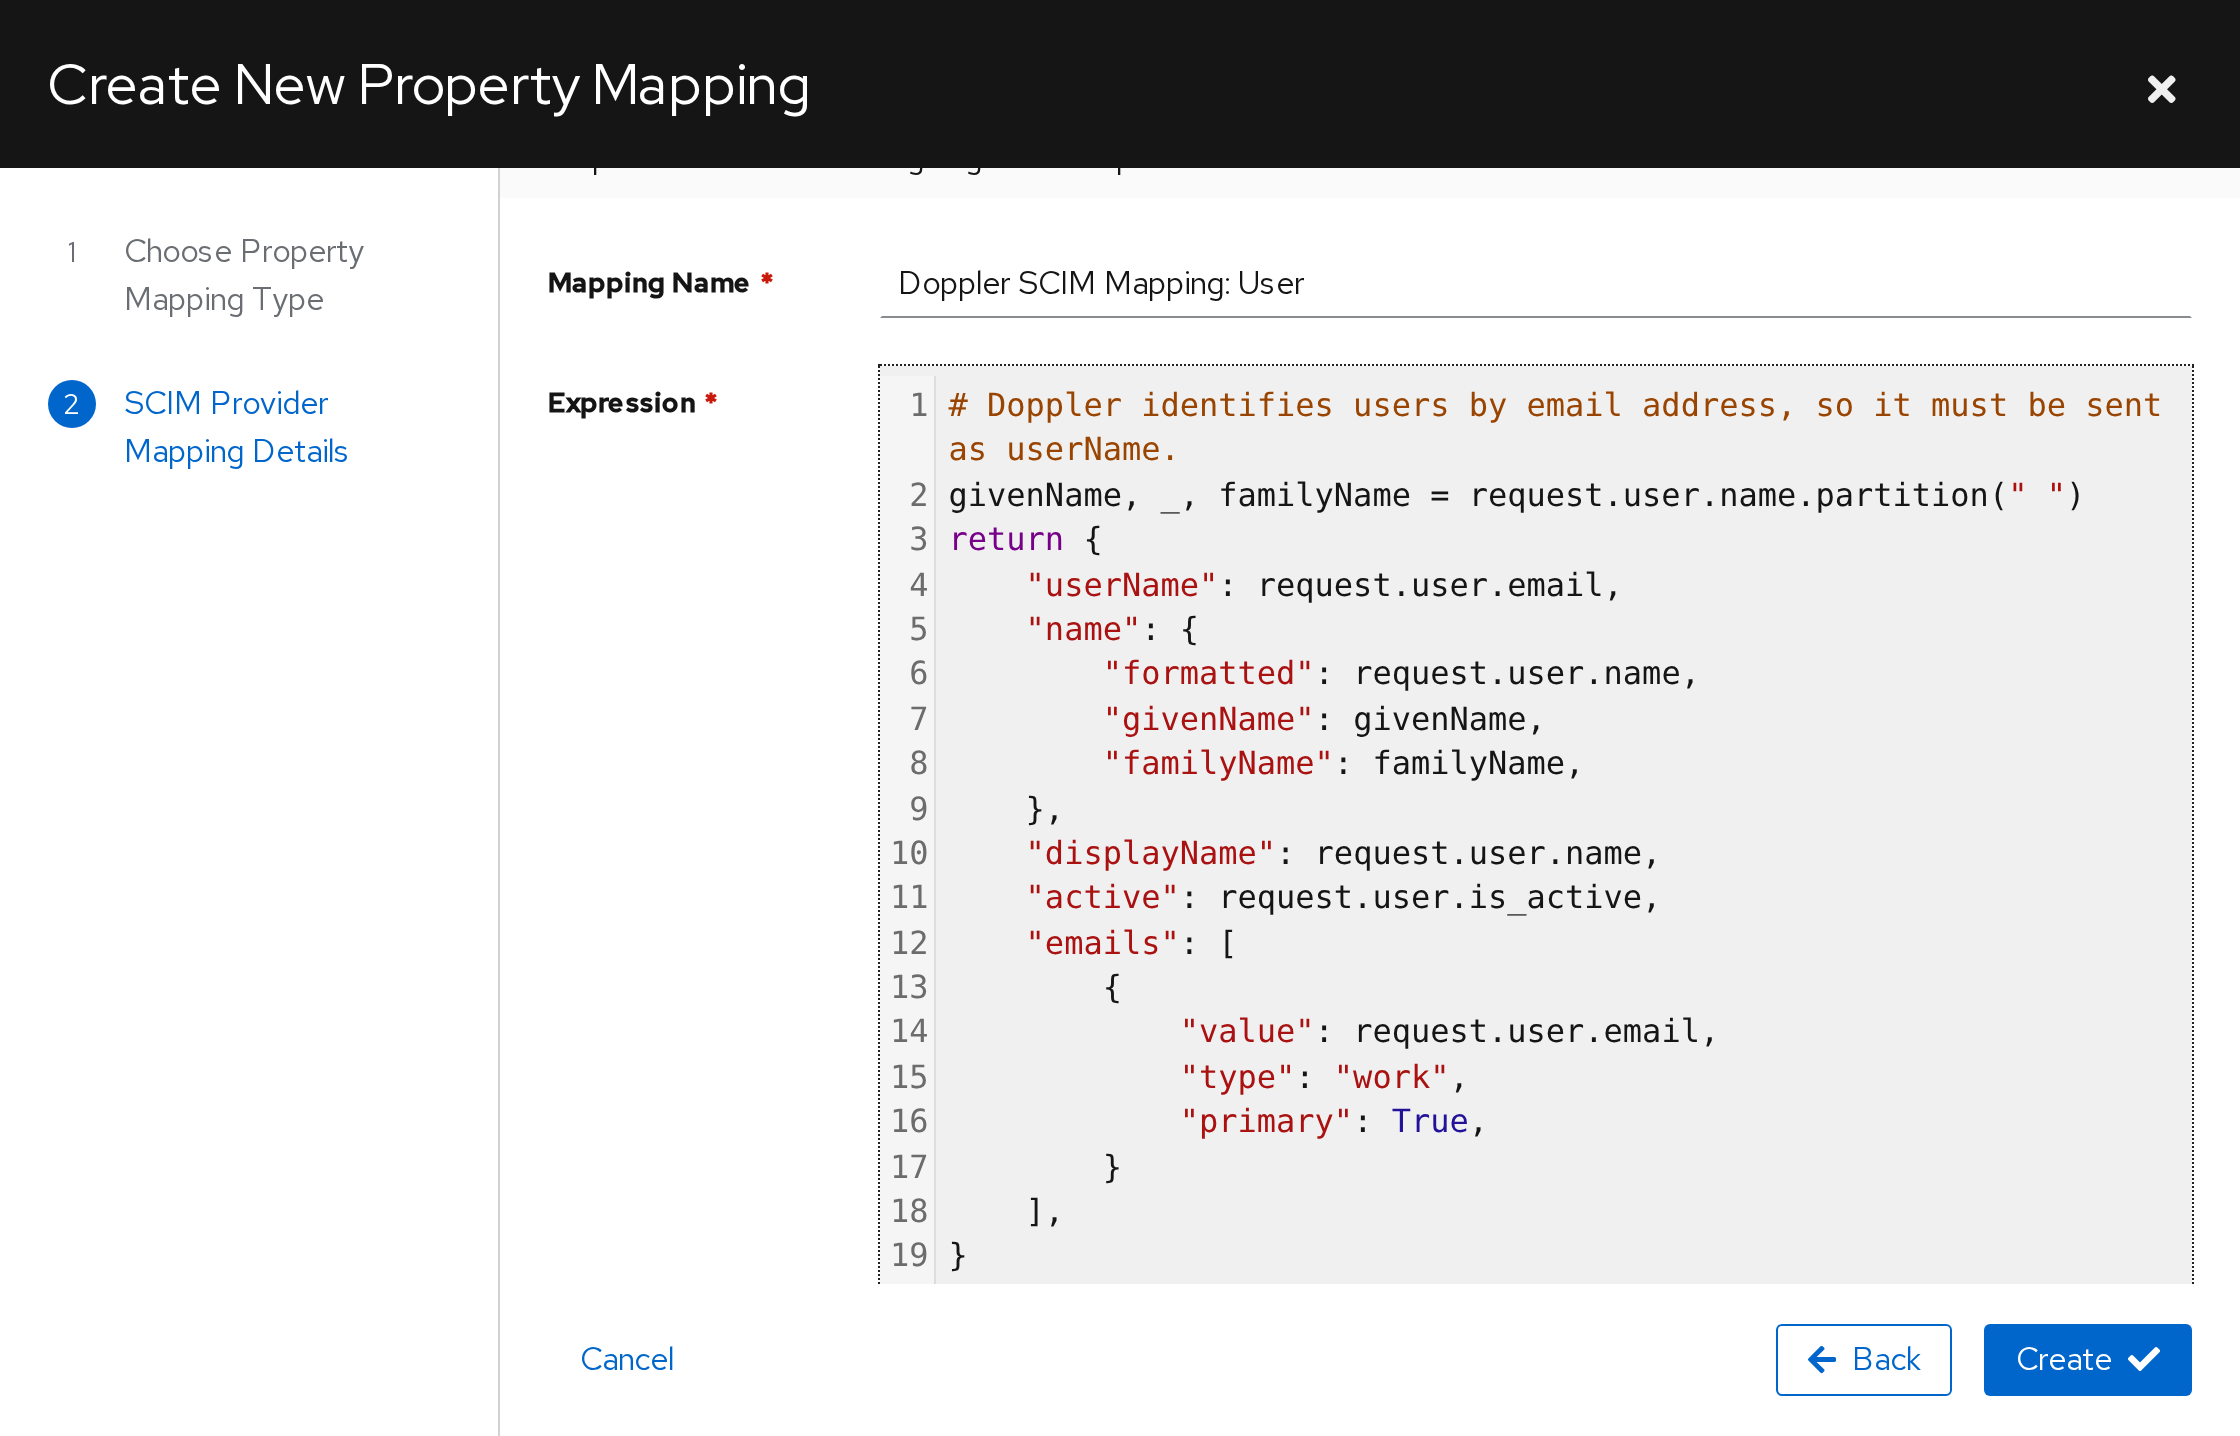
Set Mapping Name to Doppler SCIM Mapping: User, then paste the following into the Expression field and click Create:
# Doppler identifies users by email address, so it must be sent as userName.
givenName, _, familyName = request.user.name.partition(" ")
return {
    "userName": request.user.email,
    "name": {
        "formatted": request.user.name,
        "givenName": givenName,
        "familyName": familyName,
    },
    "displayName": request.user.name,
    "active": request.user.is_active,
    "emails": [
        {
            "value": request.user.email,
            "type": "work",
            "primary": True,
        }
    ],
}
Doppler uses userName as the user's email address and as their unique identifier, so it must hold an email address. The emails attribute is optional, but if it's sent, one of its values must match userName exactly. The mapping uses request.user.email for both, so they always match. Doppler also requires a name, which the mapping takes from the Authentik user's Name field.
Create the Authentik SCIM Provider
Navigate to Applications → Providers and click New Provider. Select SCIM Provider, and the provider form opens.
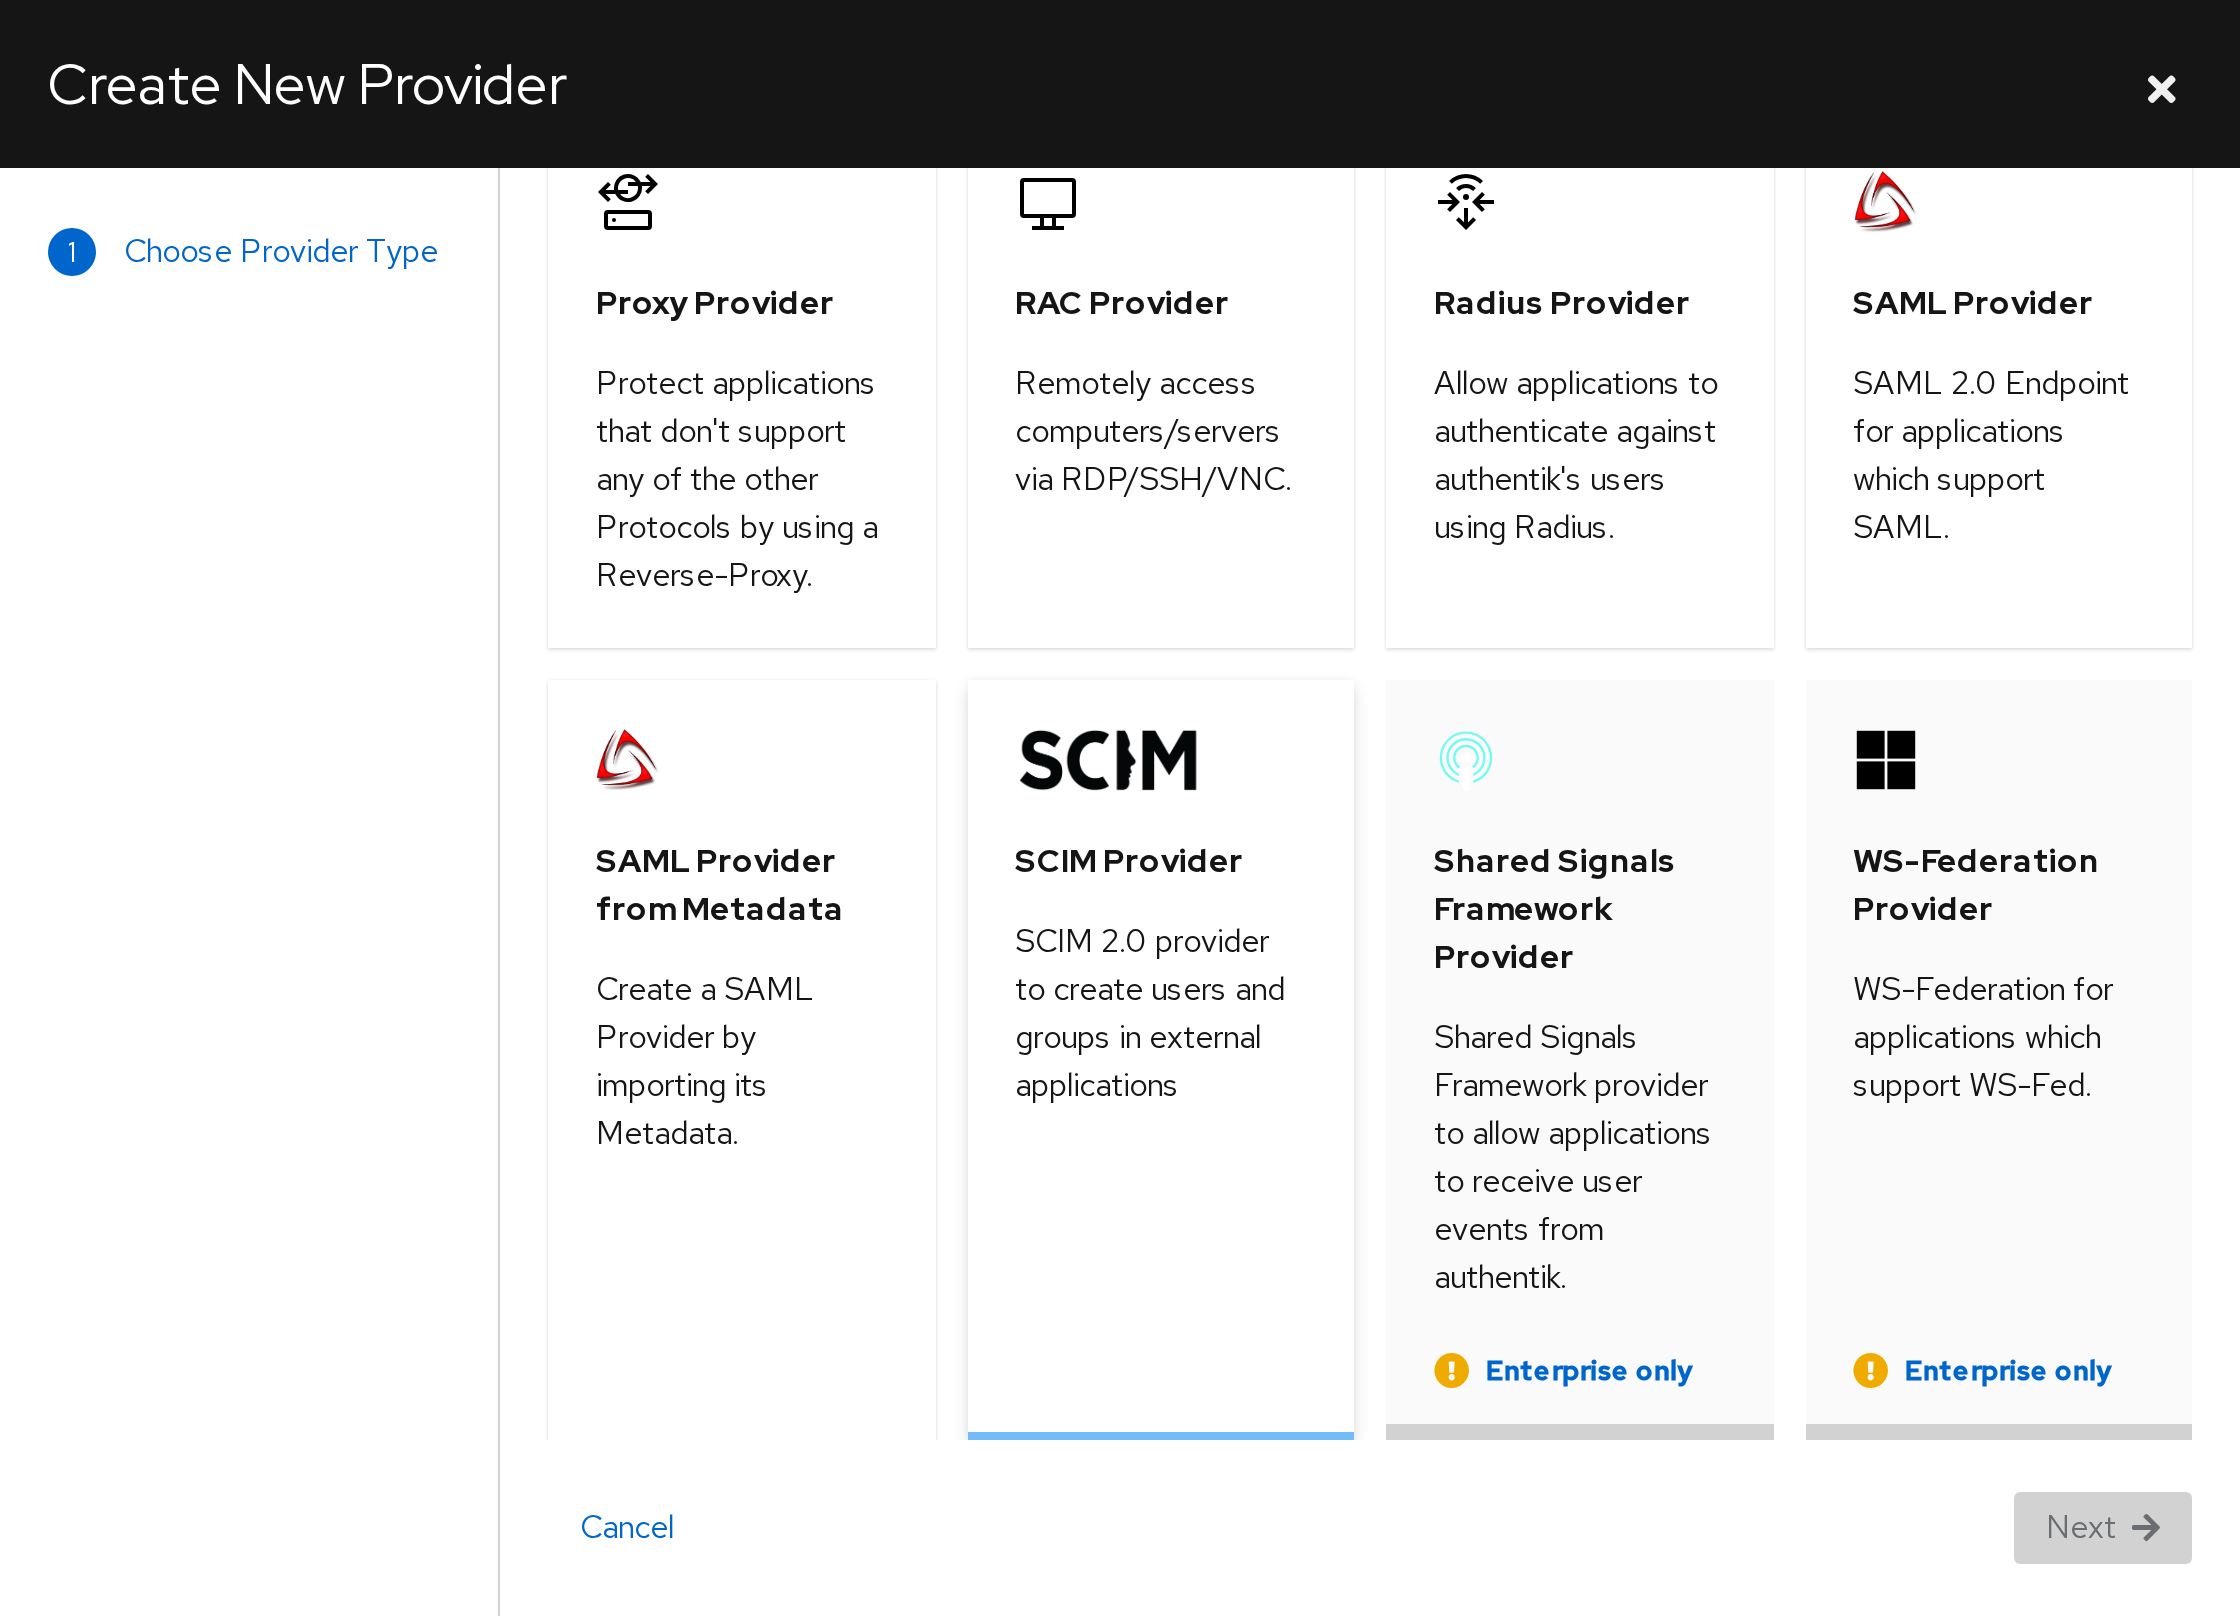
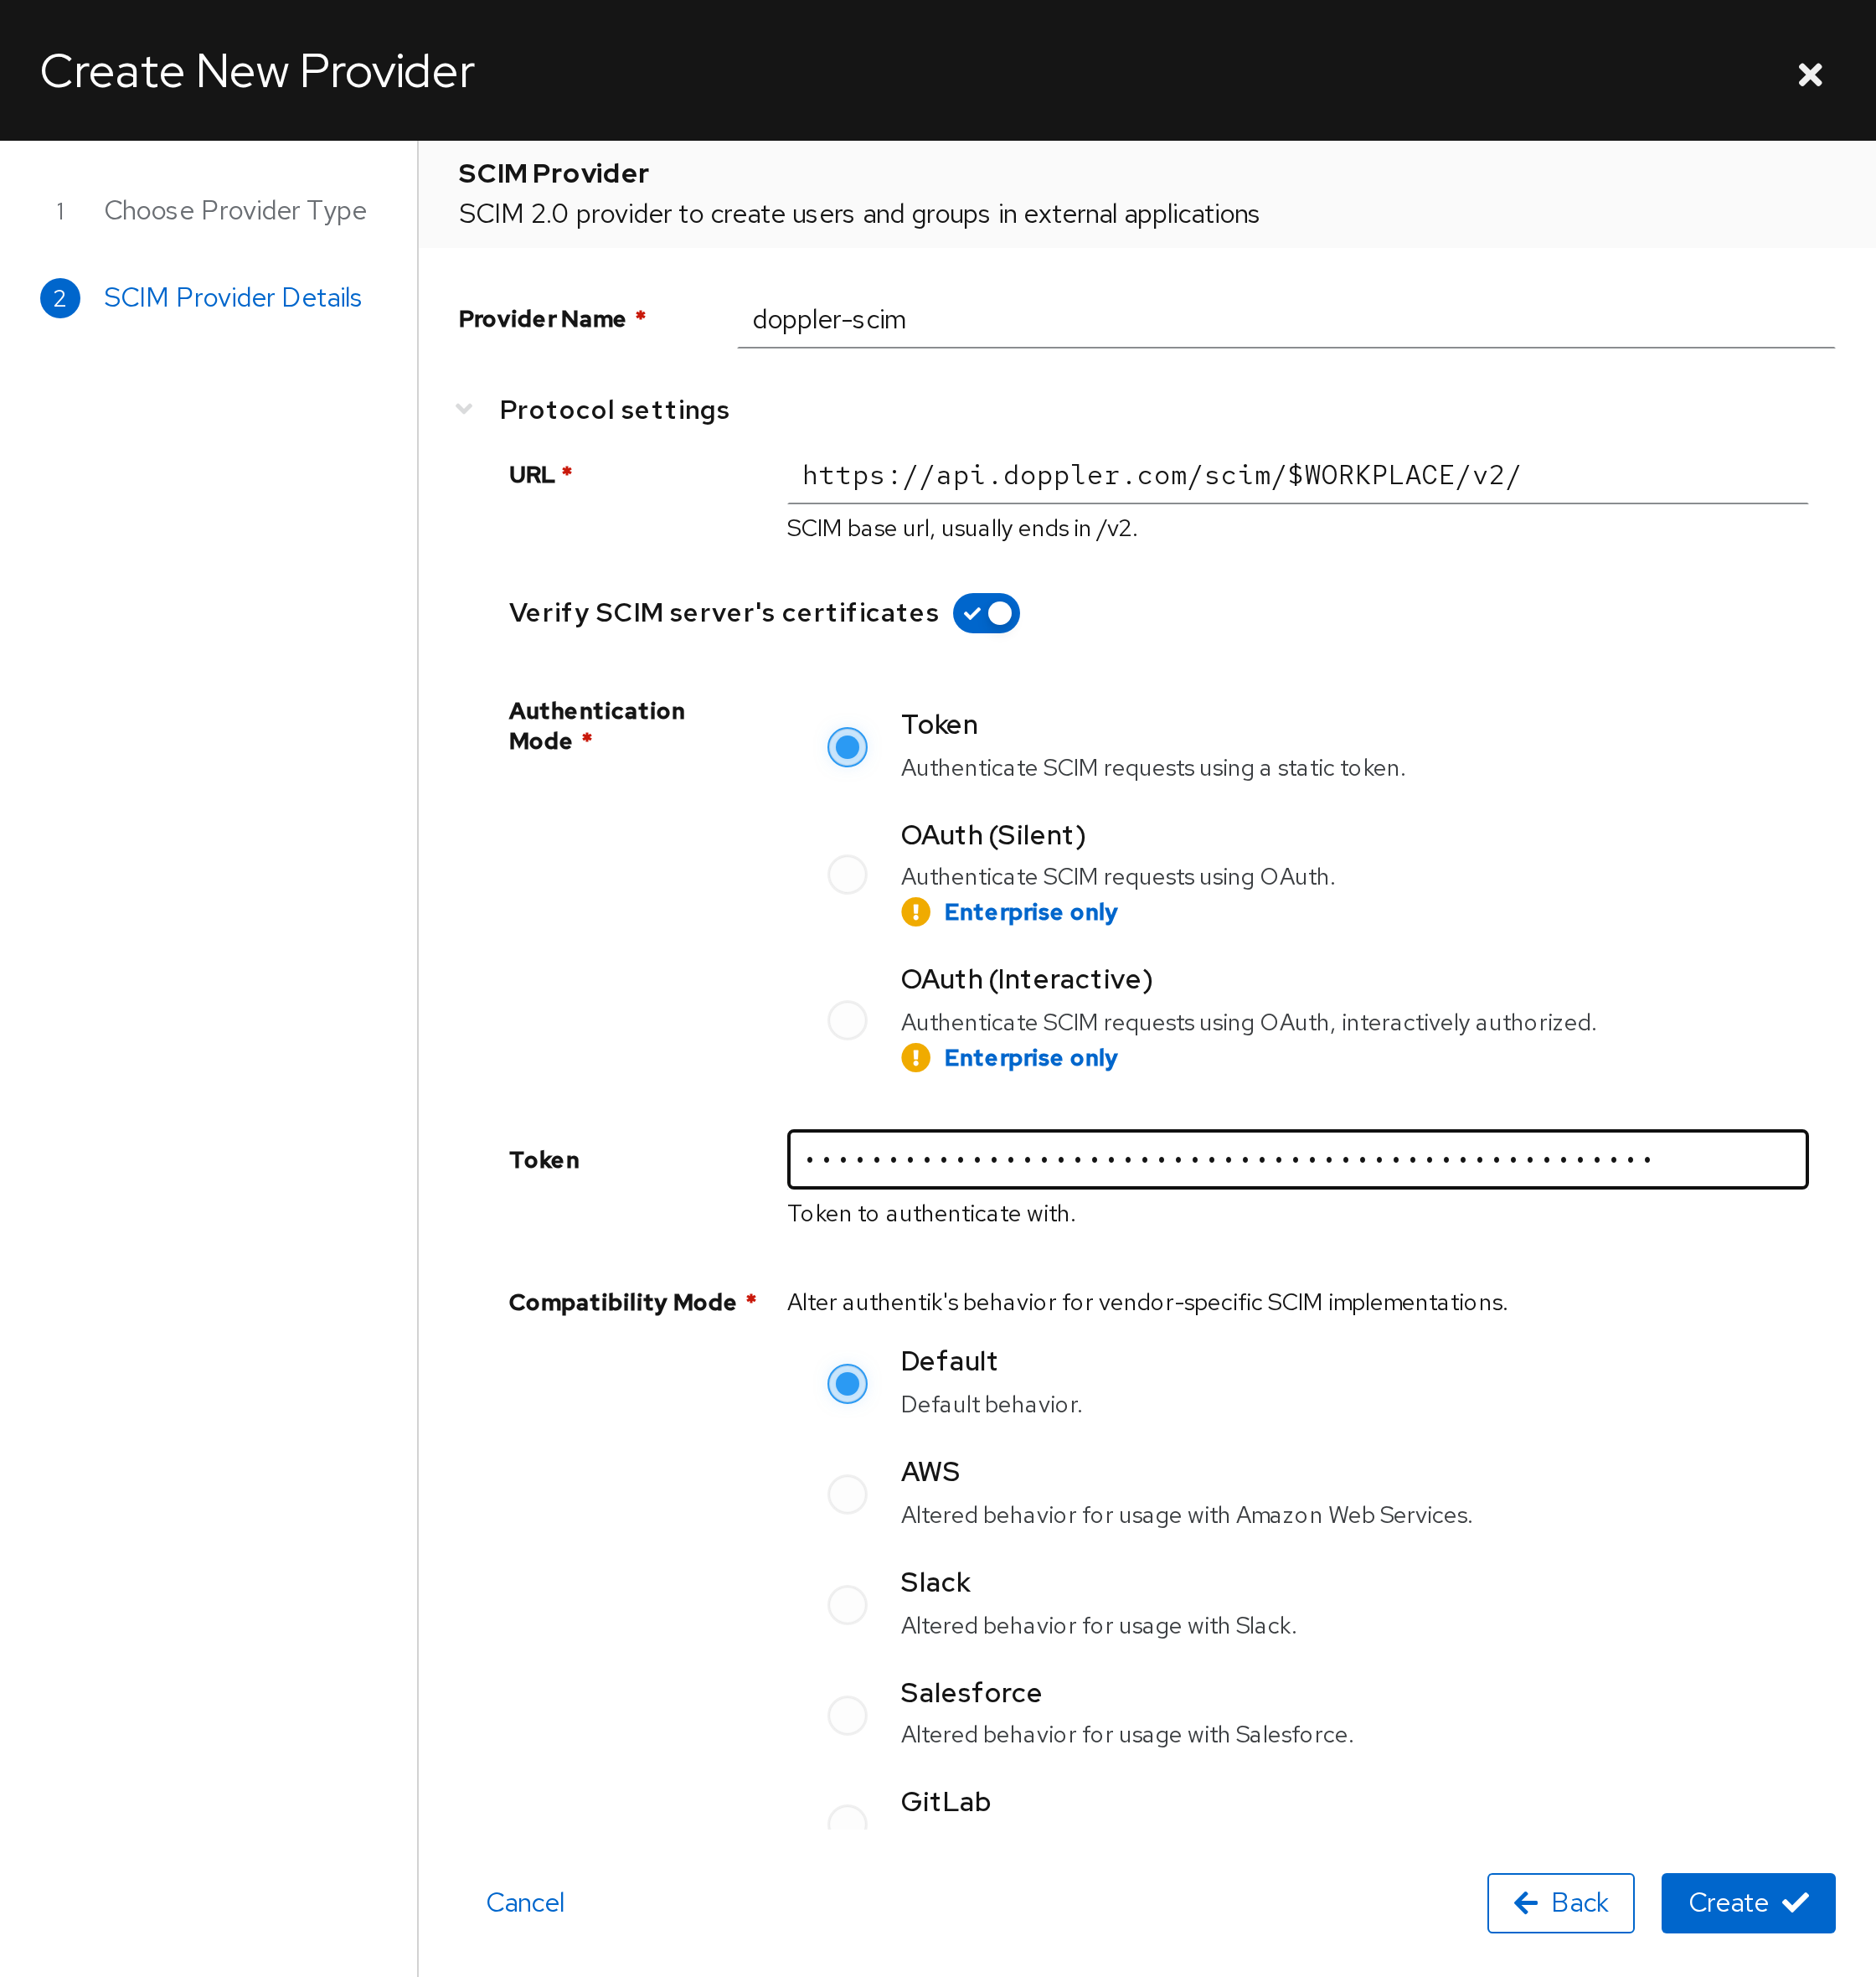
Populate the form with the following values:
| Parameter | Value |
|---|---|
| Provider Name | doppler-scim |
| URL | The Base URI you copied from Doppler |
| Verify SCIM server's certificates | Enabled |
| Authentication Mode | Token |
| Token | The SCIM token you copied from Doppler |
| Compatibility Mode | Default |
| Exclude service accounts | Enabled (the default) |
| Group Filter | The Authentik groups you want to push to Doppler (see Configure Group Provisioning) |
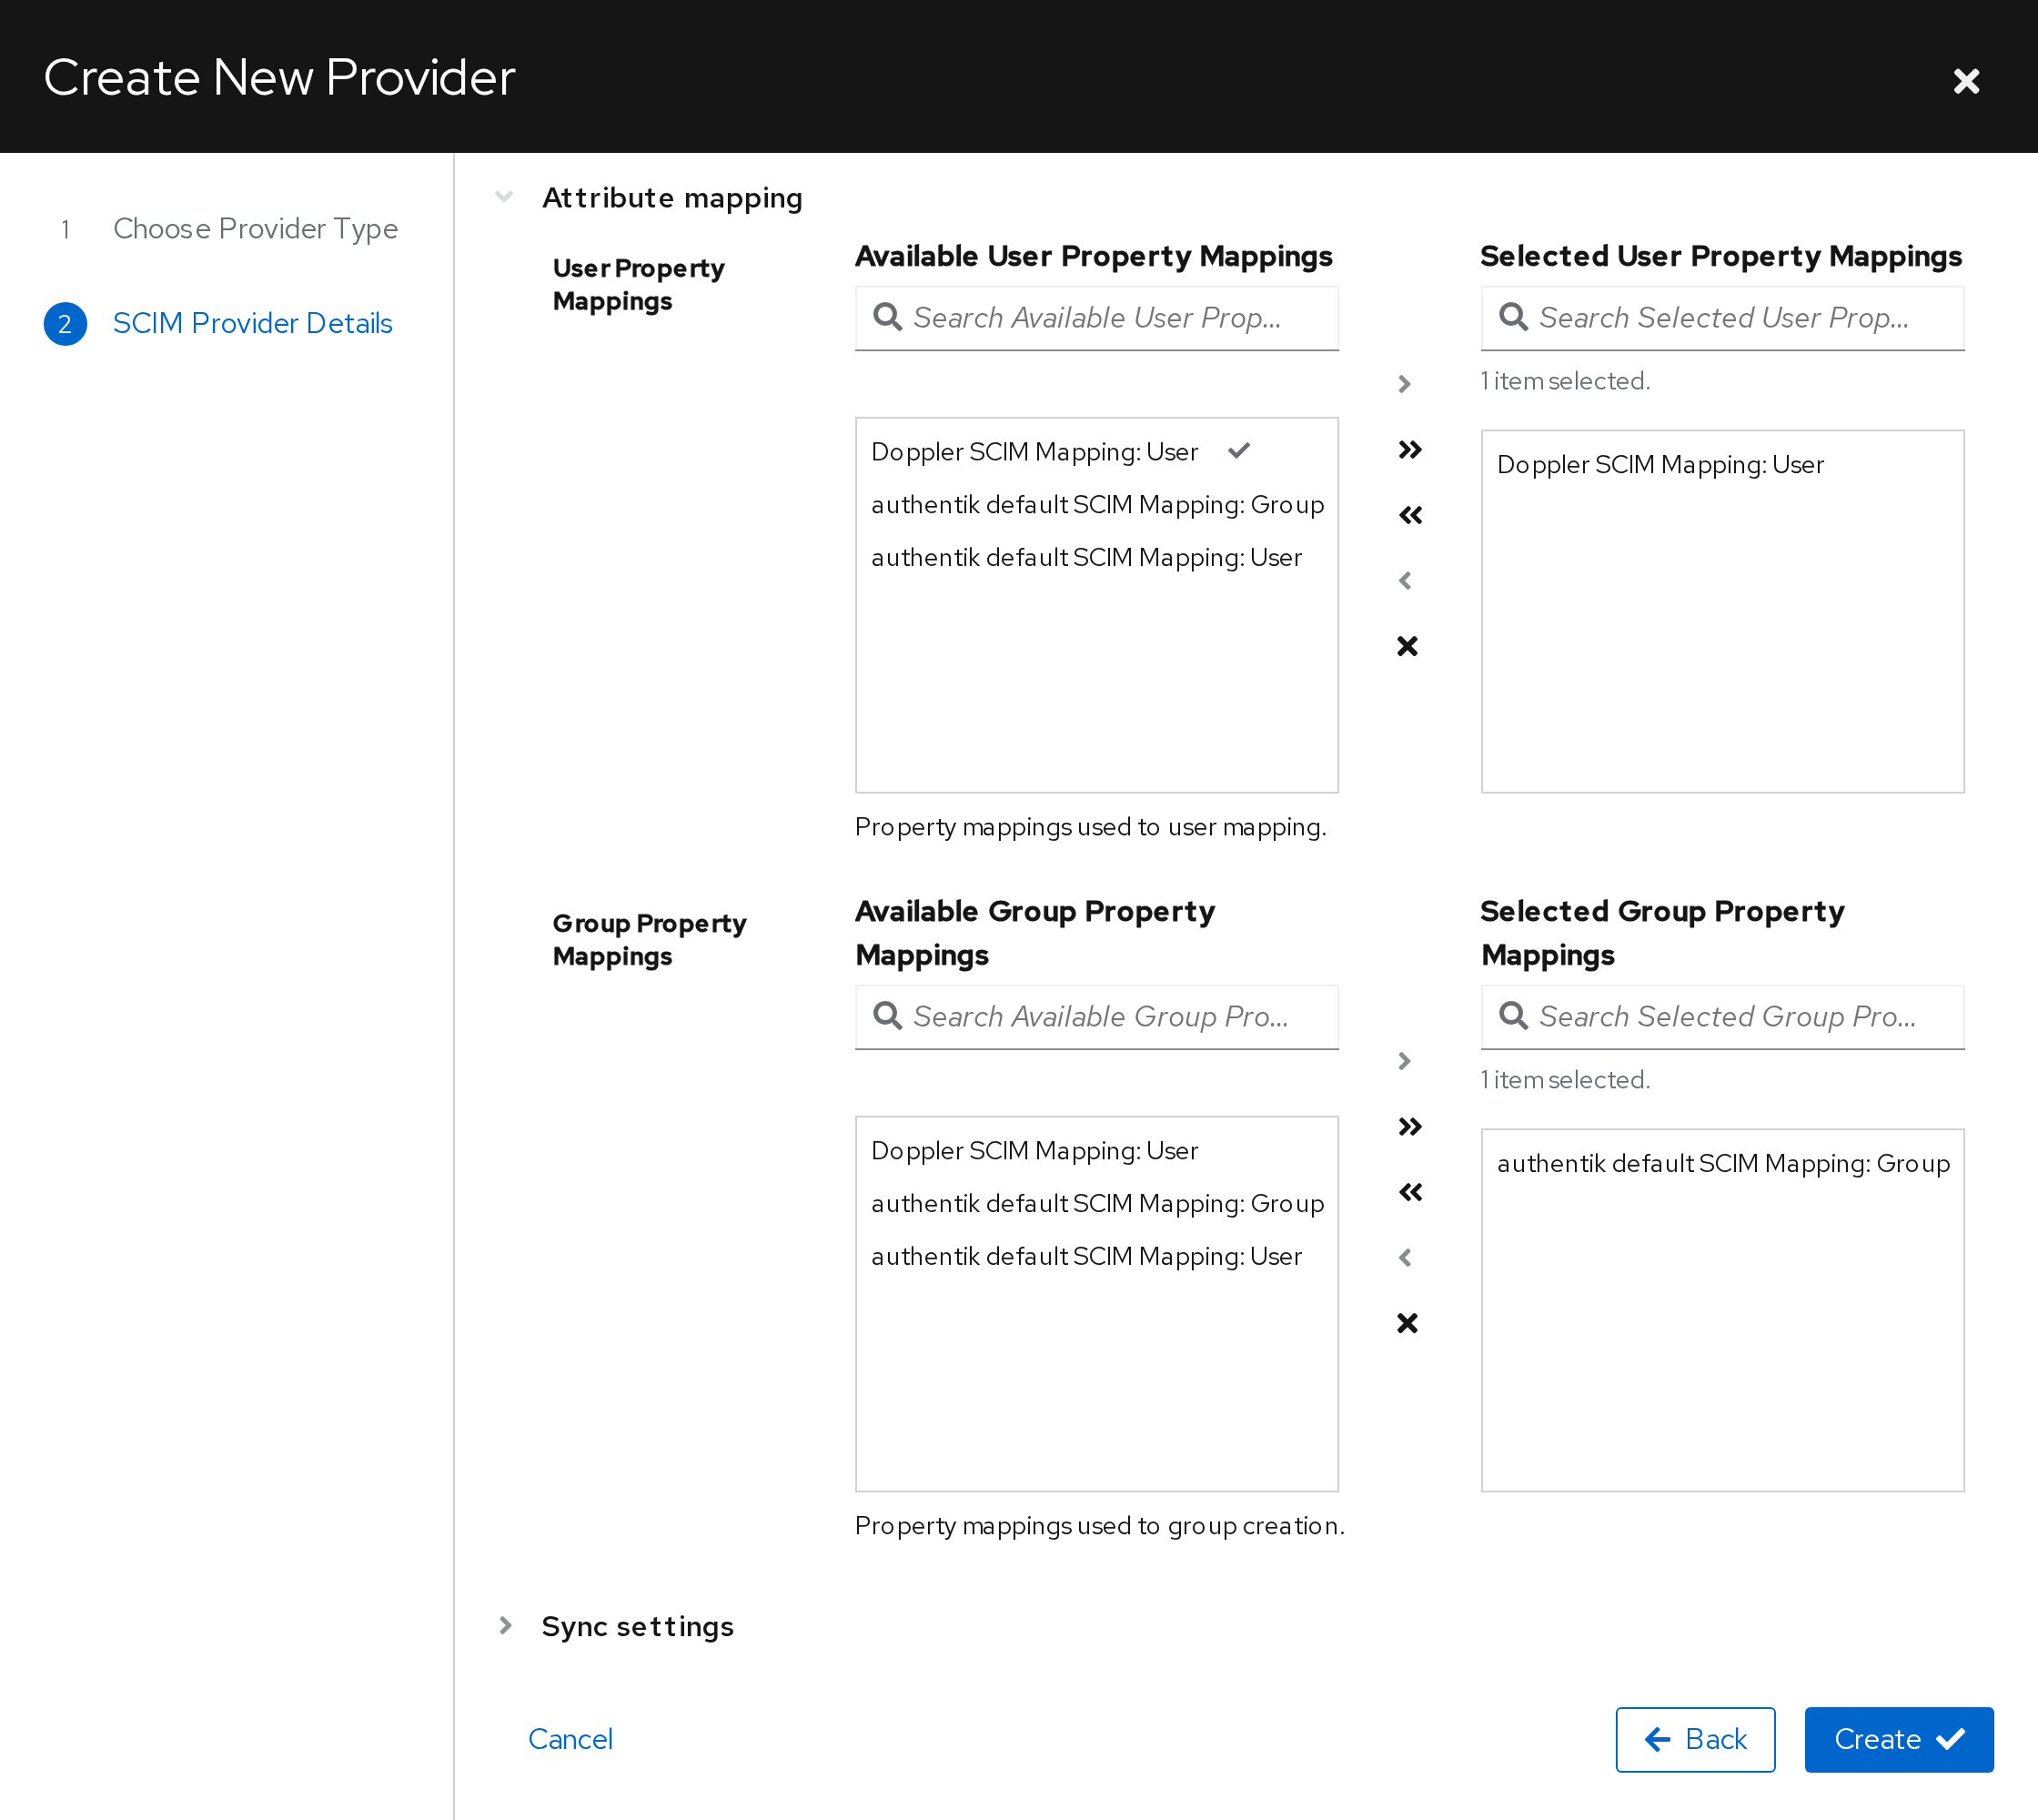
| User Property Mappings | Doppler SCIM Mapping: User |
| Group Property Mappings | authentik default SCIM Mapping: Group |
The URL will look similar to https://api.doppler.com/scim/$WORKPLACE/v2/. The Token field is locked until you click Modify next to it. Then paste the SCIM token as-is. Authentik adds the Bearer prefix itself.
Remove the default user mappingAuthentik pre-selects authentik default SCIM Mapping: User in User Property Mappings. Move it back to Available User Property Mappings so that Doppler SCIM Mapping: User is the only selected user mapping.
When several mappings are selected, Authentik applies them in name order and merges the results. Leaving the default mapping selected can overwrite
userNamewith the Authentik username.
Once the form is filled out, click Create.
Attach the Provider to Your Doppler Application
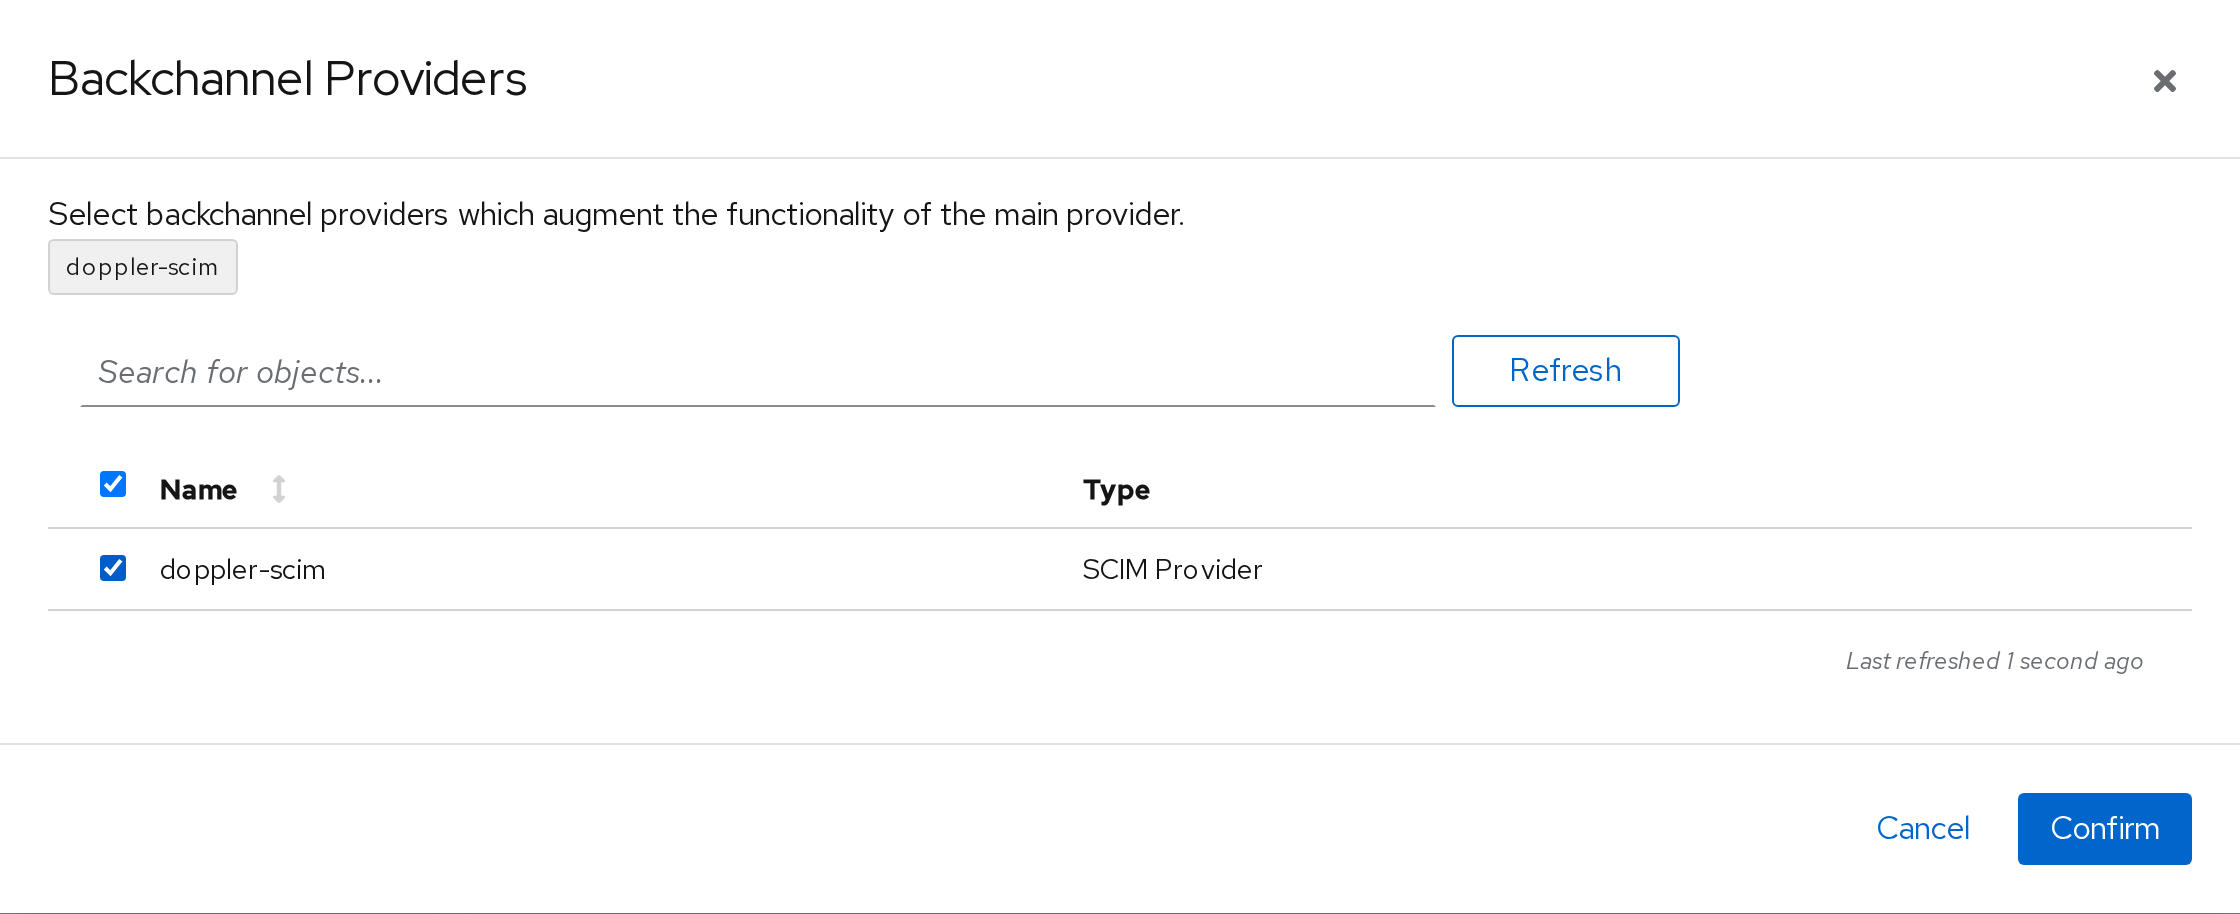
SCIM provisioning is attached to your existing Authentik SAML application for Doppler, not to a new one. Authentik only runs a SCIM provider when it's attached to an application as a backchannel provider. Until then, the provider page shows Warning: Provider is not assigned to an application as backchannel provider.
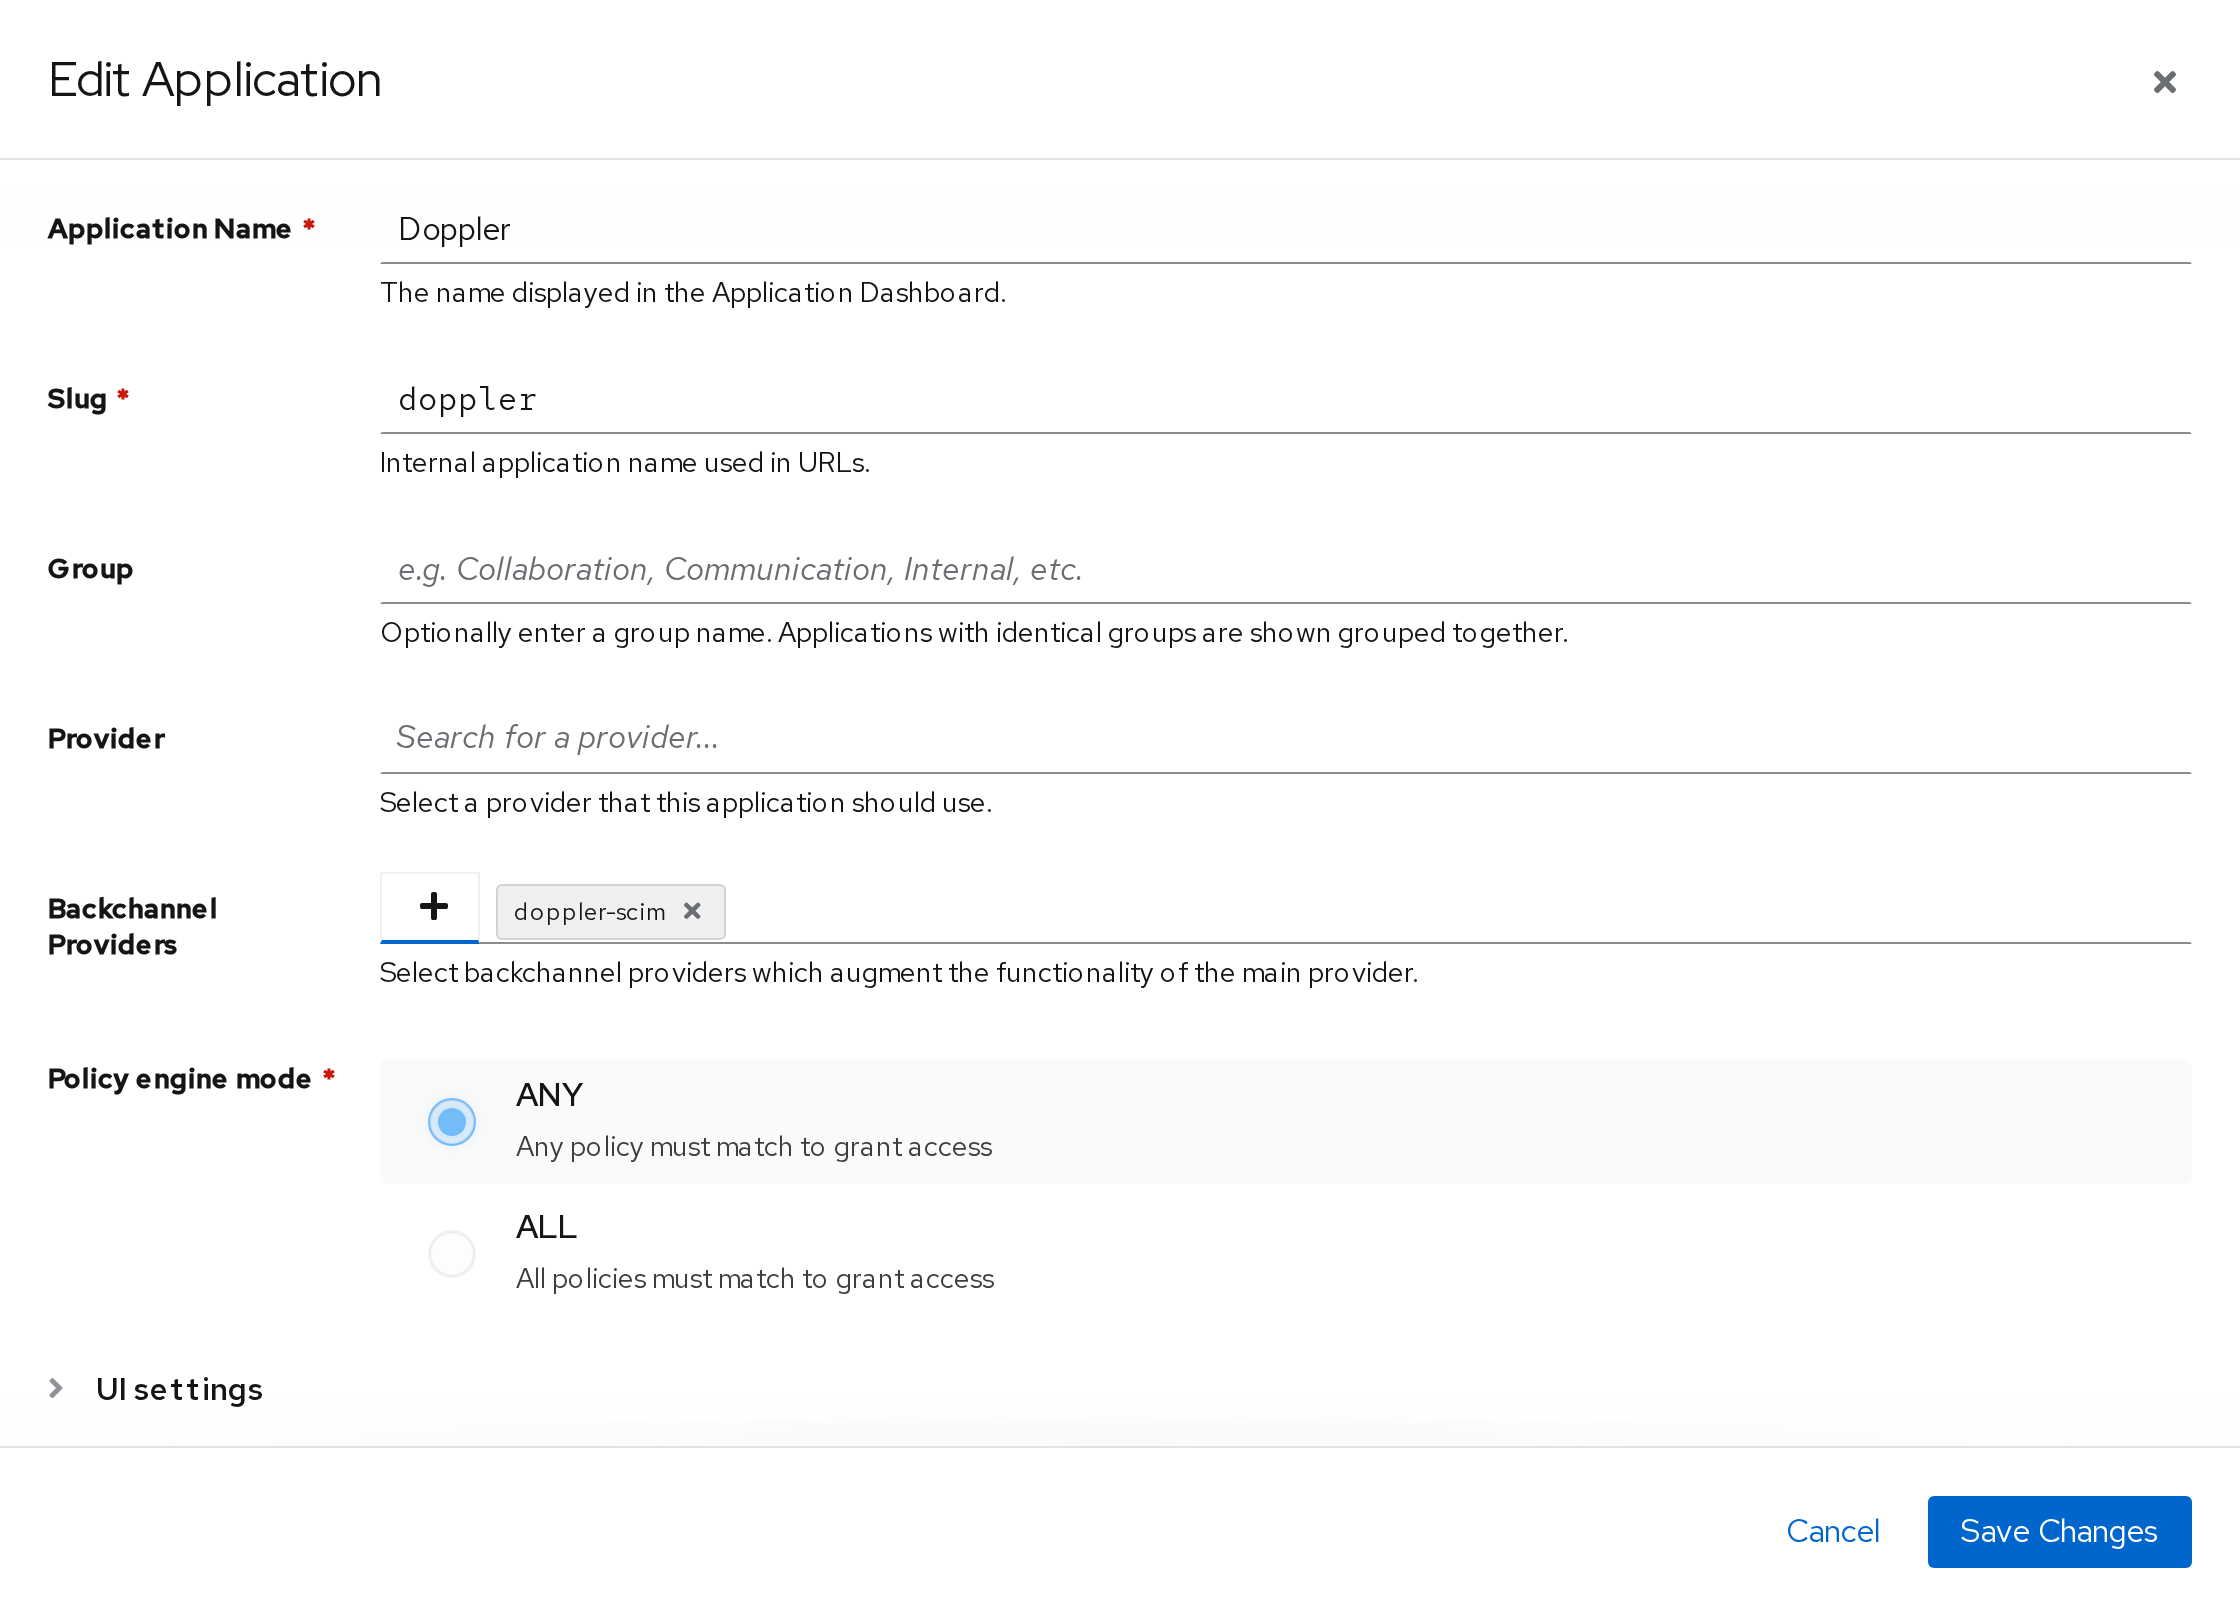
Navigate to Applications → Applications and click the edit icon next to your existing Doppler application. Click the + icon next to Backchannel Providers, select doppler-scim, and click Confirm. Then click Save Changes.
Configure User Assignment
Authentik provisions the users who have access to the application the SCIM provider is attached to. Navigate to Applications → Applications, click your Doppler application, and open the Policy / Group / User Bindings tab. Bind the Authentik group (or individual users) that should have access to Doppler.
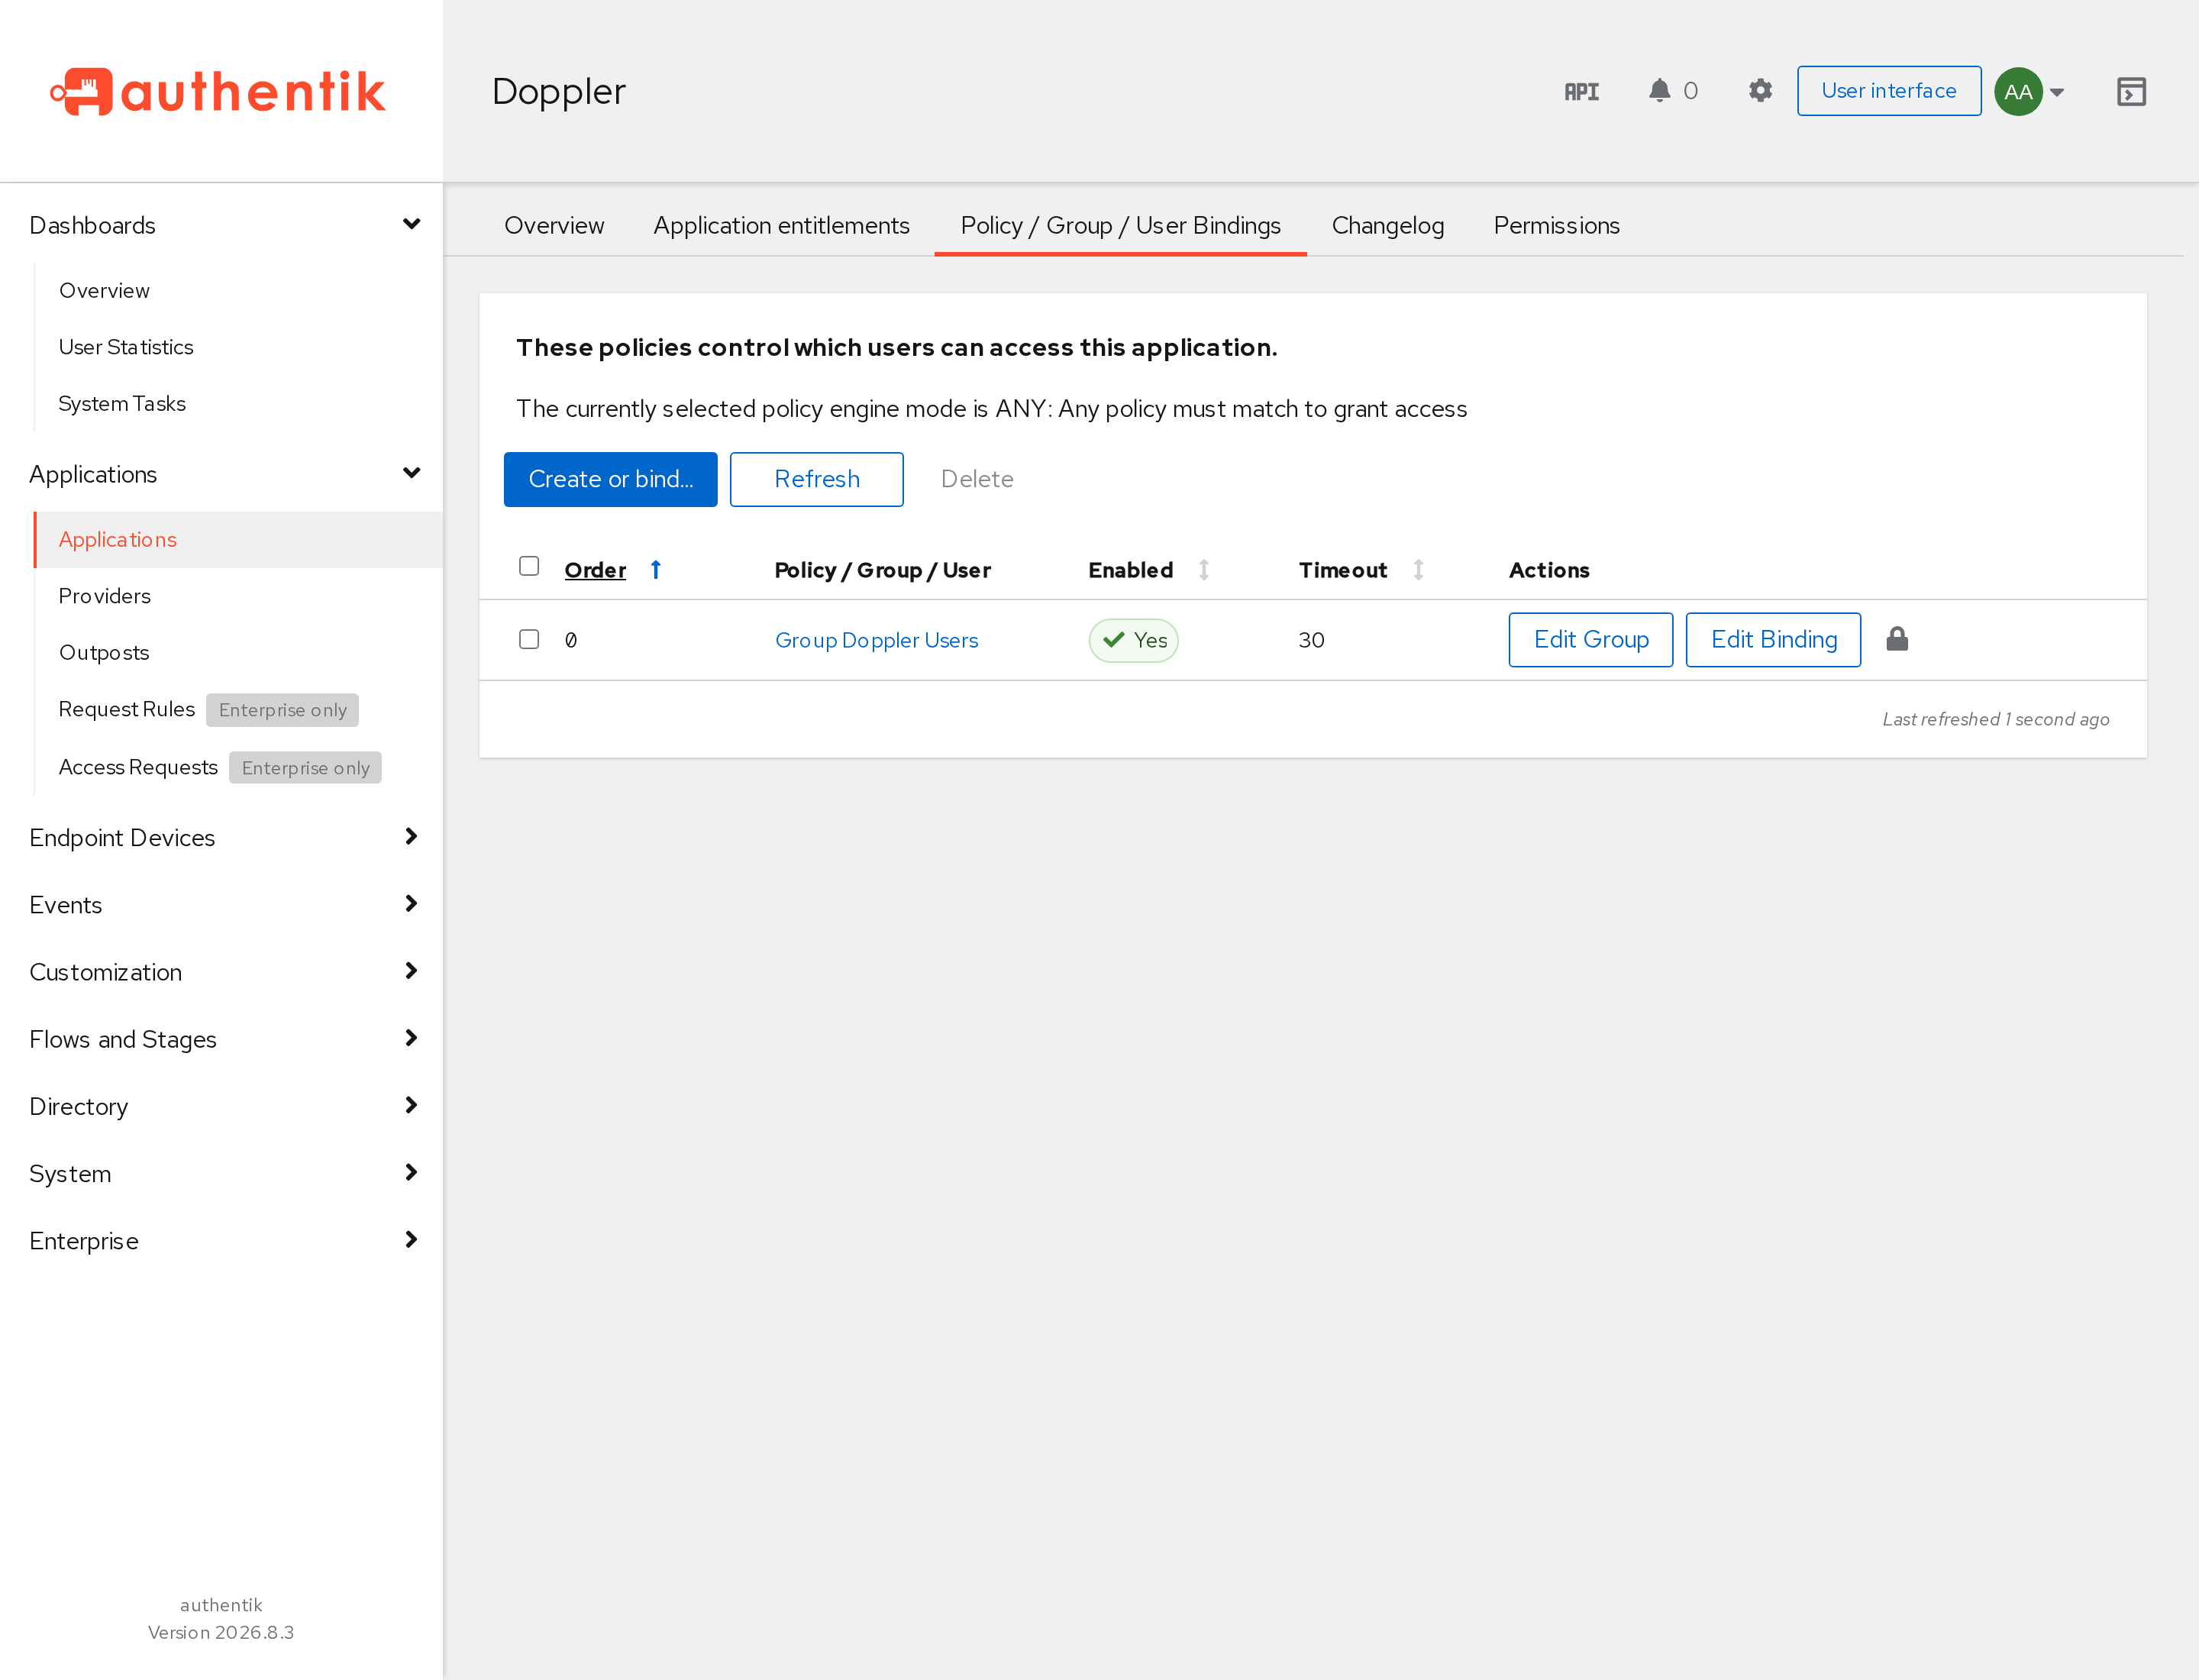
If the Doppler application has no bindings at all, Authentik provisions every user in your Authentik instance. Bind a group before the first sync runs so that only the people who should have Doppler access are provisioned.
From then on, you manage who has Doppler access through the bound group's membership. Users added to the group are created in Doppler the next time Authentik synchronizes, and users removed from it are deprovisioned on the next sync.
Configure Group Provisioning
The Group Filter setting on the SCIM provider controls which Authentik groups are pushed to Doppler. Authentik will create matching groups in Doppler and keep their membership in sync. If a pushed group has the same name as a group that already exists in Doppler, the two are linked instead of a new group being created, so we recommend starting without pre-existing groups in Doppler.
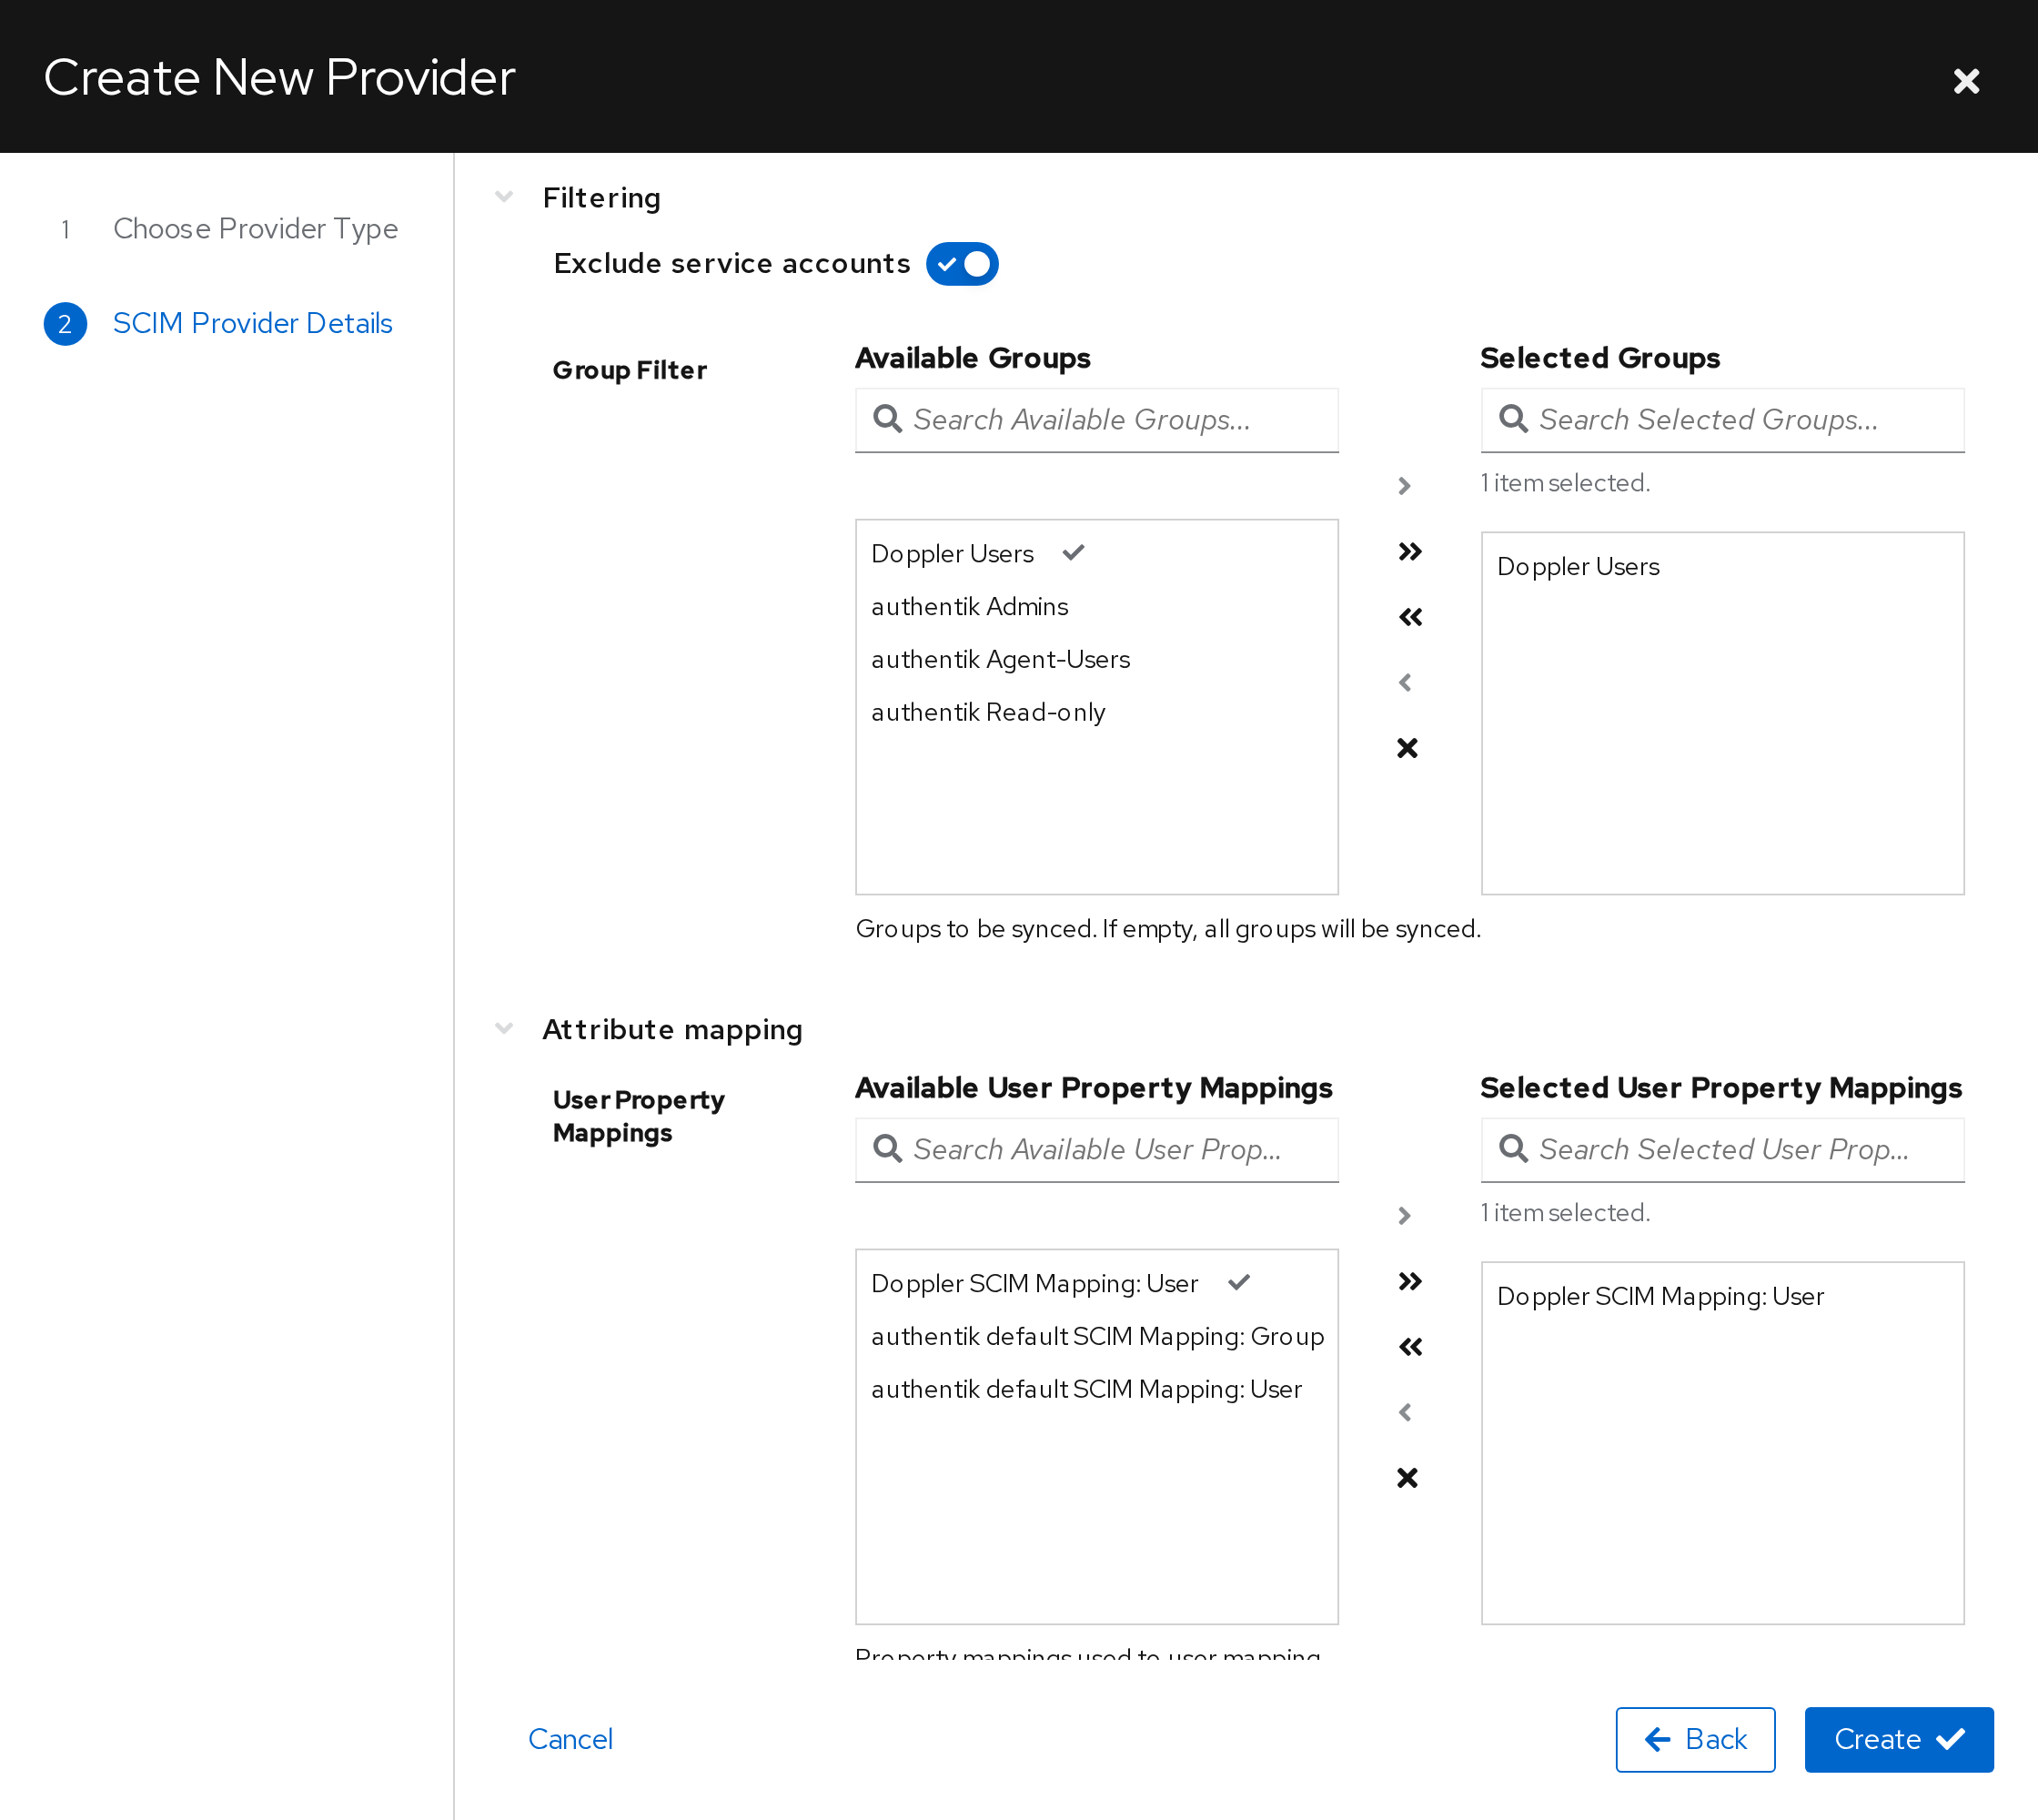
If you leave Group Filter empty, Authentik pushes every group in your instance, including built-in groups such as authentik Admins. We recommend selecting only the groups you want to manage in Doppler.
Group filters only limit which groups are pushed. They don't limit which users are provisioned; that's controlled by the application bindings in the previous section.
Changing Group Filter after the first sync
Removing a group from Group Filter doesn't remove it from Doppler right away. Authentik deletes the group in Doppler during the next full synchronization, which runs every four hours by default or when you run it manually (see Synchronize). Users who were in the group keep their workplace seats.
If removing a group leaves Group Filter empty, the group isn't deleted. An empty filter puts every Authentik group back in scope, so the next full synchronization pushes all of them to Doppler, including built-in groups such as authentik Admins. Keep at least one group selected.
User Deprovisioning Behavior
Authentik deprovisions users in two ways:
- Deactivating a user in Authentik sends
active: falseto Doppler. - Deleting a user in Authentik, or removing their access to the Doppler application, deletes the user in Doppler.
Doppler treats both the same way: it removes the user's workplace seat, which revokes their access to your workplace. Their Doppler user account isn't deleted, so if they're provisioned again later they receive a new seat.
Synchronize
Authentik synchronizes in two ways:
- When a user or group is created, modified, or deleted, Authentik sends that change to Doppler right away.
- Every four hours by default, Authentik runs a full synchronization of every user and group in scope.
To run a full sync without waiting, navigate to Applications → Providers, click doppler-scim, and find the provider's sync schedule in the Schedules section. Click the Run scheduled task now (play) icon in its Actions column.
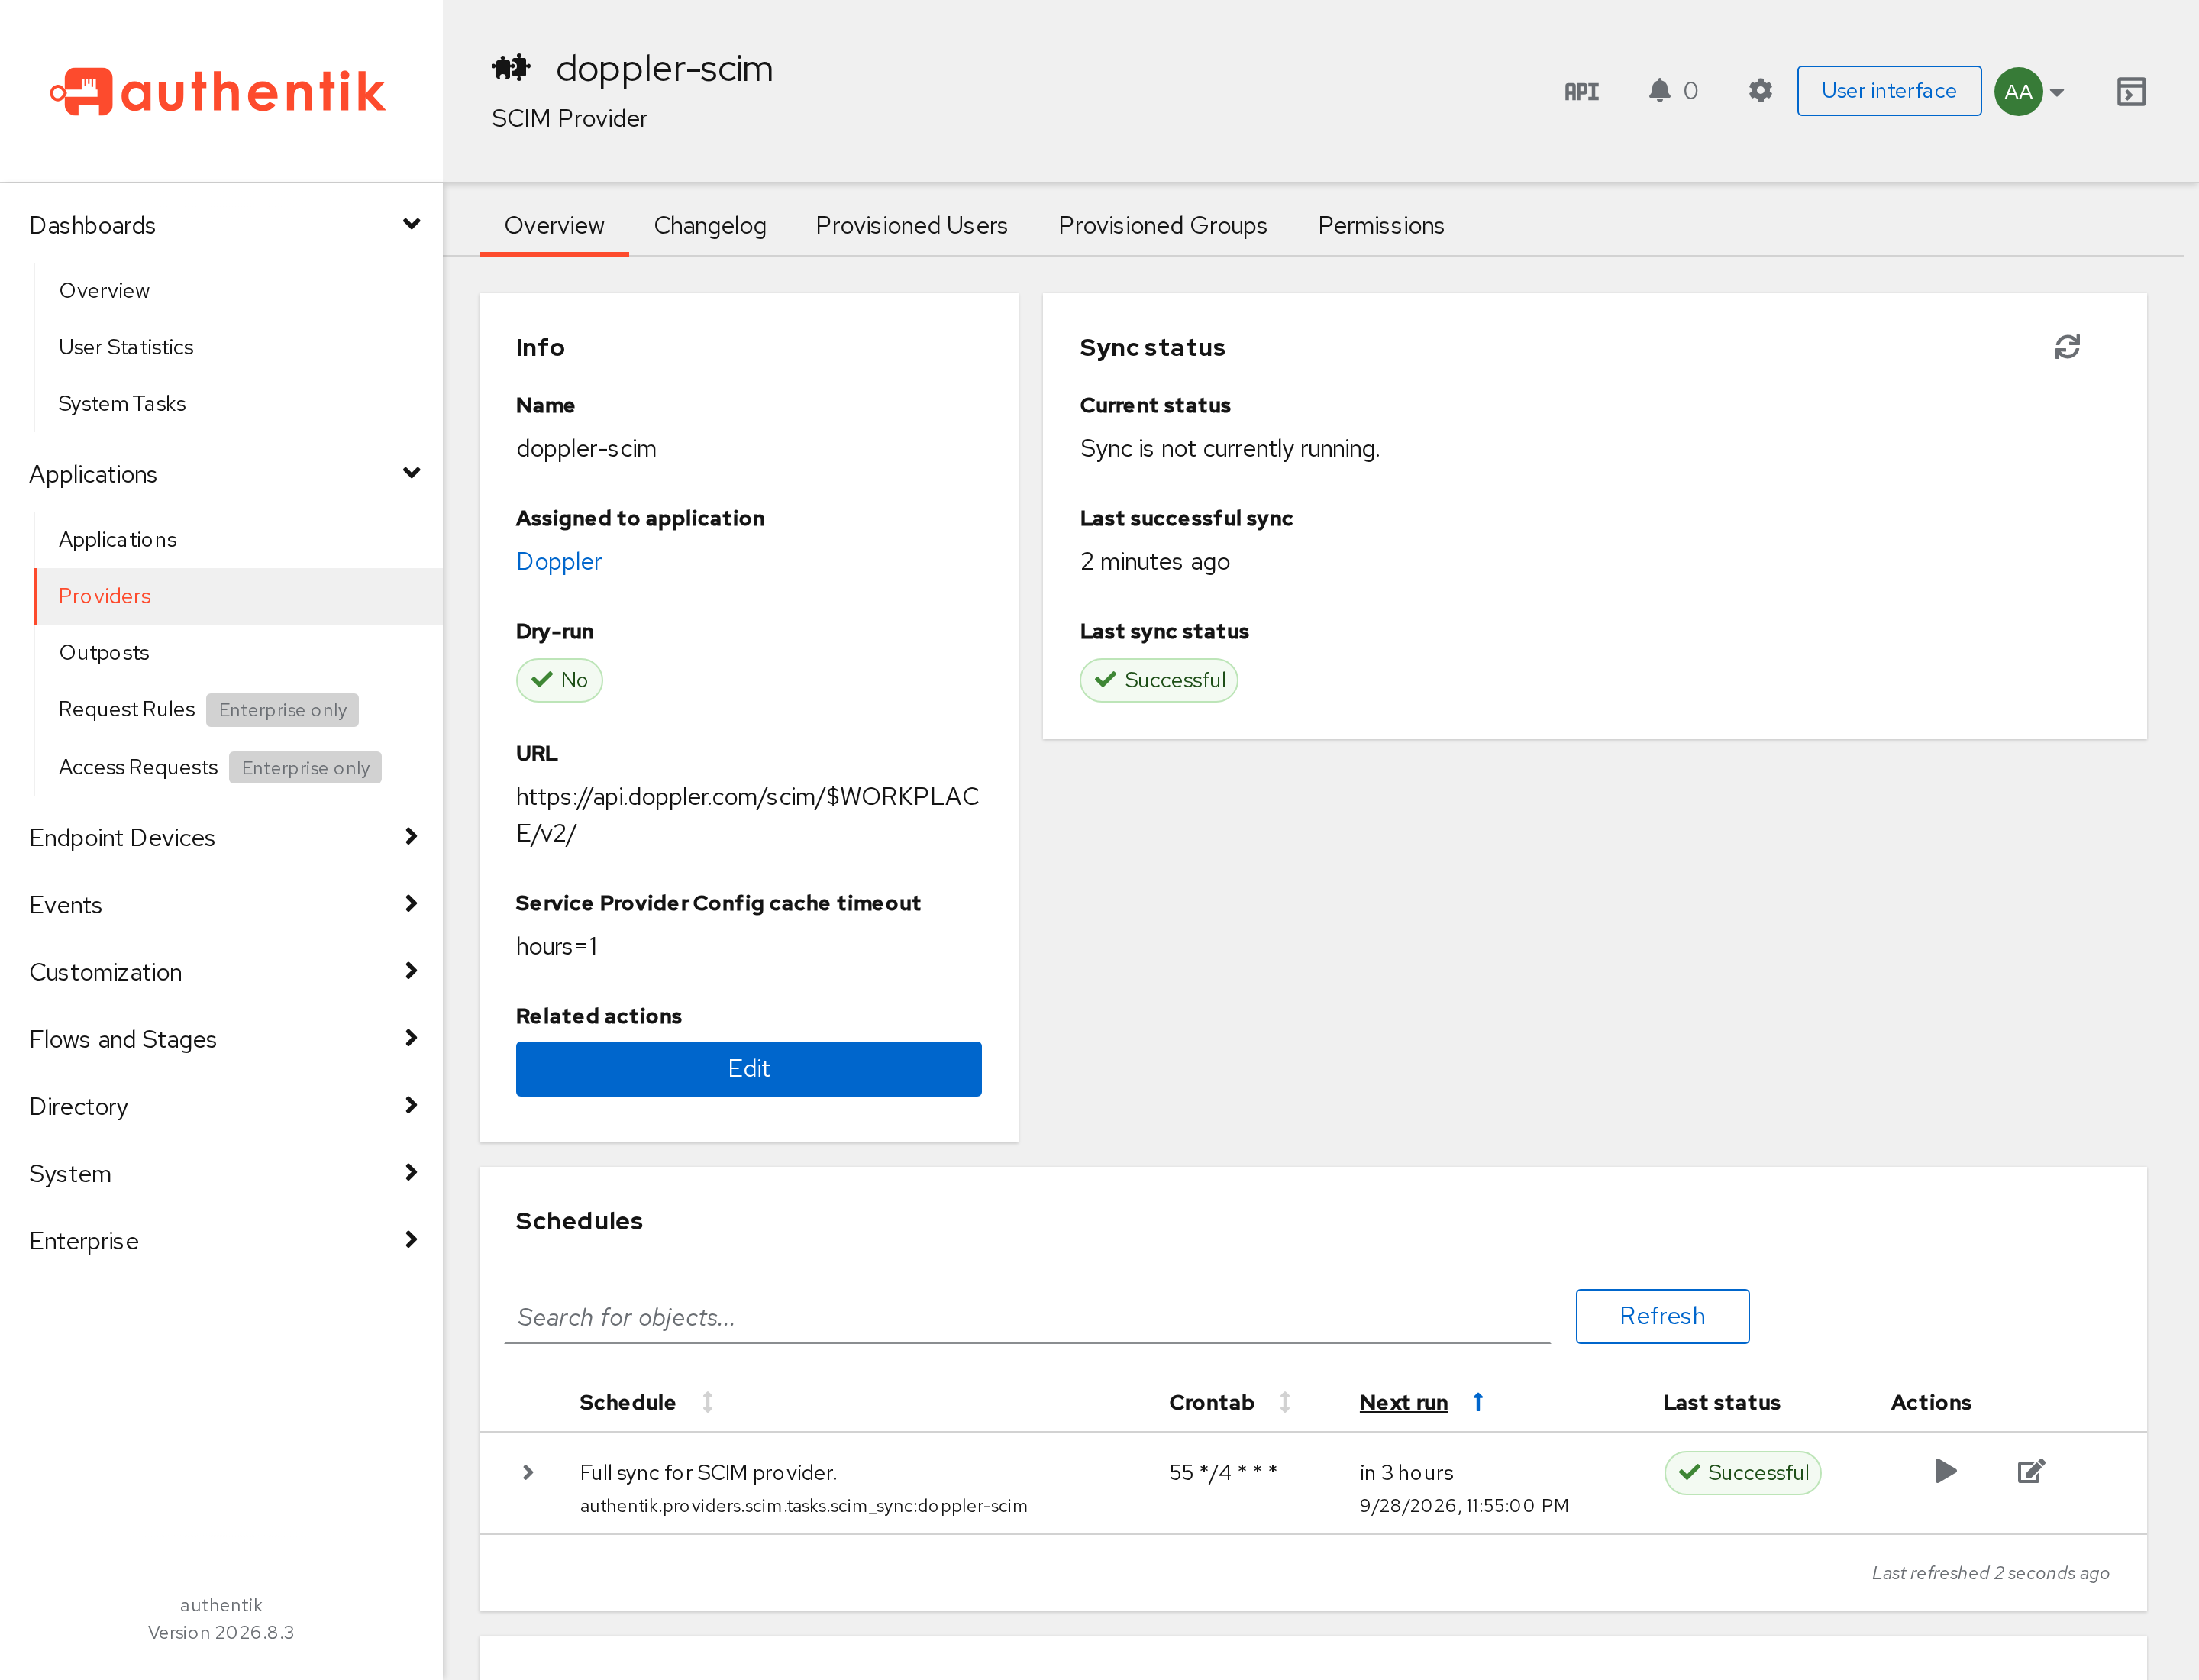
Authentik also attempts a sync as soon as you create the provider. Because the provider isn't attached to an application at that point, that first sync shows a Warning status and provisions no one, which is why you run it again here.
The provider's Overview tab shows the Last sync status and the result of each sync task. The Provisioned Users and Provisioned Groups tabs list everything Authentik has pushed to Doppler.
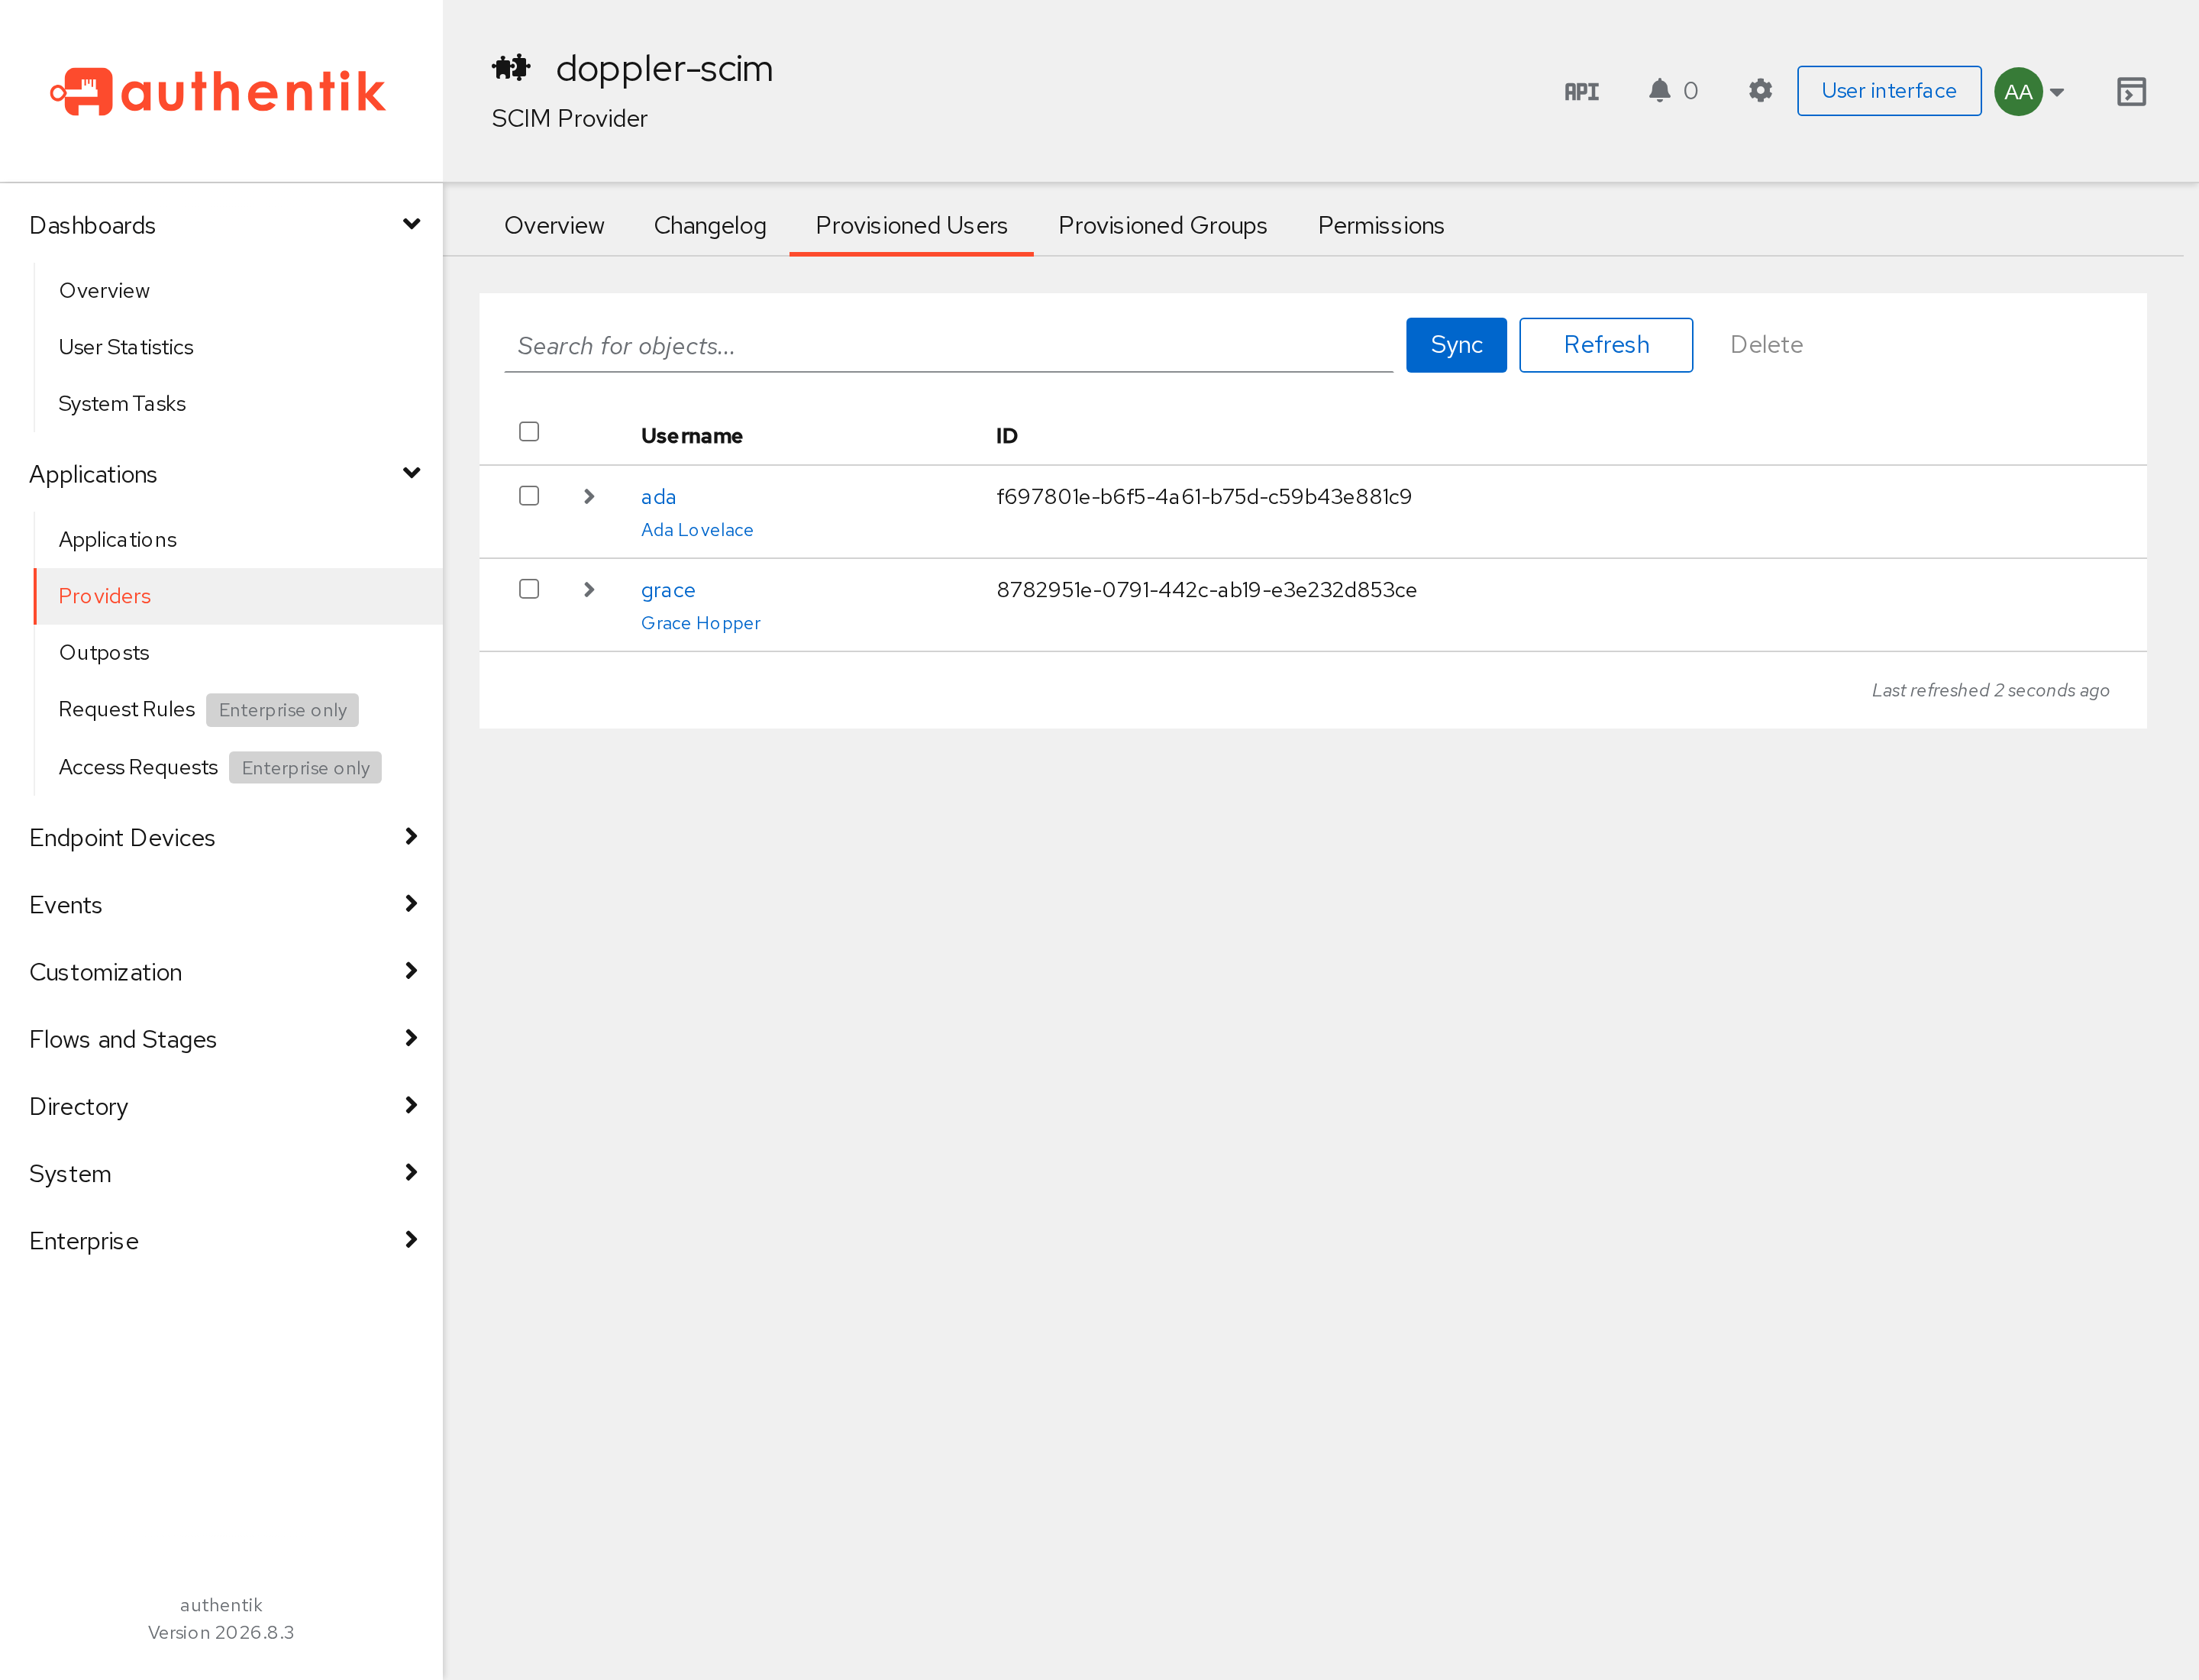
You should be able to see the synced users and groups in Doppler once the initial sync completes.
Now, whenever users are added, updated, or deactivated in Authentik, Doppler will receive the relevant API calls to sync changes to its user records.
Troubleshooting
| Error | Cause |
|---|---|
Please provide a valid email address. | The userName attribute isn't a valid email address. Most commonly caused by leaving authentik default SCIM Mapping: User selected, which sends the Authentik username. |
'emails' must contain 'userName' | The emails value doesn't match userName exactly. Use the Doppler SCIM Mapping: User expression above, which sends request.user.email for both. |
User's name must be provided | The Authentik user's Name field is empty. Set a name on the user in Directory → Users. |
Unable to add a user with an email address from an unverified domain for security purposes. | The user's email domain isn't verified on your Doppler workplace. Verify the domain on the Settings page. |
The name may not be changed for users NOT belonging to a verified domain on your workplace. | Doppler refuses profile updates for users outside your verified domains. The same restriction applies to email and password changes. |
Also check:
- Confirm the URL on the SCIM provider matches the Base URI shown in Doppler's SCIM 2.0 section exactly.
- If syncing worked previously and now fails with an authentication error, check whether the Doppler SCIM token was rolled. Rolling invalidates the old token.
- If nothing syncs at all, confirm the provider is attached to your Doppler application under Backchannel Providers.
- If unexpected groups such as
authentik Adminsappear in Doppler, check that Group Filter on the SCIM provider isn't empty. - A warning in Authentik's logs that it failed to get the
ServiceProviderConfigis expected. Doppler doesn't implement that endpoint, so Authentik falls back to its default settings. It doesn't affect provisioning.
If you're still running into issues, contact our support team with the timestamp of a failed sync so we can look up the request.
Updated about 1 hour ago