Bitbucket + Doppler CLI
Learn how to easily manage environment variables for your Bitbucket Pipelines.
This guide will show you how to use Doppler to provide config and secrets to Bitbucket Pipelines for builds and deployments.
Prerequisites
- You have created a project in Doppler.
- You have an existing Bitbucket repository with access to repository and deployment variables.
Bitbucket Environment
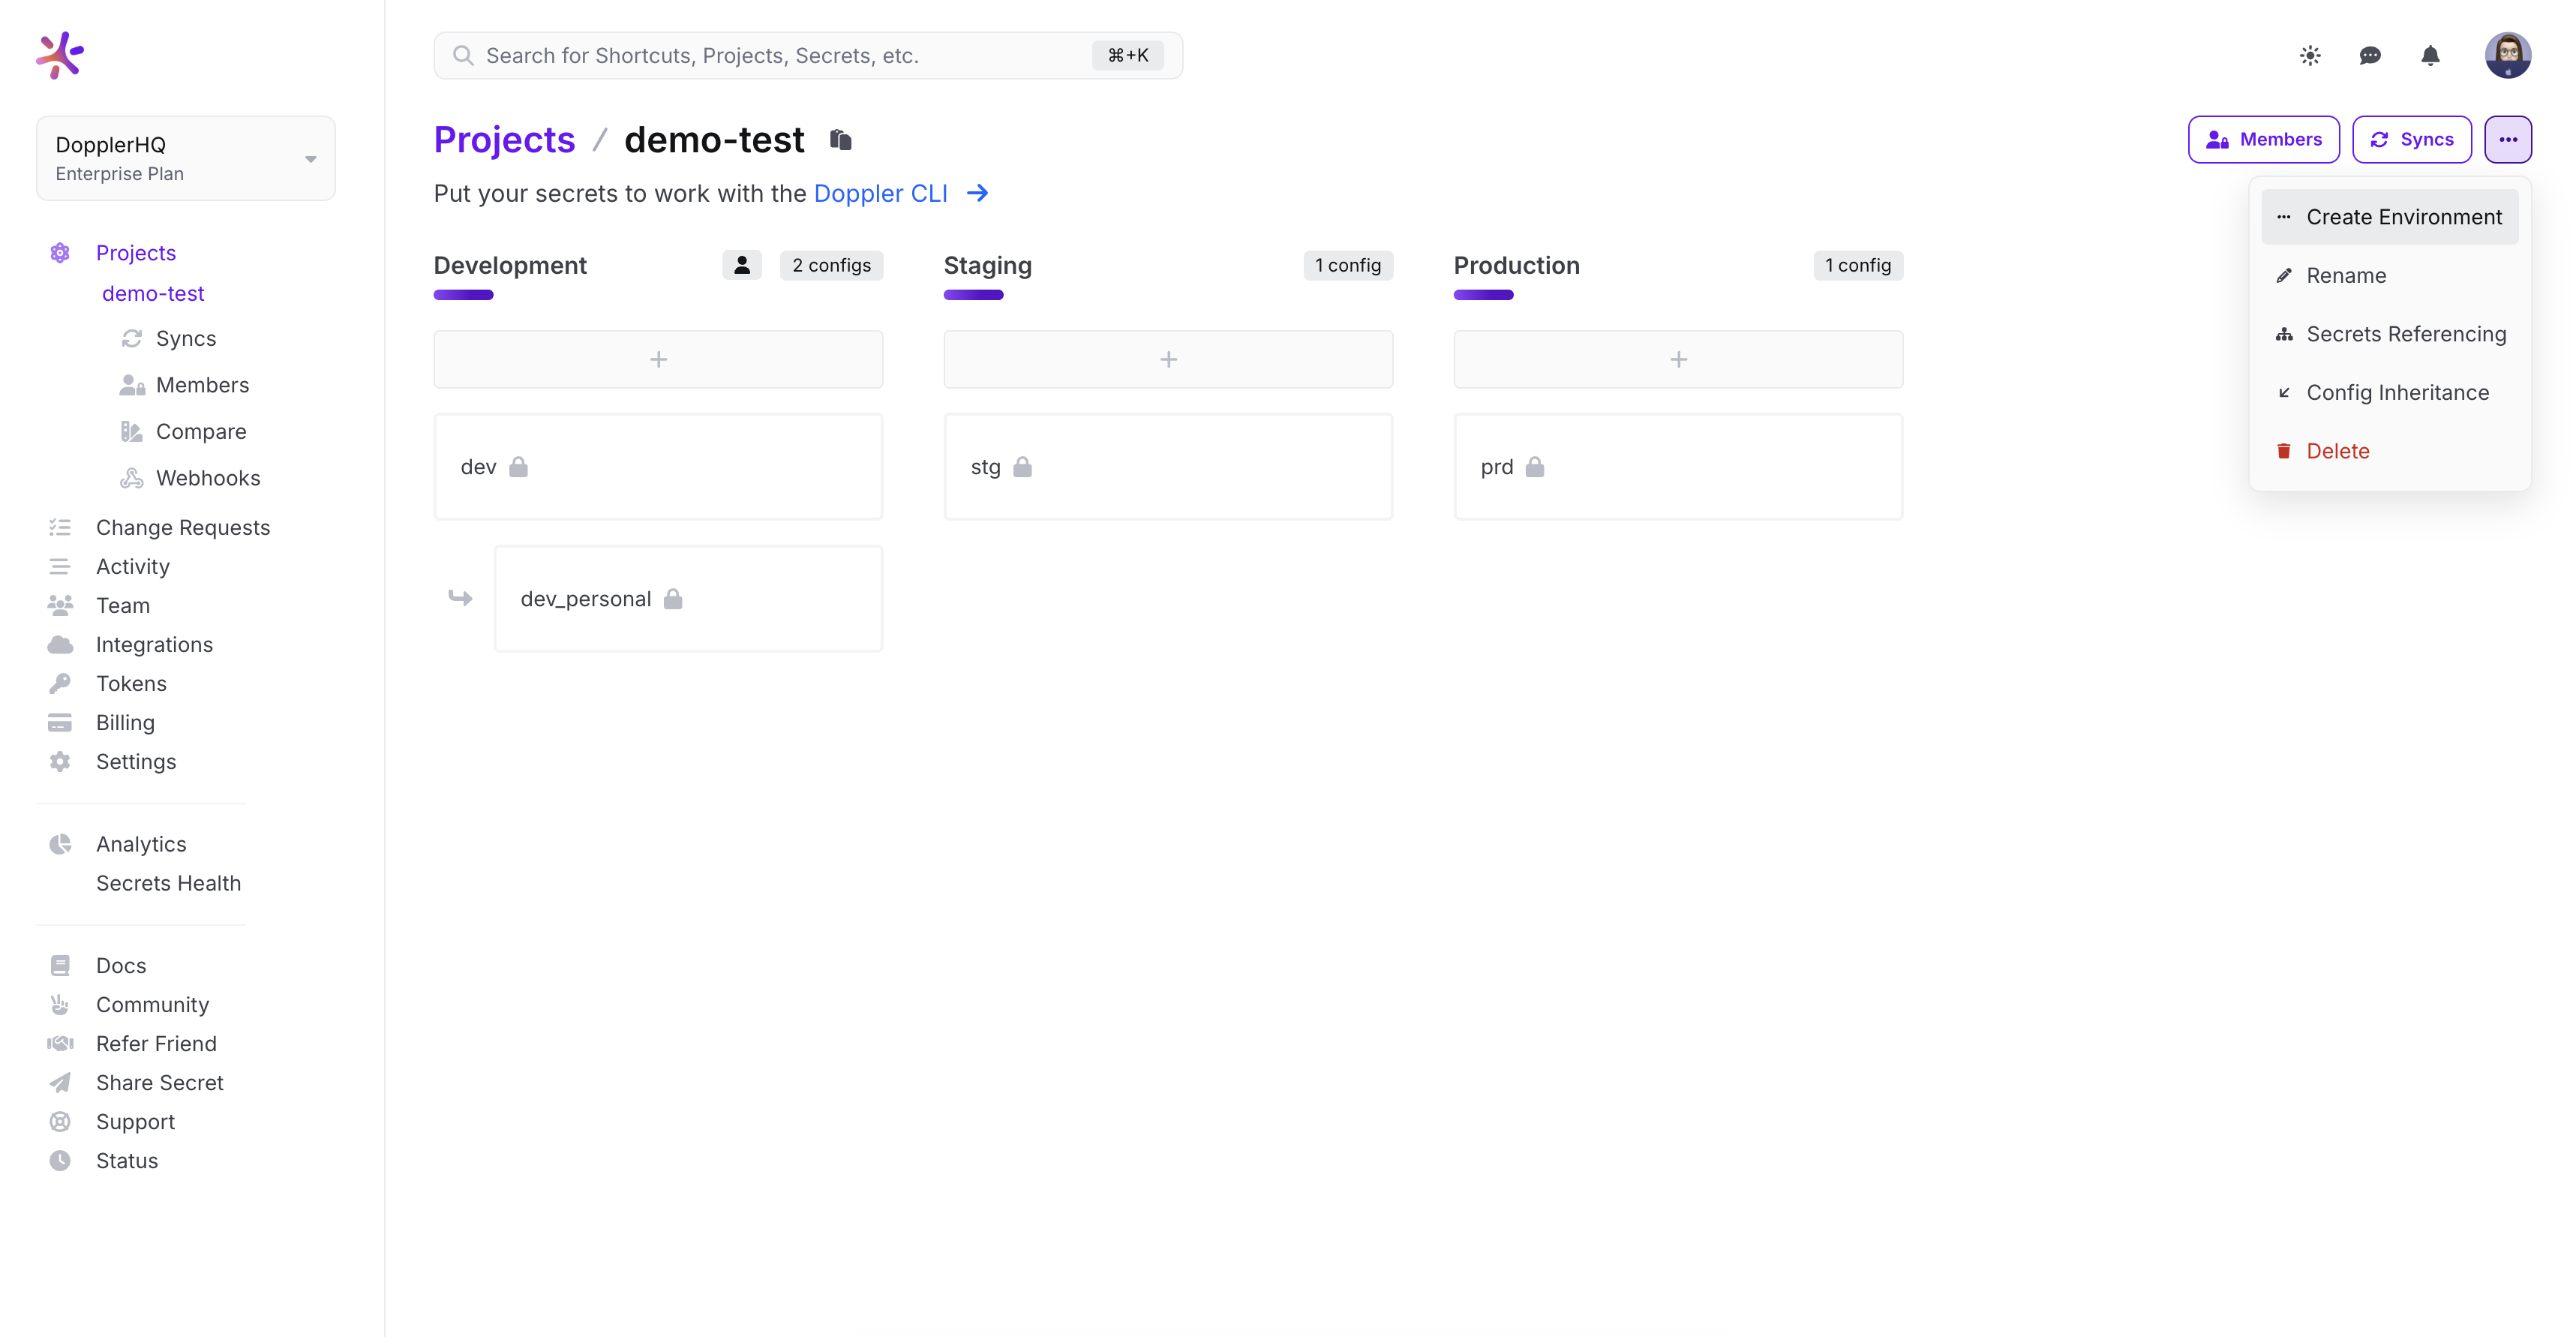
We'll create a custom environment for BitBucket as it doesn't exactly fit into the default Development, Staging, or Production environments.
Head to the Project page and click Options > Create Environment. Then once you've given it a name, you can alter the order of the environments as you as like.
Environment Configs
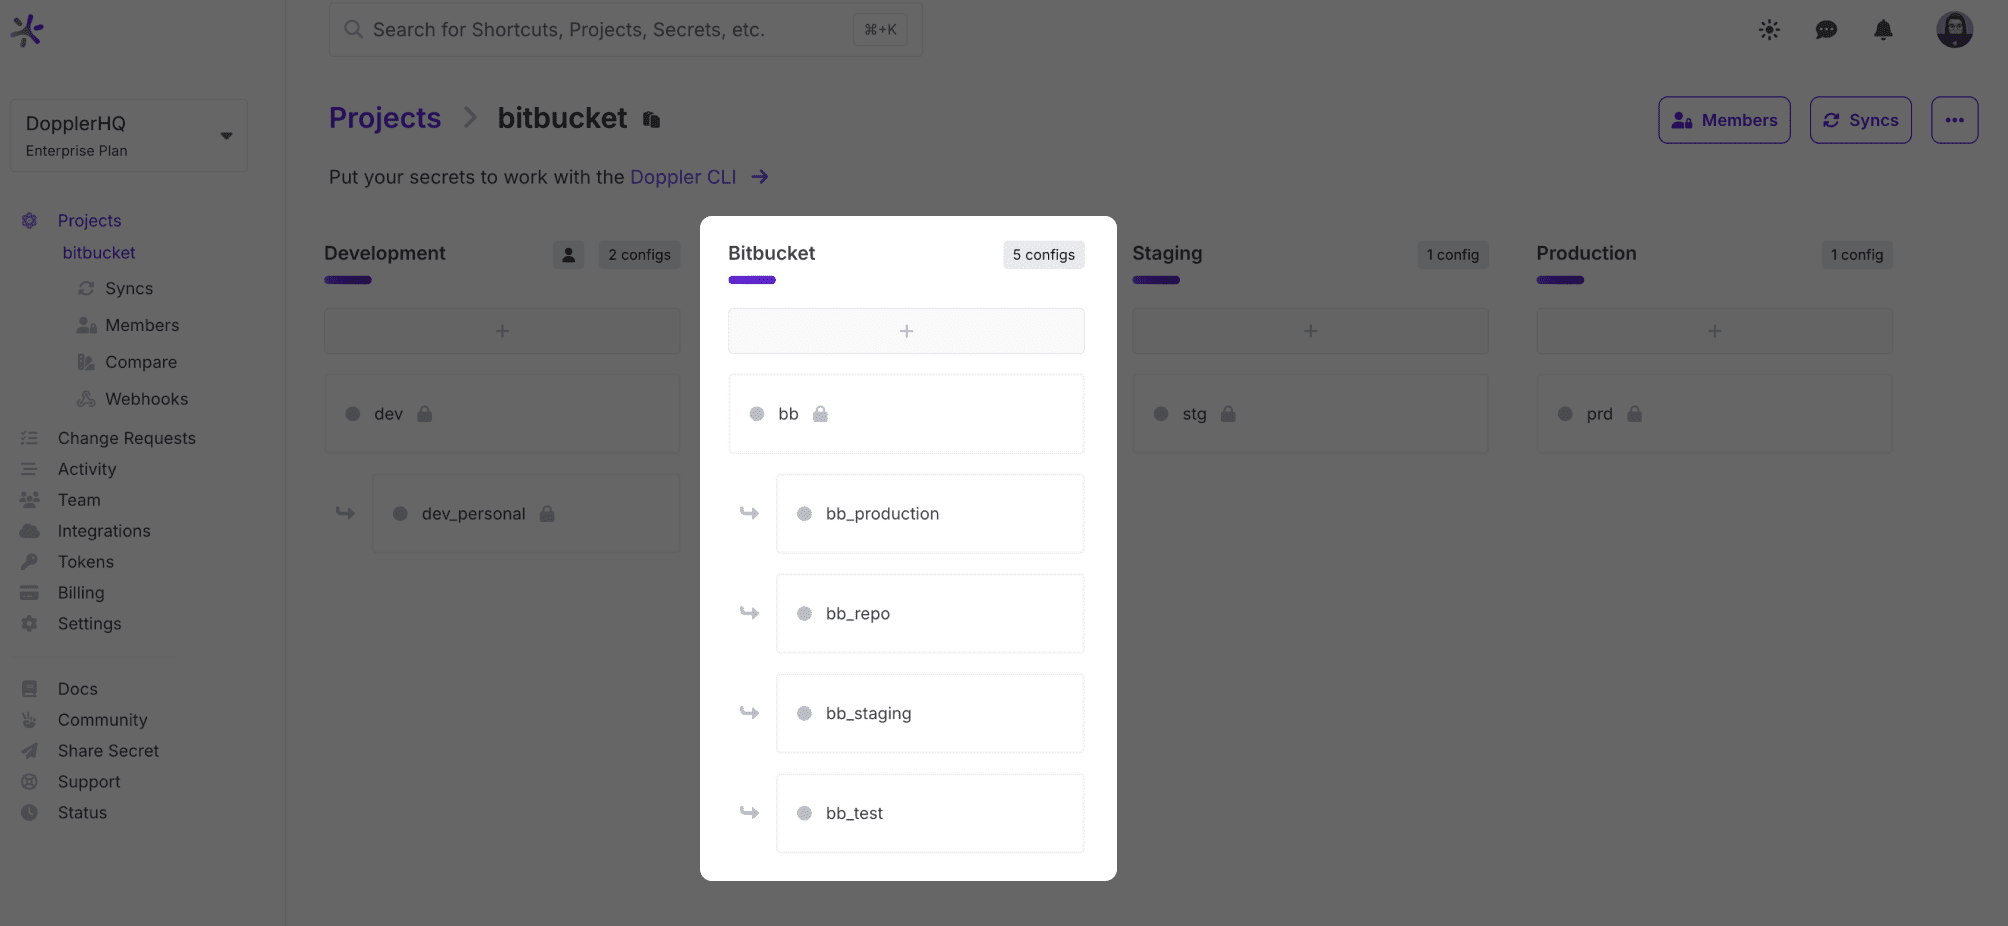
Branch Configs can be used to match how Bitbucket scopes variables (repository and deployments), but only create the configs you need. For example, if only using repository variables, then no branch configs are necessary.
If you are using repository variables and deployments, here's how we recommend you use branch configs:
-
root
The root config (bb in our example) could contain secrets used by build and deployment jobs, e.g. AWS credentials. These secrets will be inherited by branch configs unless deleted. -
repo
Repository variables -
test, staging, and production
Deployment environments
For example:
Import Variables
The next step is the one-time manual operation of importing your variables to Doppler. If you're after an automated solution, check out the CLI Variables Import section.
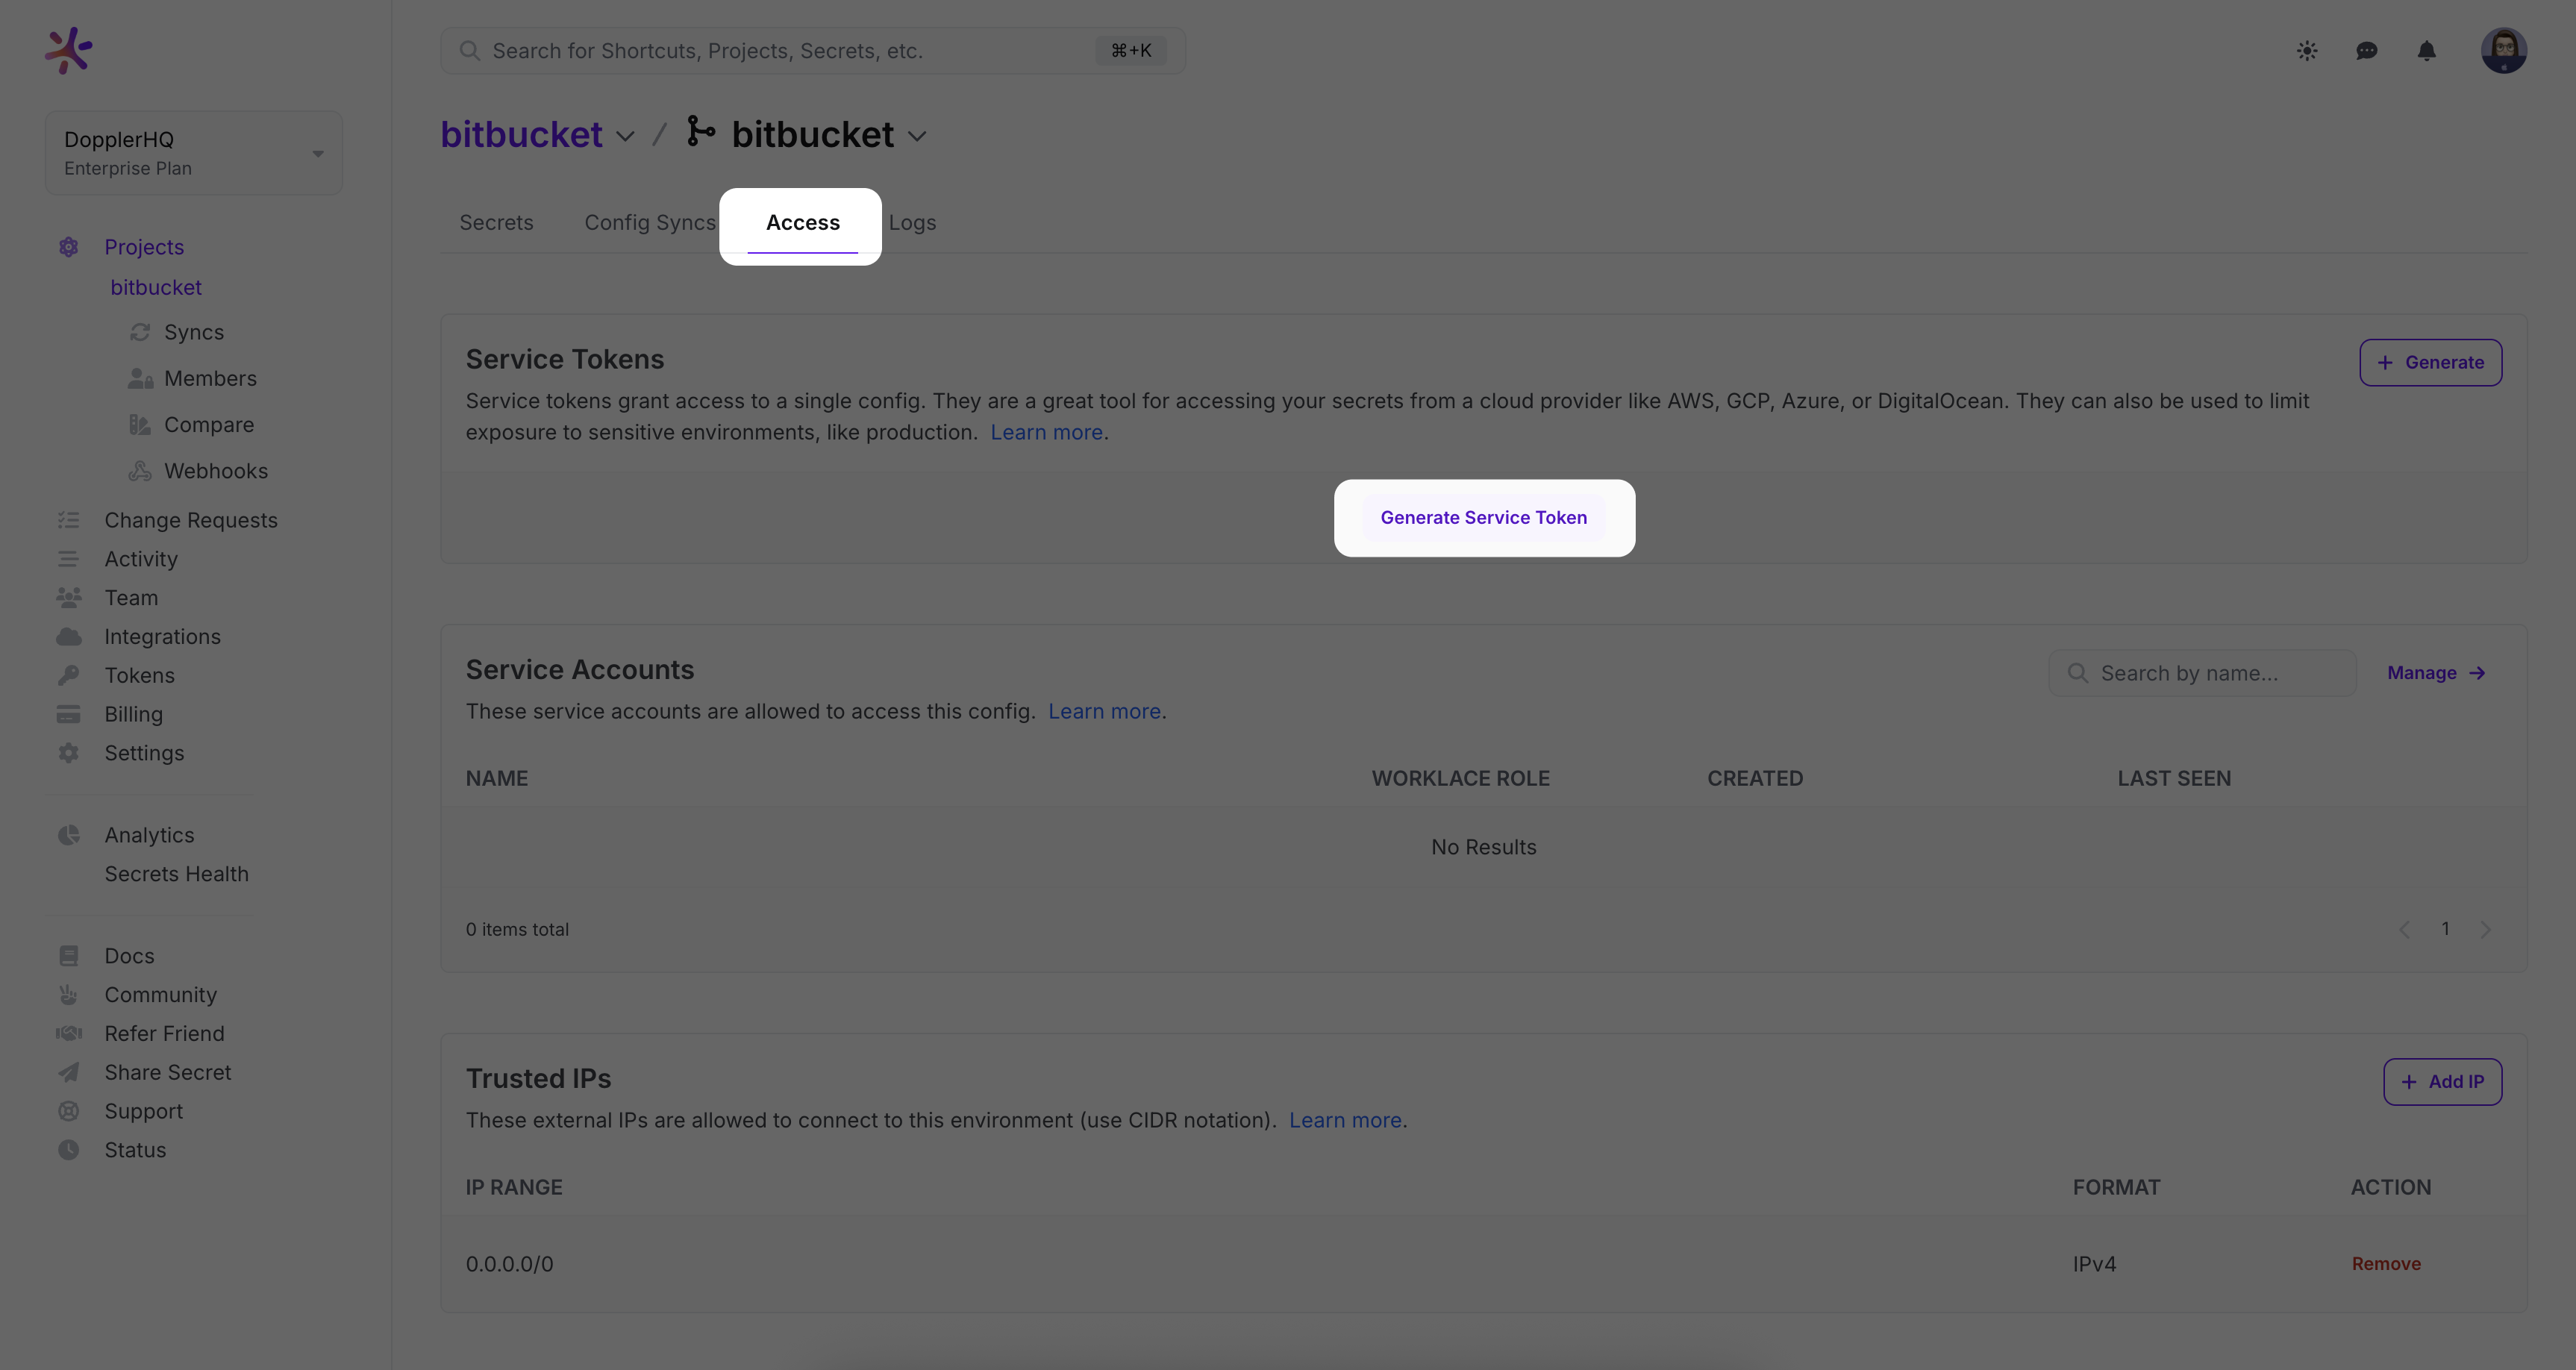
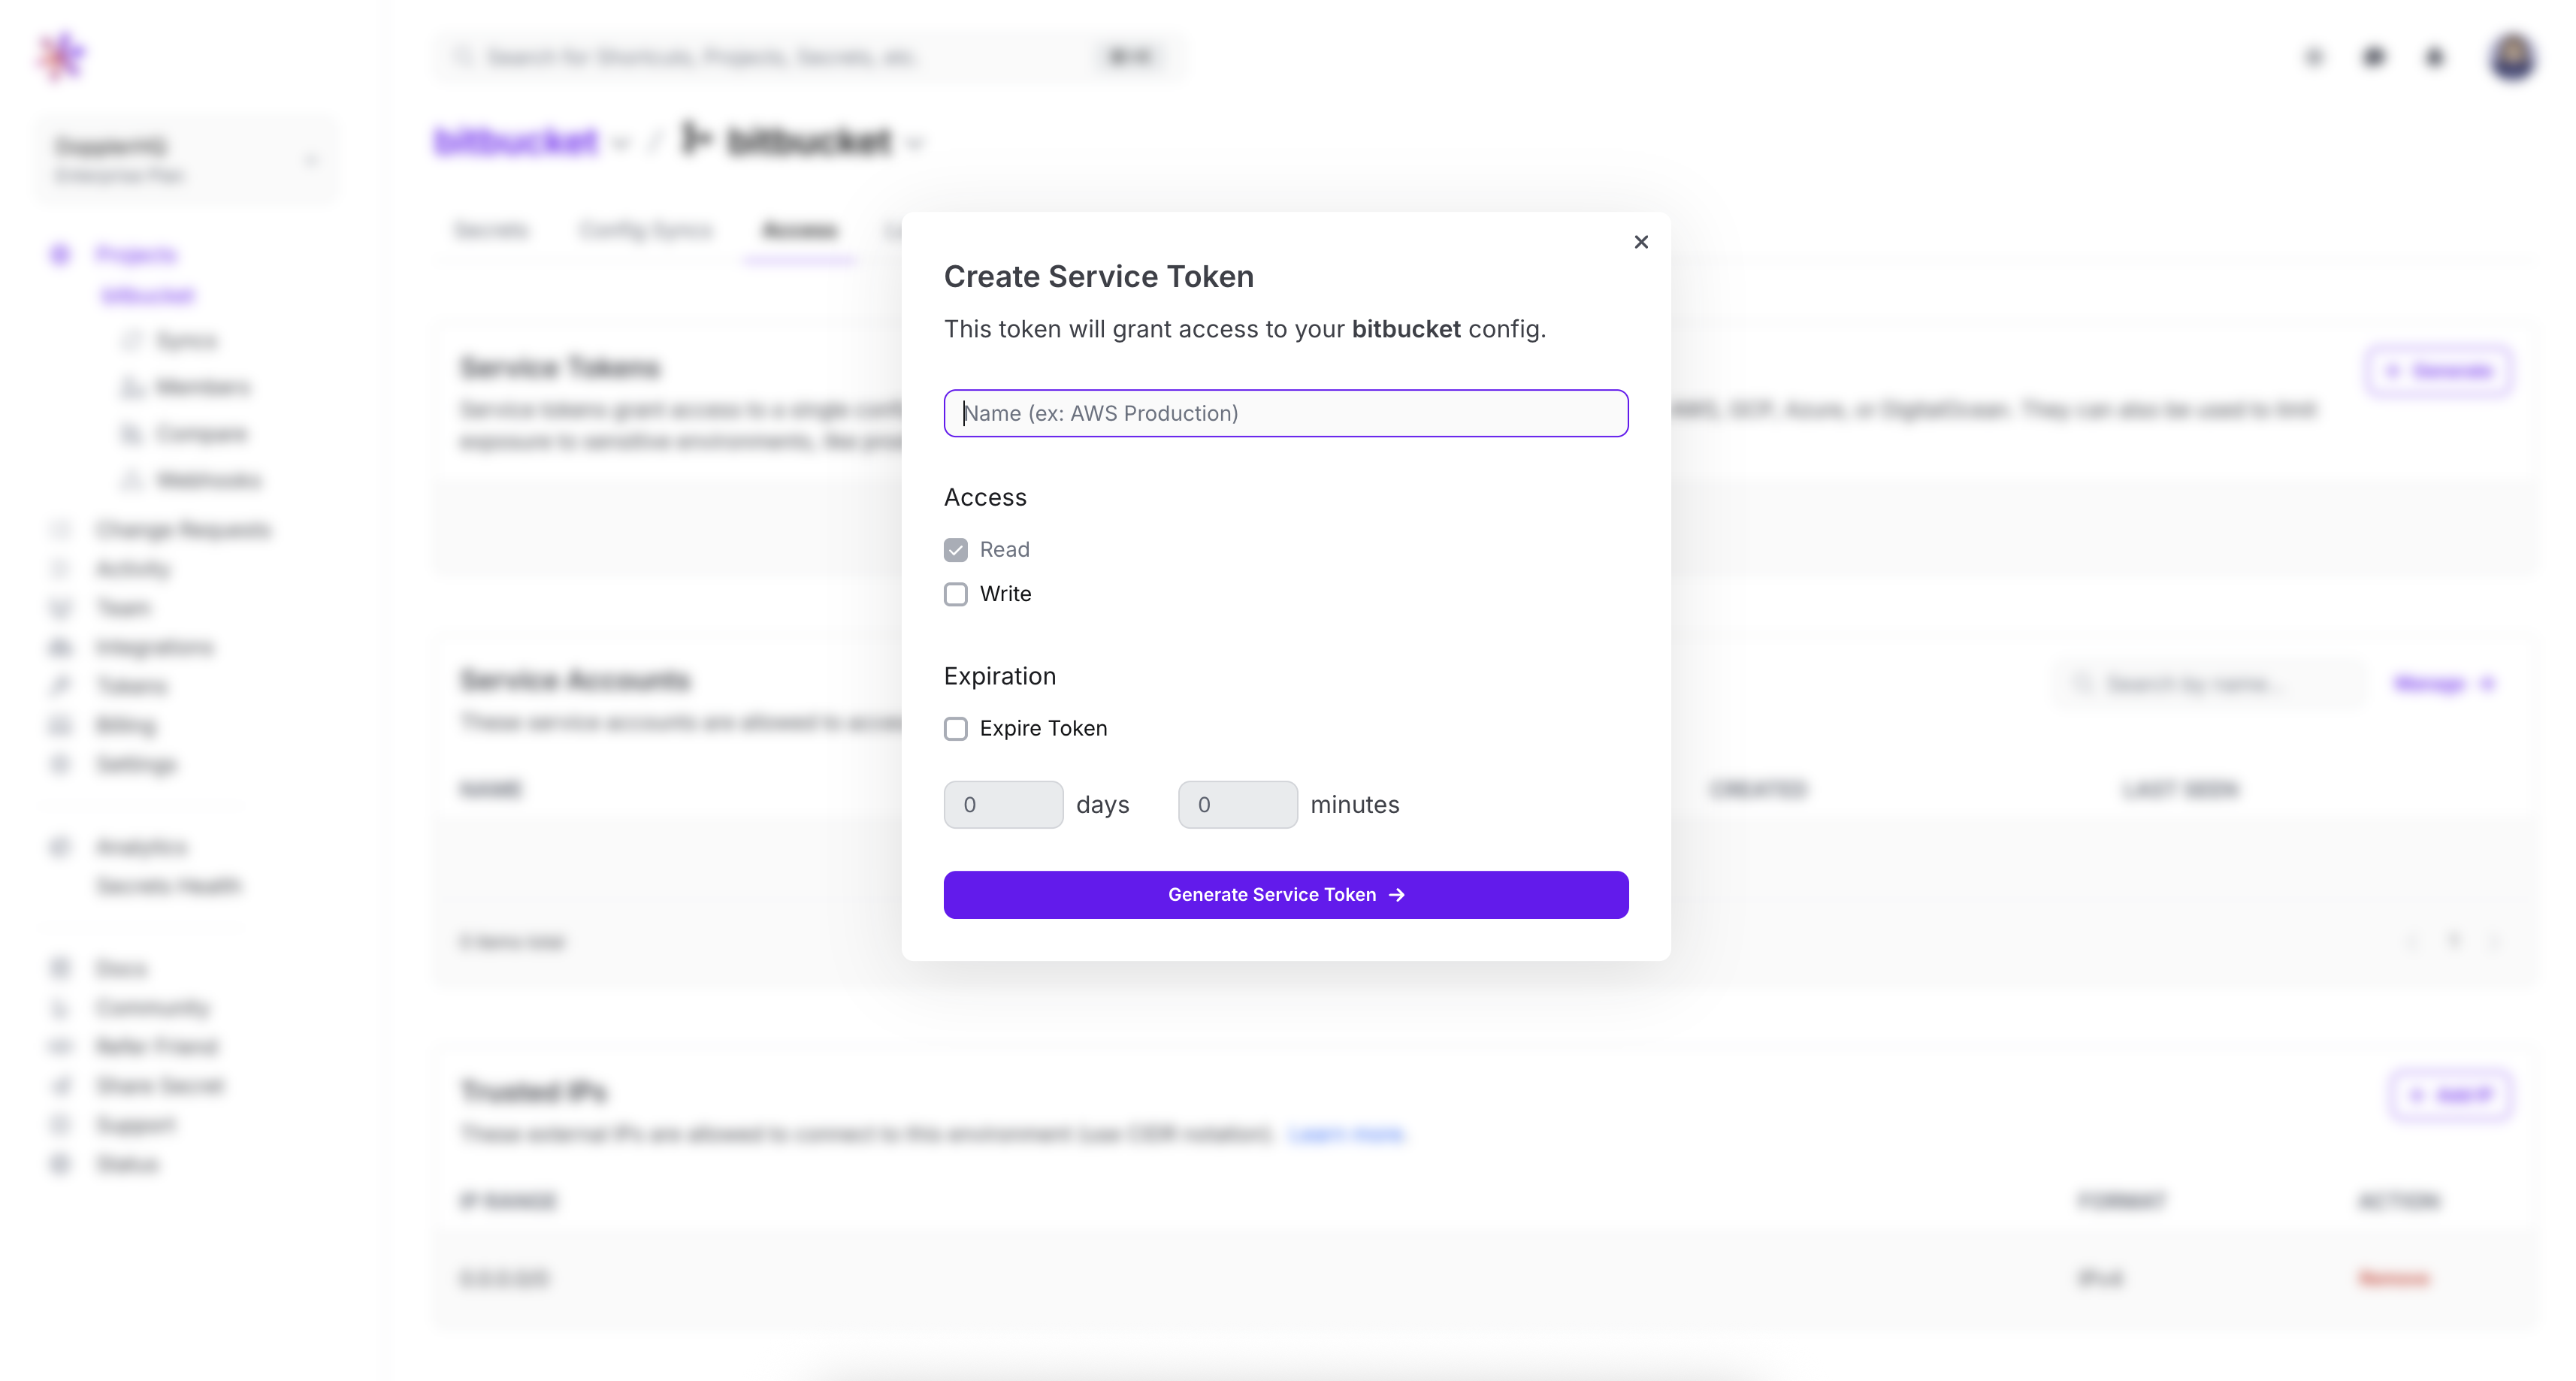
Service Tokens
Now that your secrets are in Doppler, you'll create Service Tokens to grant read-only access to each config.
A Bitbucket config scope (e.g. repository variables) needs only a DOPPLER_TOKEN variable with the value of the Service Token that maps to the appropriate config. For example:
| Doppler Config | Bitbucket Config | Bitbucket Variable |
|---|---|---|
| root | Repository variables | DOPPLER_TOKEN |
| testing | Testing Deployment | DOPPLER_TOKEN |
| staging | Staging Deployment | DOPPLER_TOKEN |
| production | Production Deployment | DOPPLER_TOKEN |
Create a service token by navigating to the access tab, where you can find the service token section. Click "generate" to create a new service token. Paste the service token into Bitbucket by navigating to the "repository variables" tab.
Usage
Fetching secrets from Doppler is a two-step process:
- Install the Doppler CLI
- Use
doppler runto inject environment variables into a command or script
Optimize builds by embedding the Doppler CLIInstalling the Doppler CLI in your build-specific image is recommended to reduce build times and remove the CLI install step.
Here is a simple example:
image: ubuntu
pipelines:
  default:
    - step:
        script:
          - apt-get update && apt-get install gnupg wget -y
          - wget -t 3 -qO- https://cli.doppler.com/install.sh | sh
          - doppler run -- ./bin/build.sh # Build script or command
image: alpine
pipelines:
default:
- step:
script:
- apk add wget gnupg
- wget -t 3 -qO- https://cli.doppler.com/install.sh | sh
- doppler run -- ./bin/build.sh # Build script or commandWhich produces the following:
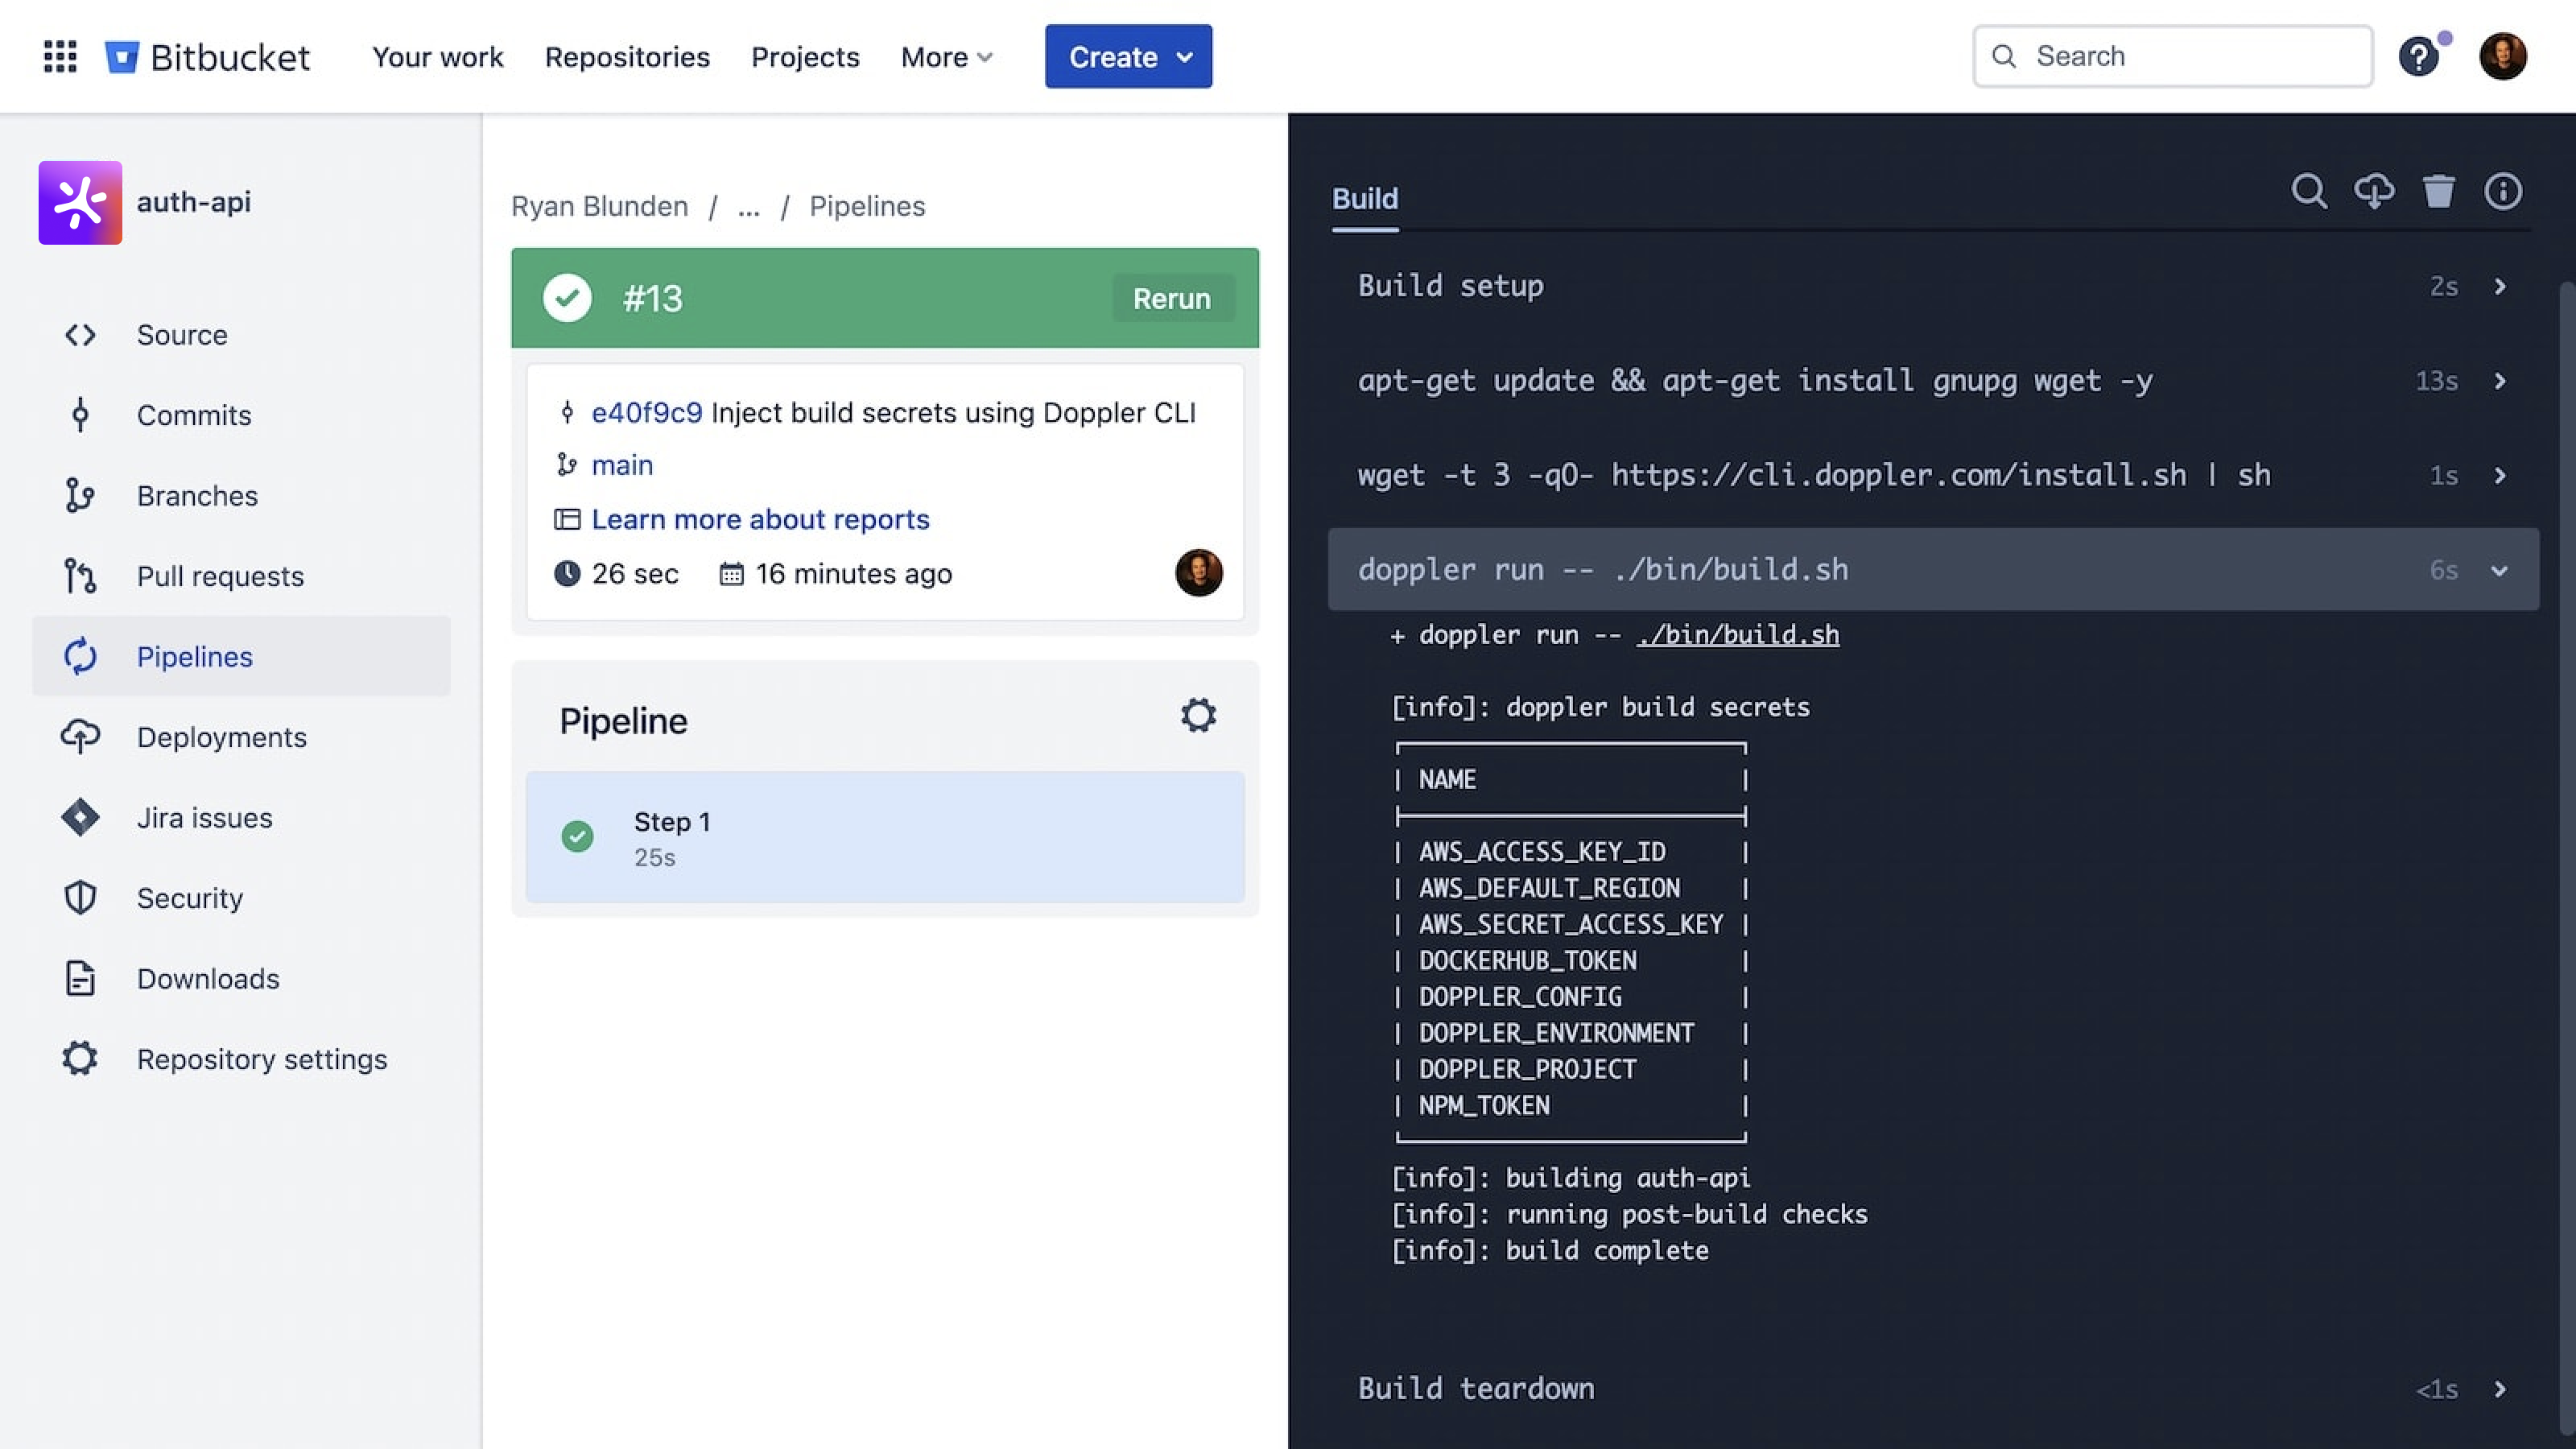
Amazing Work!You're now set up using Doppler to provide secrets to your Bitbucket Pipelines.
(Optional) CLI Variables Import
You can automate the importing of repository and deployment variables to Doppler using bash and the jq CLI.
"Secure" repository variables will have a value of "null" on import and will need to be entered manually into the Doppler dashboard.
First, define the global variables required by all commands and you'll need to create a temporary Bitbucket App Password to provide API access.
# Global variables used in all following commands
WORKPLACE="your-workplace"
APP_PASSWORD="your-app-password"
REPO_SLUG="your-repo-slug"
Repository Variables
Run doppler setup to select the project and config to import the Bitbucket repository variables to.
doppler setup # Select the project and config for importing toThen feed the repository variables to doppler secrets upload in environment variable format.
REPO_VARS_ENDPOINT="https://api.bitbucket.org/2.0/repositories/$WORKPLACE/$REPO_SLUG/pipelines_config/variables/"

# Import repository variables
doppler secrets upload <(curl -s -u "$WORKPLACE:$APP_PASSWORD" "$REPO_VARS_ENDPOINT" | jq -r '.values | to_entries[] | "\(.value.key)=\"\(.value.value)\""')
Deployment Variables
Deployment variables are imported from one environment at a time.
We first get the list of deployments and expose each environment uuid as a variable to be used in the following step.
# Compute Bitbucket API deployment environments endpoint
ENVIRONMENTS_ENDPOINT="https://api.bitbucket.org/2.0/repositories/$WORKPLACE/$REPO_SLUG/environments/"

# Fetch JSON and expose as environment variables with a `_BITBUCKET_ENV_UUID` suffix
eval $(curl -s -u "$WORKPLACE:$APP_PASSWORD" "https://api.bitbucket.org/2.0/repositories/$WORKPLACE/$REPO_SLUG/environments/" | jq -r '.values | to_entries[] | "export \(.value.category.name|=ascii_upcase|.value.category.name)_BITBUCKET_ENV_UUID=\"\(.value.uuid|=sub("\\{";"%7B")|.value.uuid|=sub("\\}";"%7D")|.value.uuid)\""')

# Confirm environment variables created
printenv | grep BITBUCKET_ENV_UUID
Importing the variables is then a three-step process that's repeated for every environment.
# 1. Select config that deployment variables will be imported to
doppler setup

# 2. Construct the URL to fetch deployment variables using the appropriate `BITBUCKET_ENV_UUID` environment variable, e.g. $PRODUCTION_BITBUCKET_ENV_UUID
DEPLOYMENT_VARIABLES_ENDPOINT="https://api.bitbucket.org/2.0/repositories/$WORKPLACE/$REPO_SLUG/deployments_config/environments/$PRODUCTION_BITBUCKET_ENV_UUID/variables"

# 3. Import variables
doppler secrets upload <(curl -s -u "$WORKPLACE:$APP_PASSWORD" "$DEPLOYMENT_VARIABLES_ENDPOINT" | jq -r '.values | to_entries[] |  "\(.value.key)=\"\(.value.value)\""')