OneLogin SCIM
Configure OneLogin to automatically provision users in Doppler using SCIM.
This guide will show you how to set up a OneLogin SCIM 2.0 application to automatically provision and manage user access to Doppler.
Requirements
- Domain Verified (Settings page)
- OneLogin Developer Account
Create OneLogin Application
Open the OneLogin admin console and click Applications from the top navigation menu.
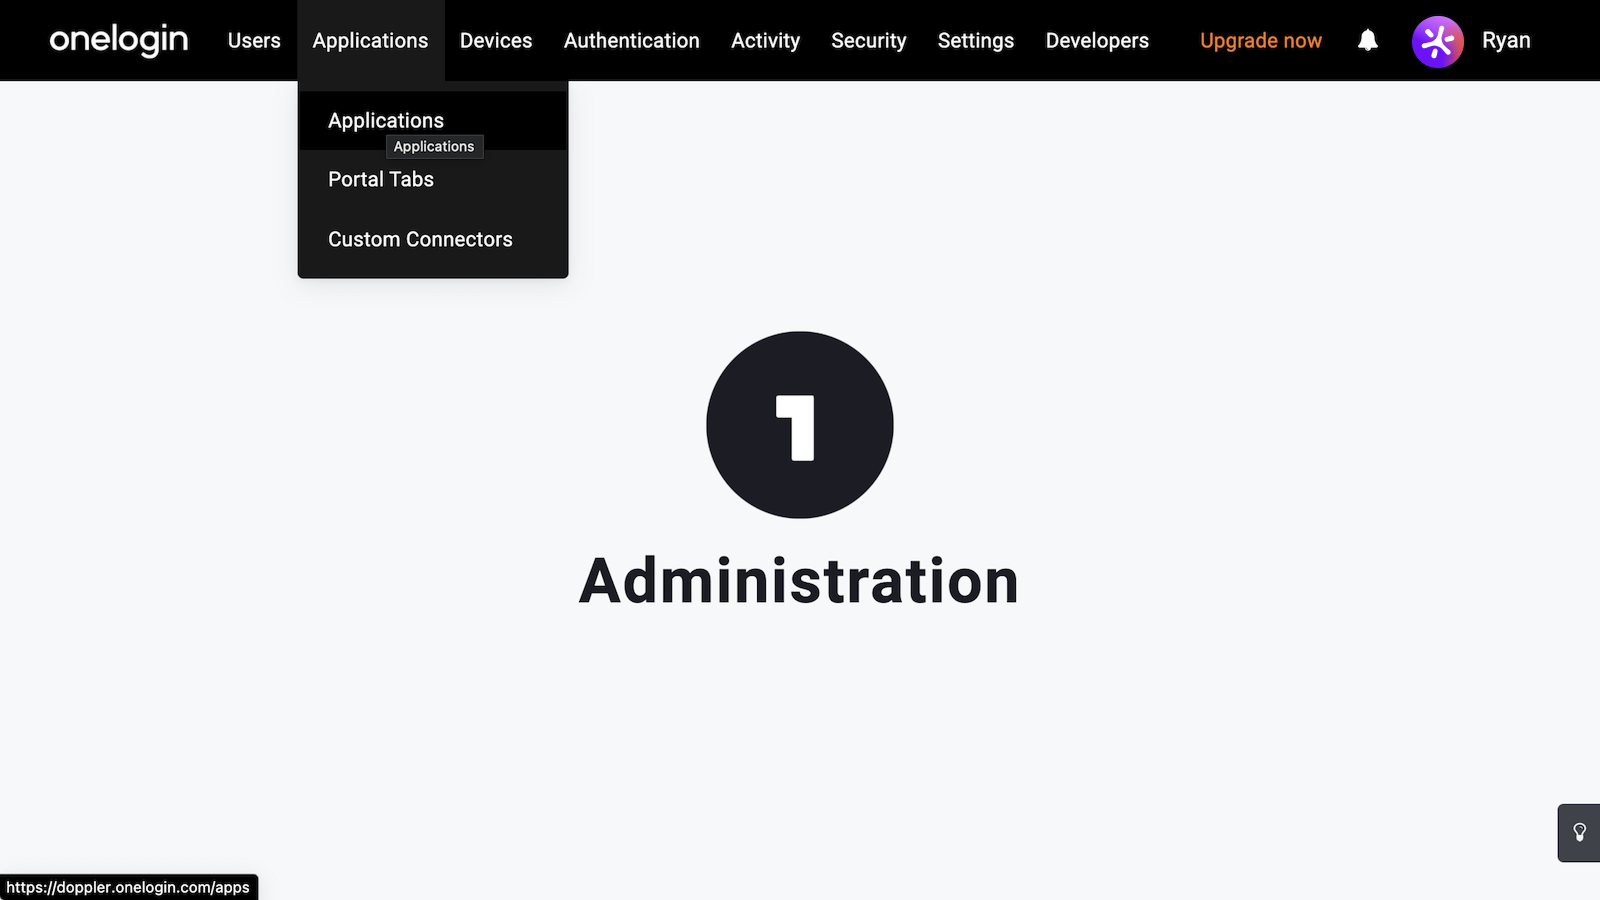
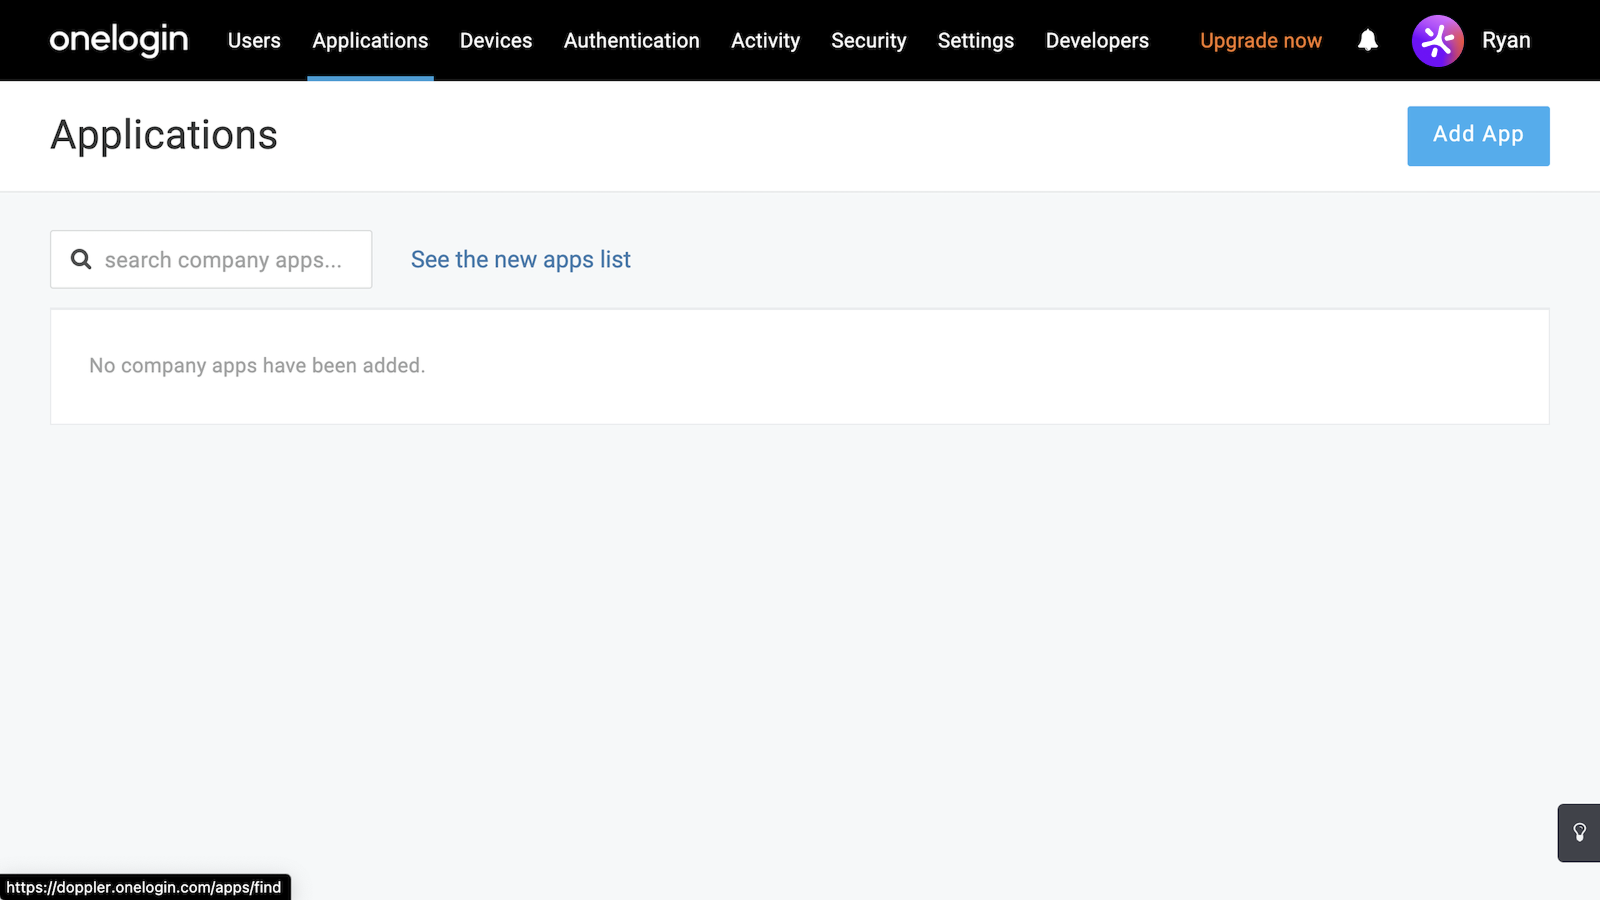
Then click Add App.
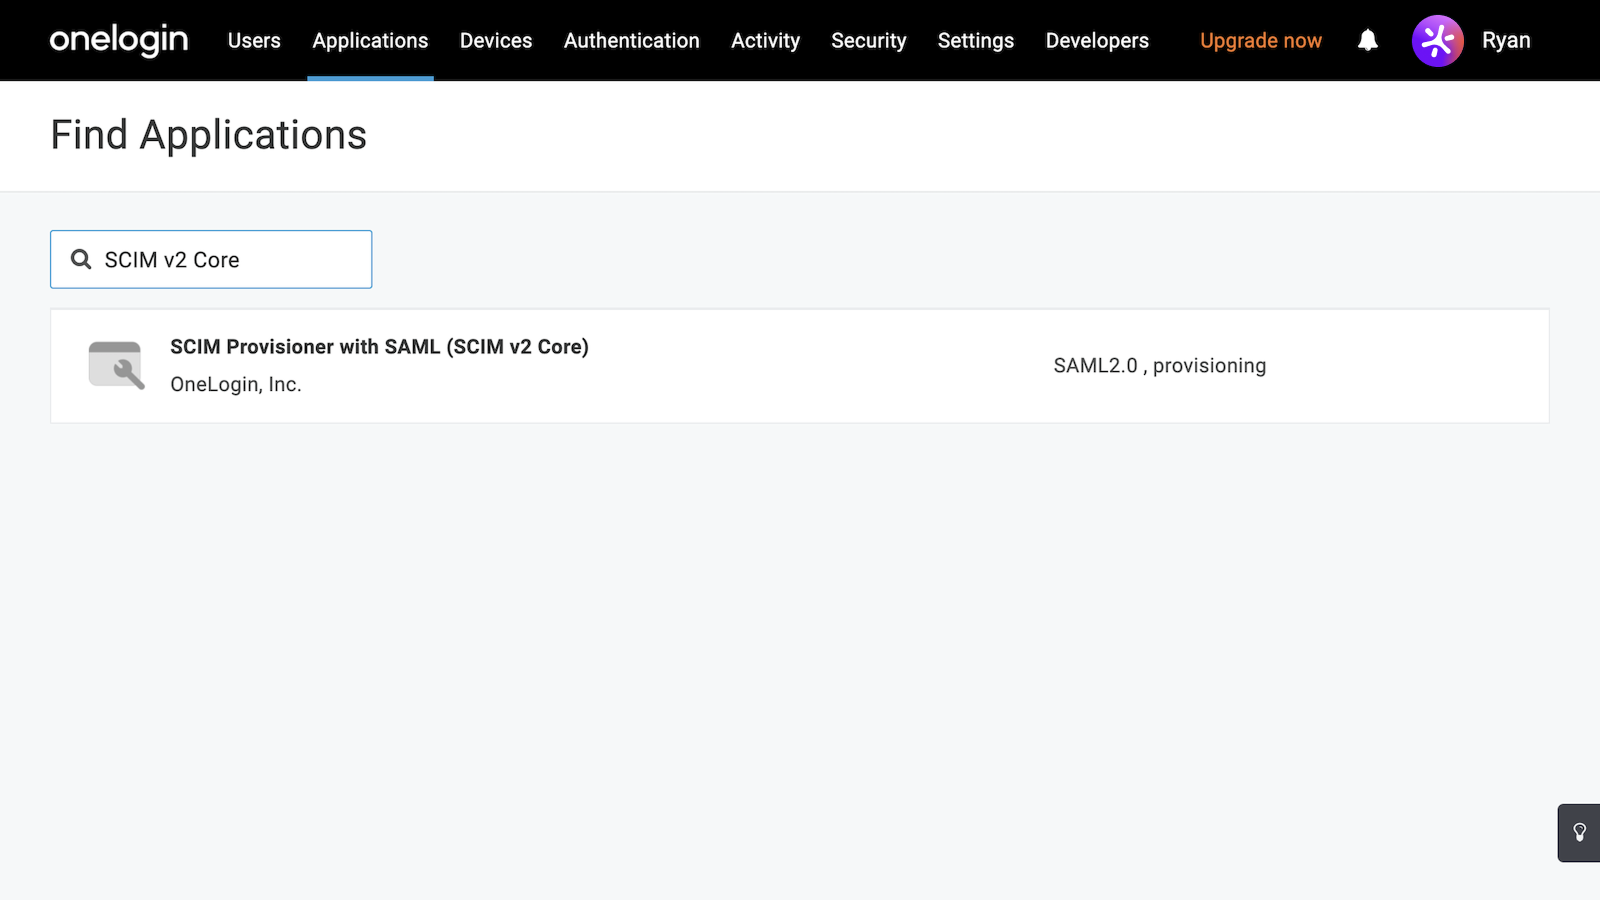
Enter "SCIM v2 Core" into the search field, then click the SCIM Provisioner with SAML (SCIM v2 Core) box.
Name the application Doppler and click the Save button to create the application.
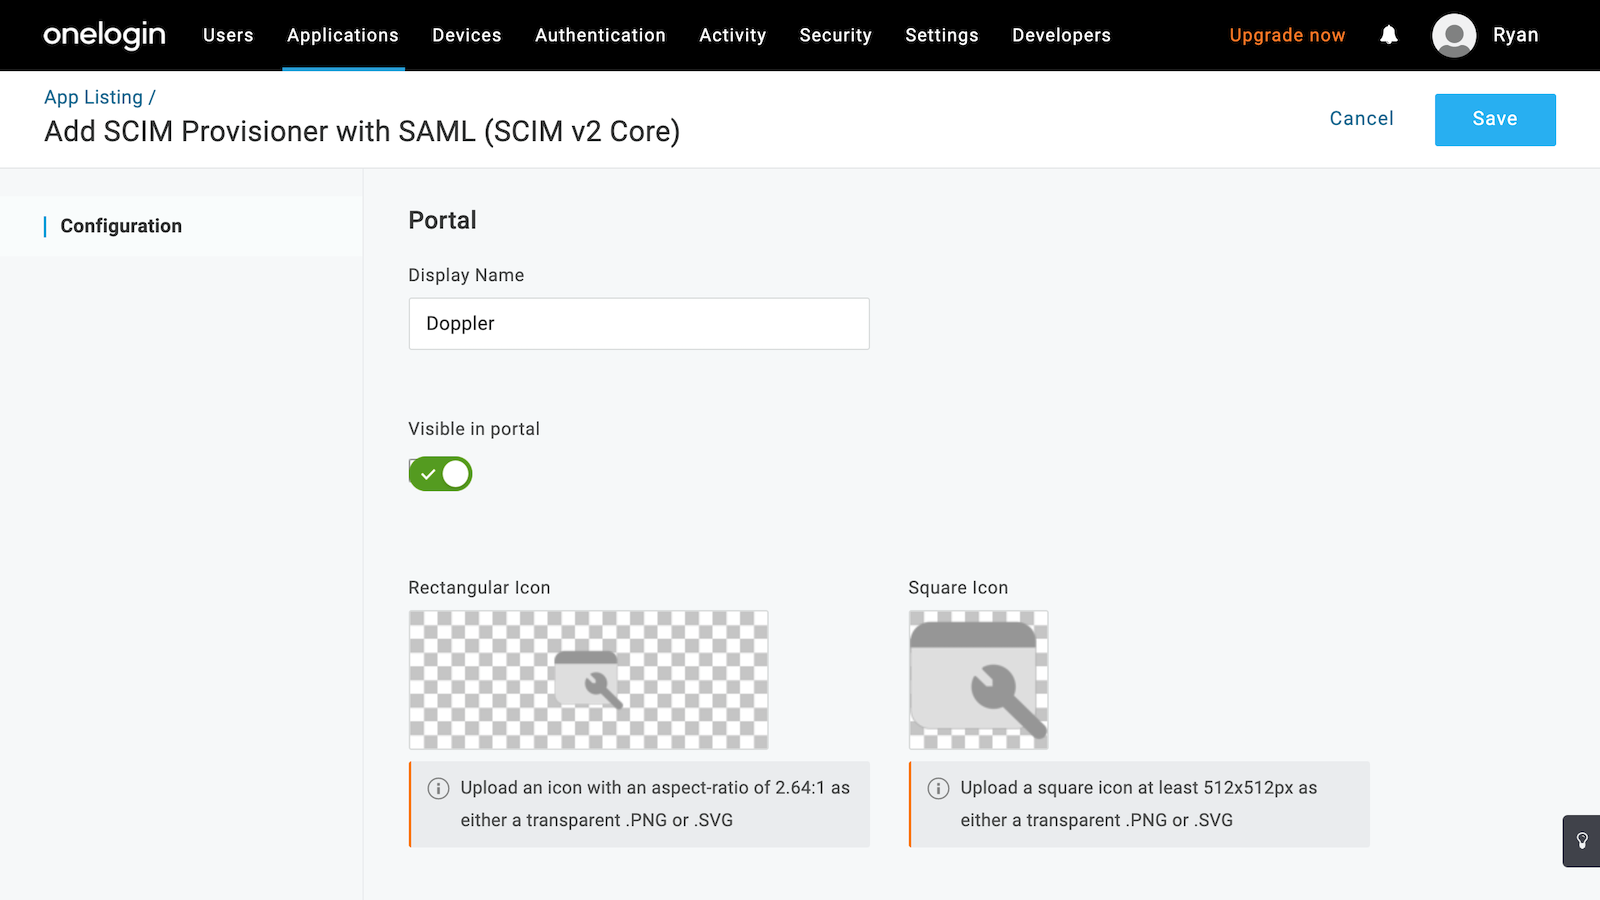
Click on Configuration from the left menu.
Then populate the form with the following values:
| Field | Value |
|---|---|
| SAML Audience URL | https://dashboard.doppler.com/login/sso/saml/metadata |
| SAML Consumer URL | https://dashboard.doppler.com/login/sso/callback |
It should look like the following.

Now download the required SAML metadata for the application as you'll need that to paste into the Doppler dashboard.

Copy the contents of the downloaded XML file which you'll use in the next step.
SAML
In a separate tab, navigate to the Team page, then click on the SSO tab.
Scroll to the SAML Single Sign-On form and paste the contents of the XML into the IDP XML field. Then click Save.
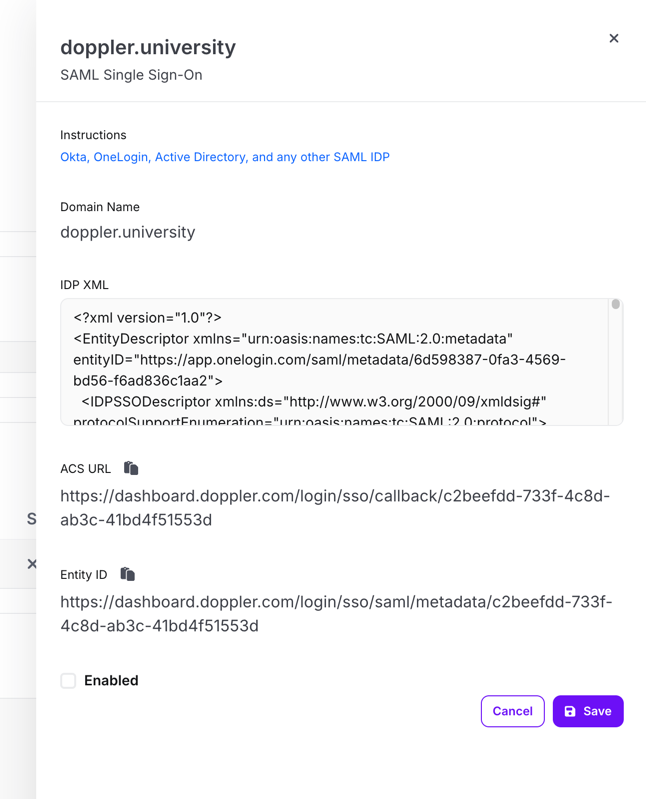
The value for SSO URL is the best URL to provide to users with, although they can also follow the link provided by the Doppler application in OneLogin.
SCIM
Enterprise Plan RequiredWant to try it out first? Chat with our sales team.
While still in the SSO section, ensure SCIM is enabled by scrolling to the SCIM 2.0 form, changing Status to Enabled. Then click Save.

Once the page reloads, scroll to the SCIM 2.0 form again and copy the value of the Base URI field.

Now head back to OneLogin and paste the value into SCIM Base URL field, then click Enable.
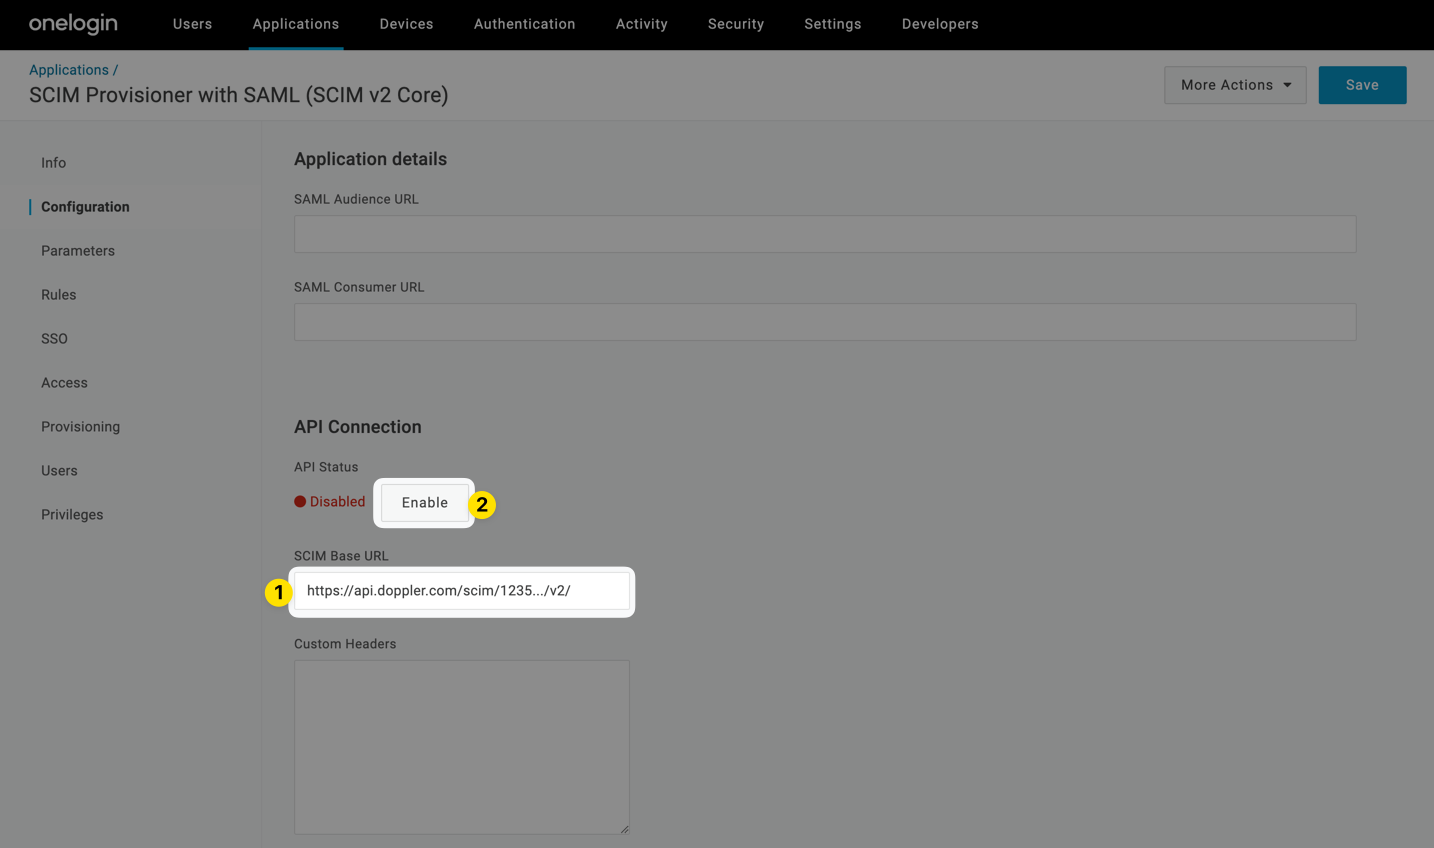
The API Connection should now be Enabled.
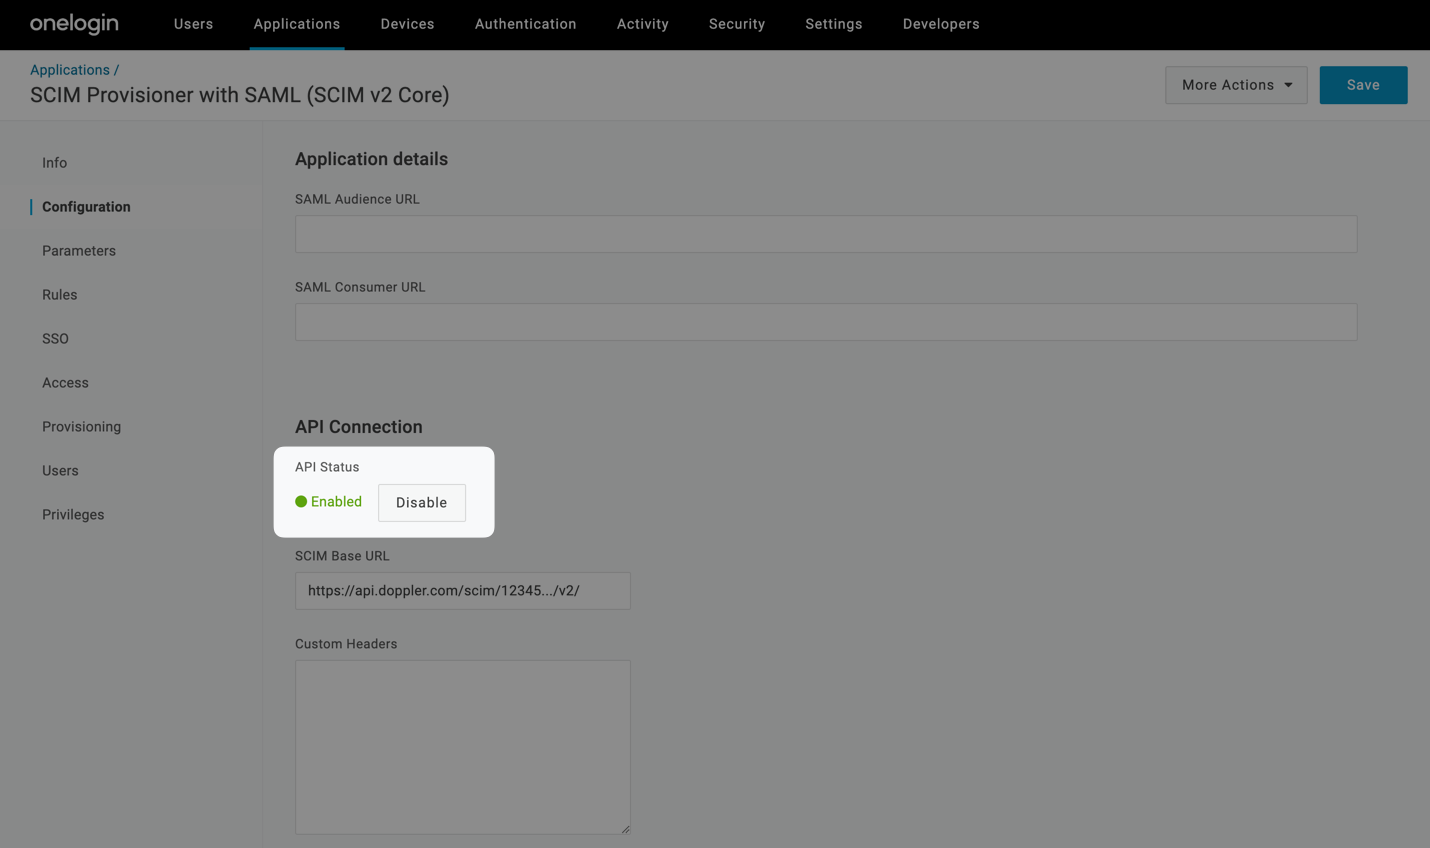
Now head back to the Doppler dashboard to get the SCIM Bearer Auth token.
Click on the Manage link in the SCIM form which will open a new window, taking you to the Tokens page with the SCIM tab selected.

To get new SCIM credentials, click on the Roll link.

Then click the Roll button from the modal.
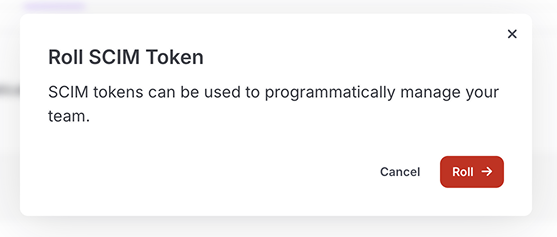
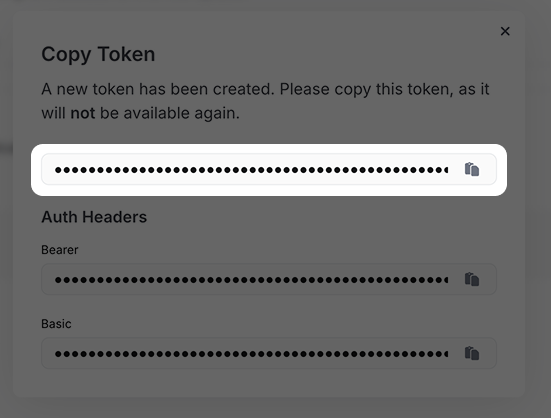
Copy the token value.
And paste it into the SCIM Bearer Token field.
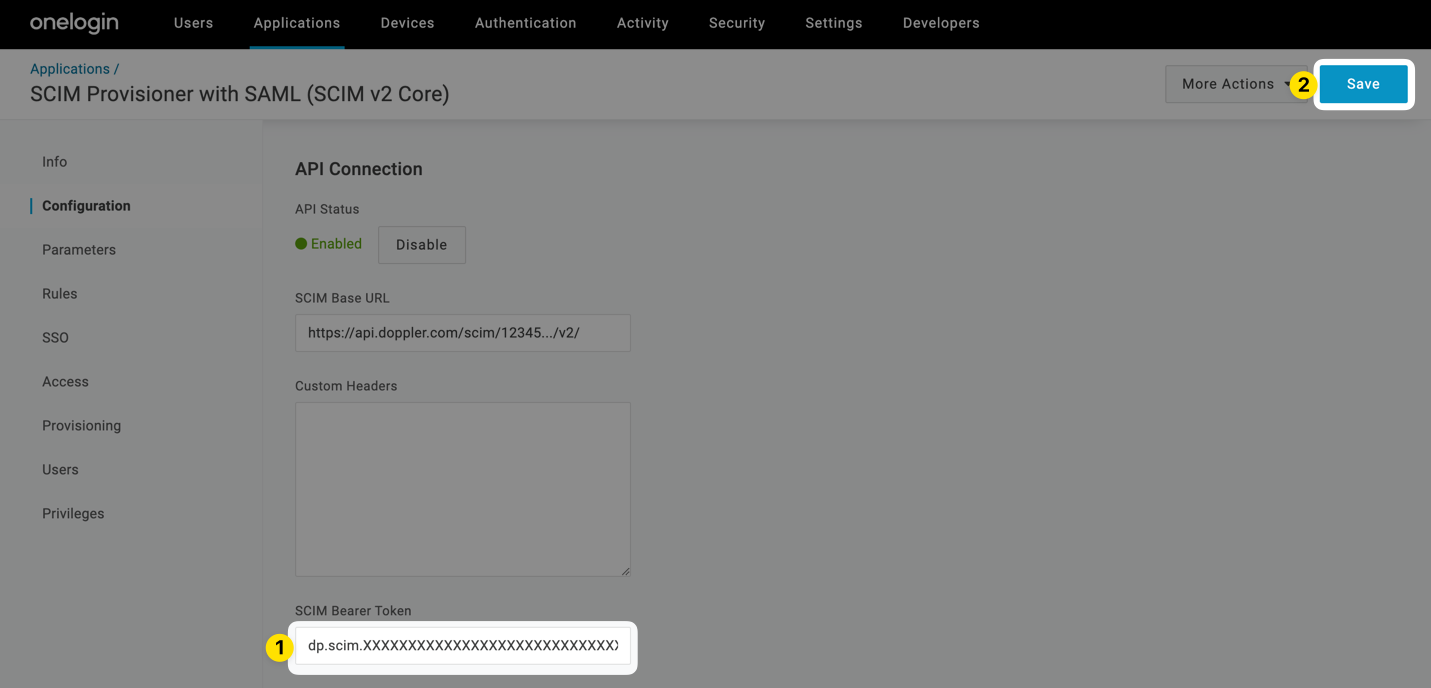
Then click Save.
Logos
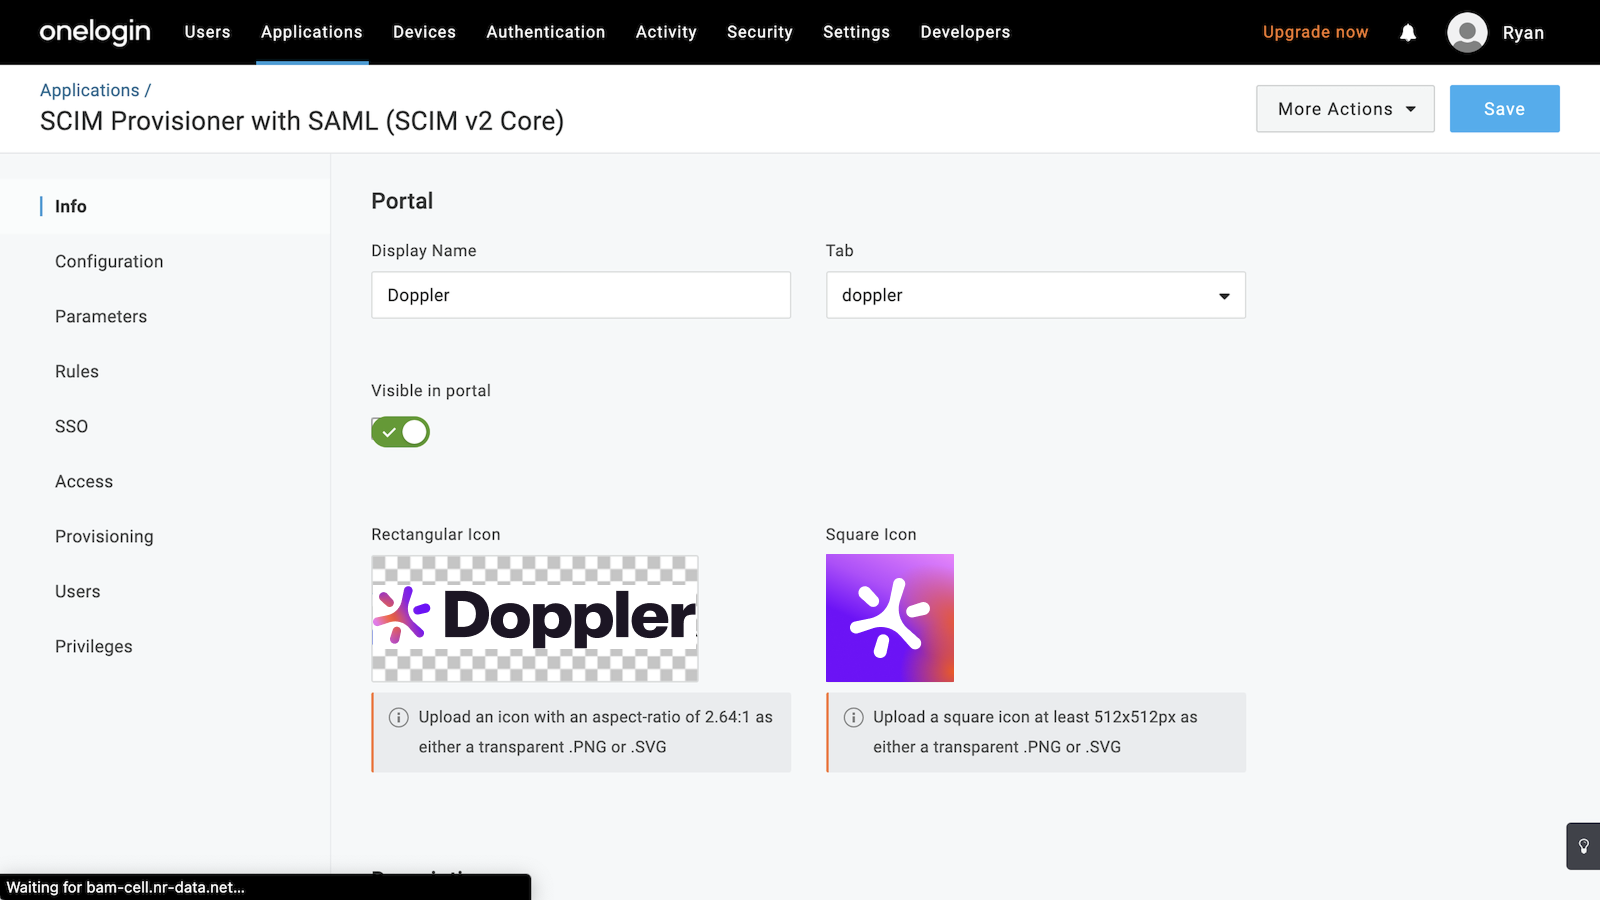
Change the logos for the application by uploading the images below, then click Save.

Parameters
We now need to configure the user parameters that will be sent to Doppler when provisioning a user.
To start, click on Parameters from the left menu.
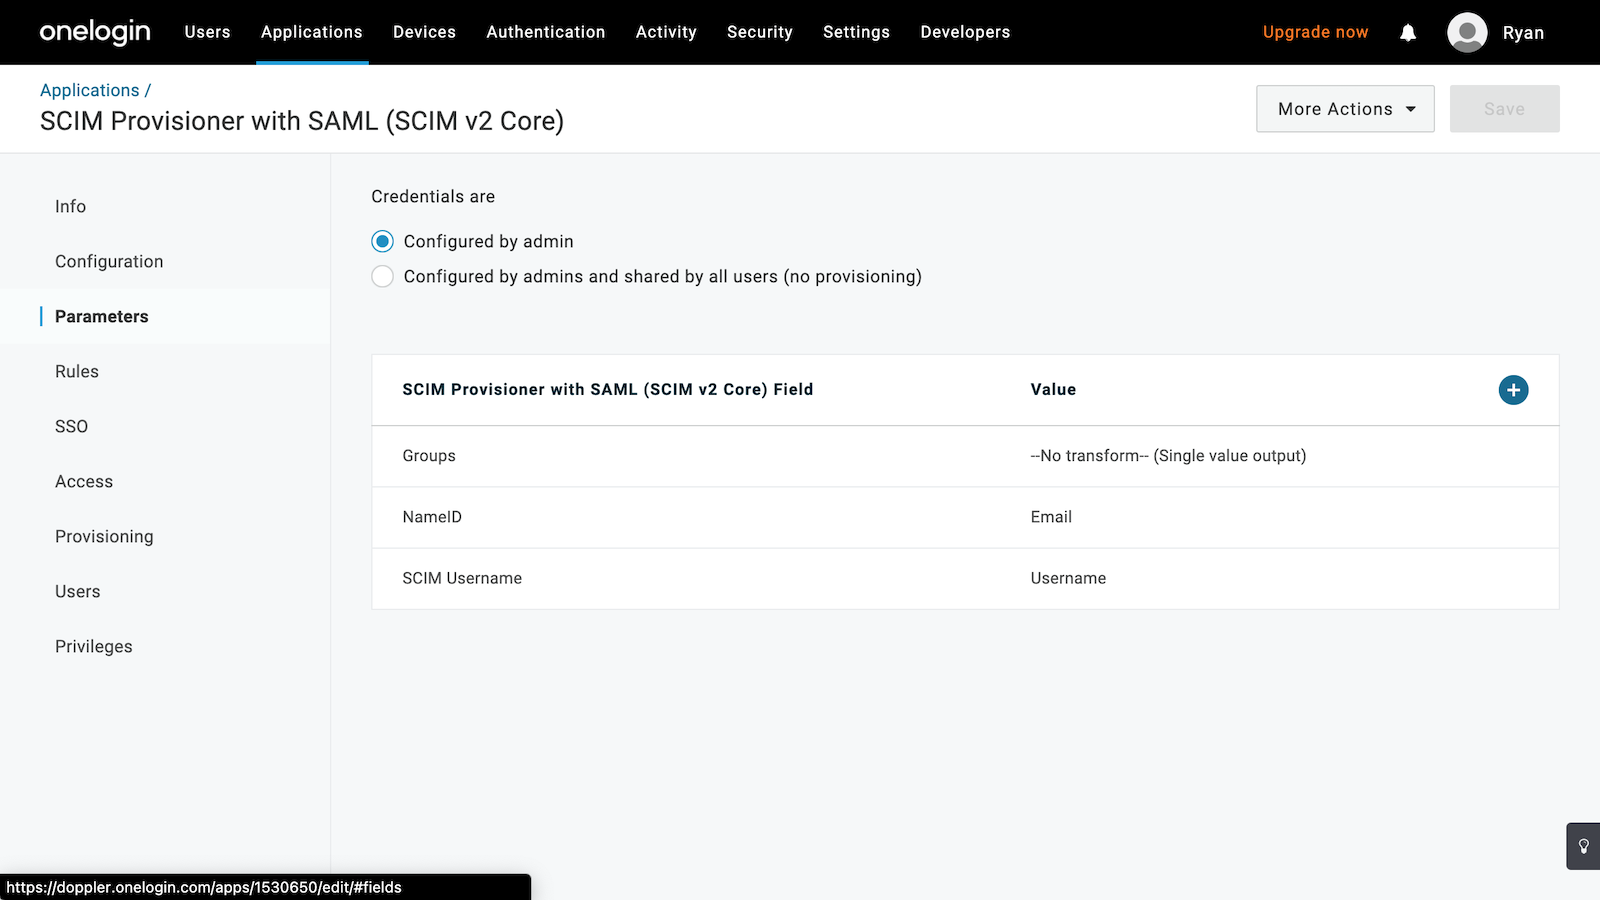
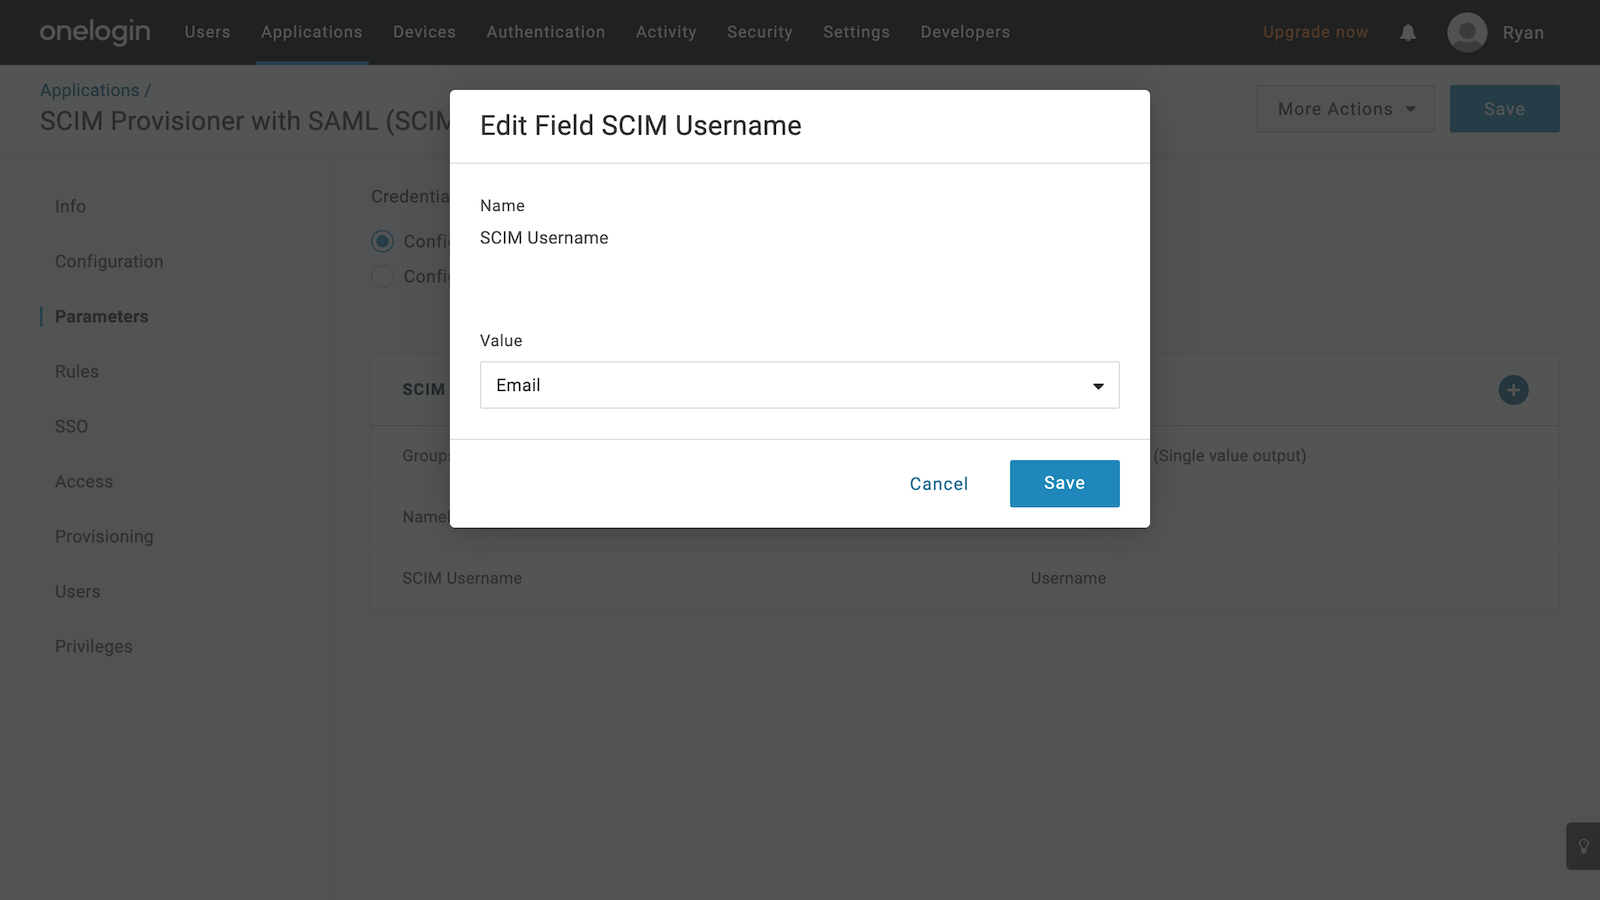
Click on SCIM Username to bring up the edit field modal, changing the Value field to Email, then click Save.
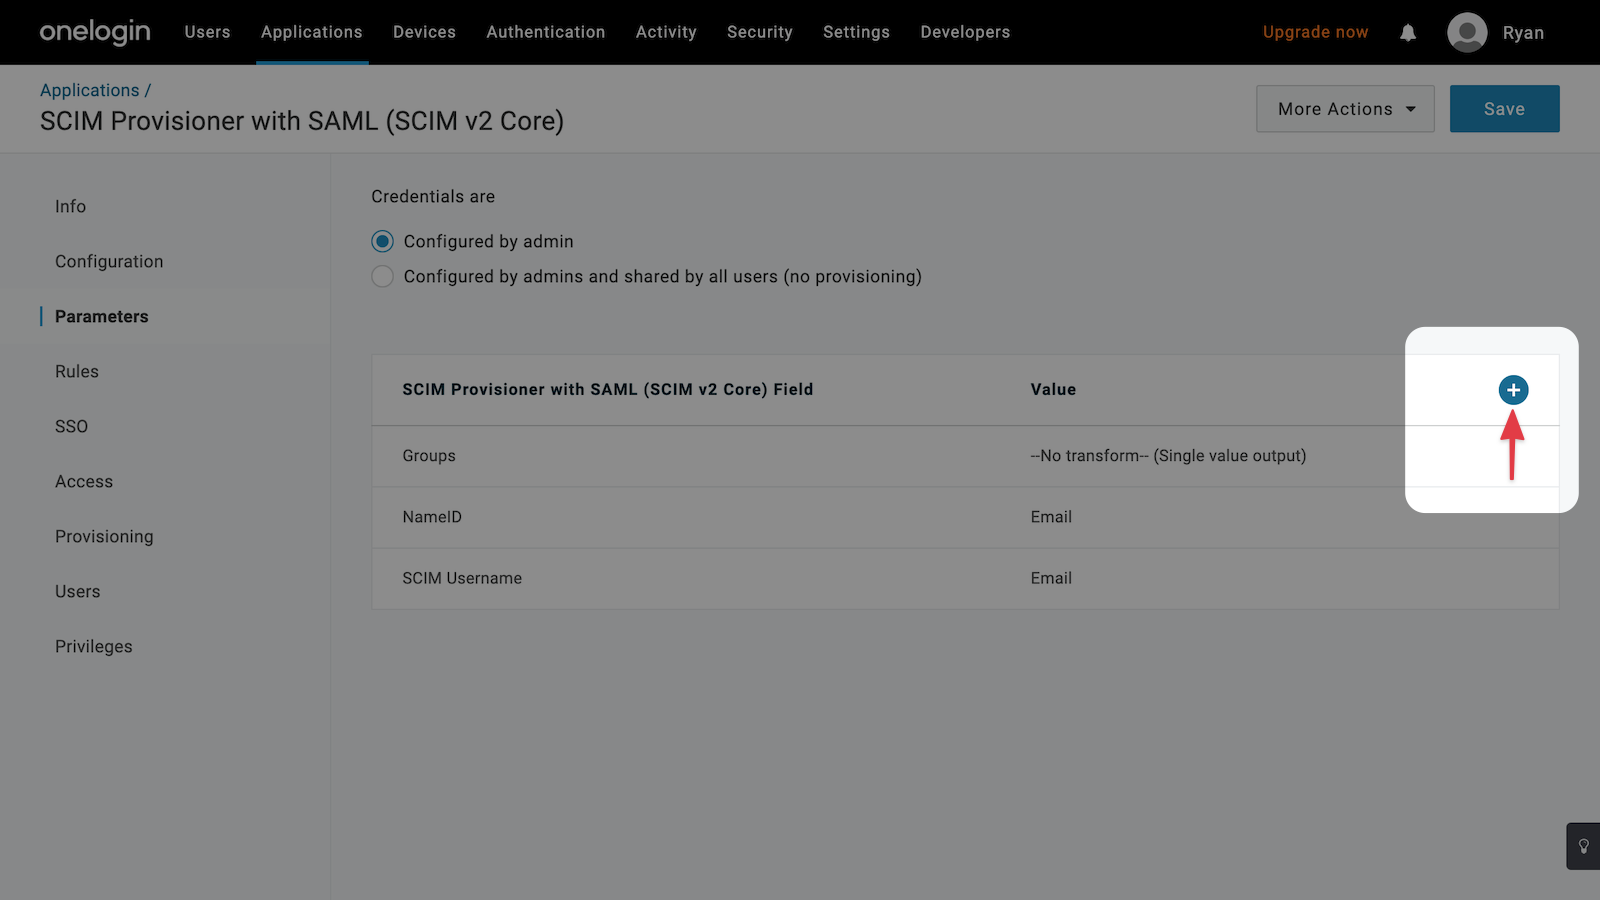
Next, create a new email field by first clicking on the + button to the right of the form.
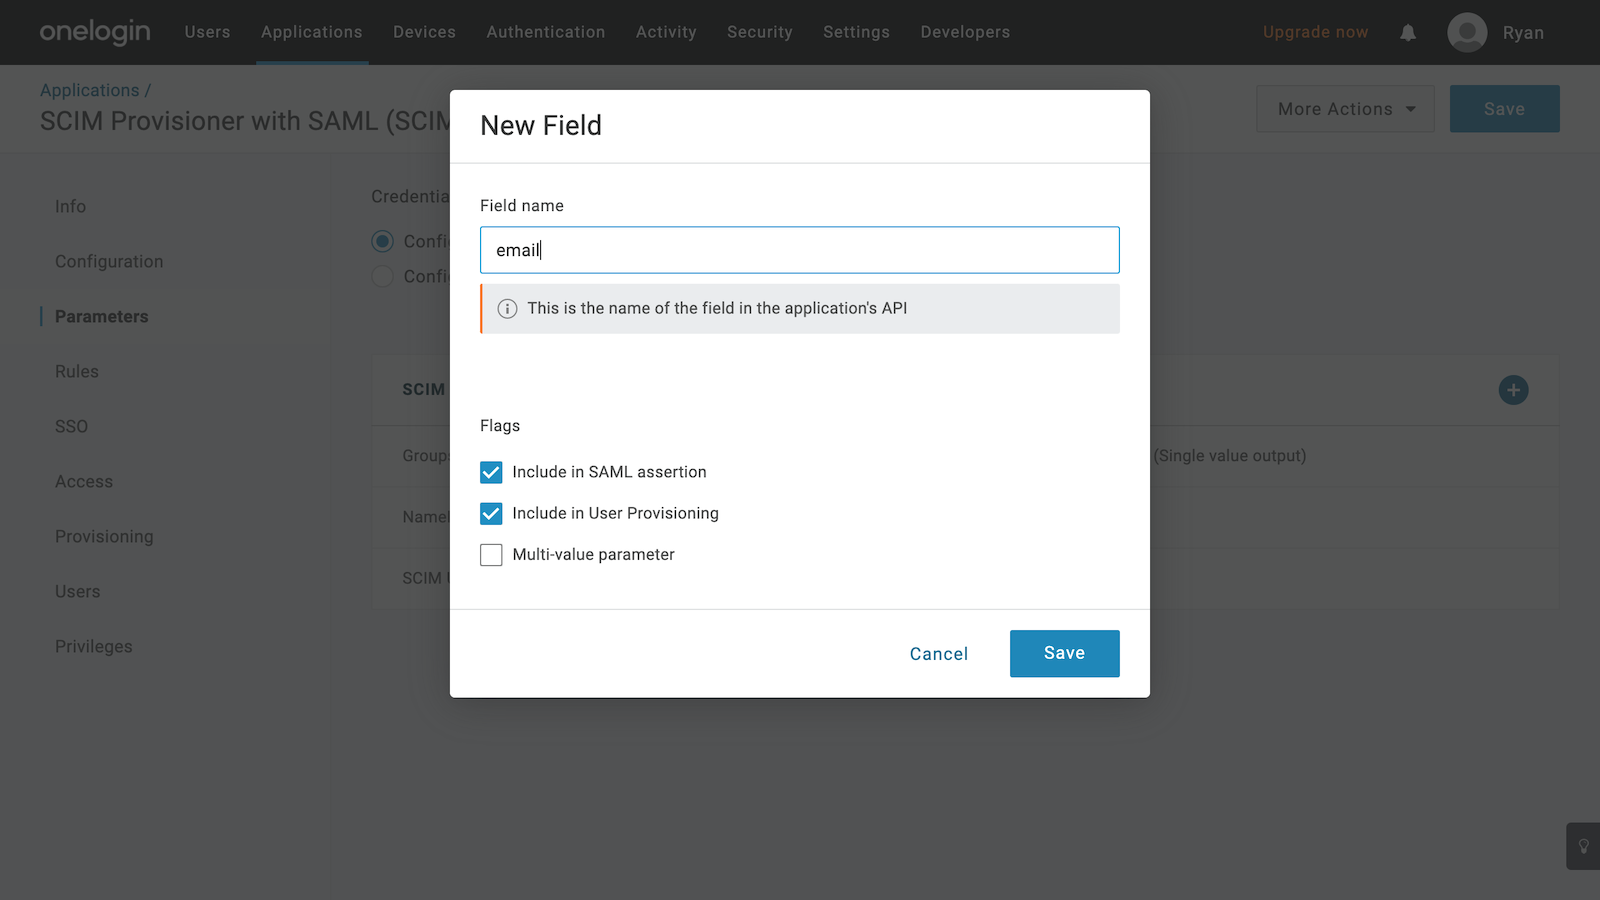
Enter email as the name, checking the Include in SAML assertion and Include in User Provisioning checkboxes. Then click Save.
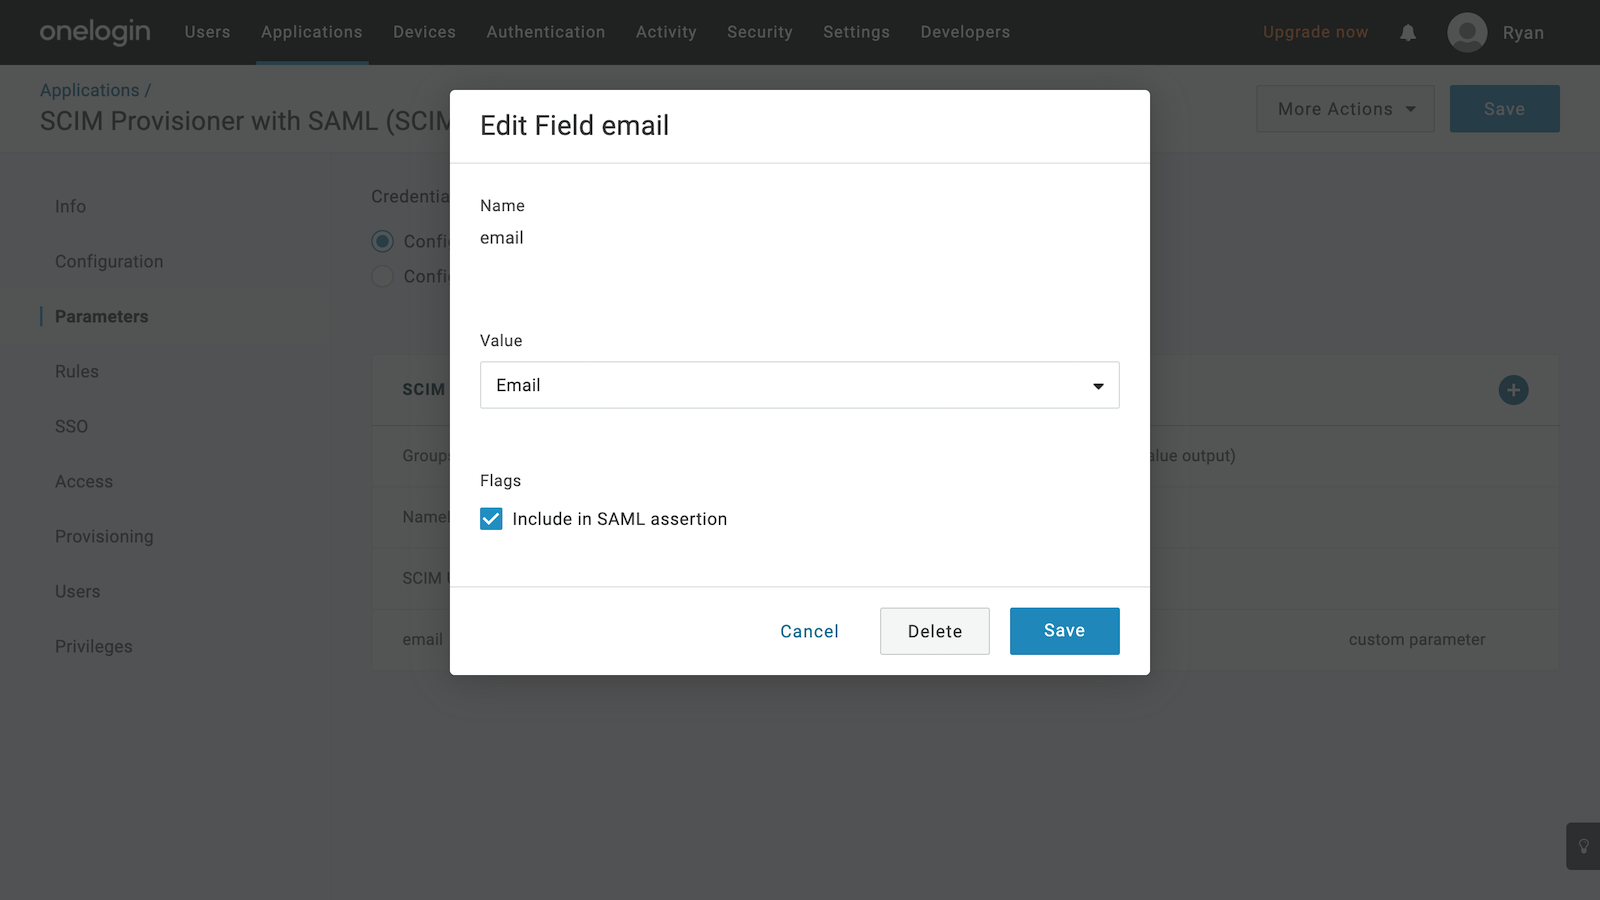
Select Email for the Value field, checking the Include in SAML assertion checkbox, then click Save.
The last remaining field to create is the name field which compromises of the user's first and last name. Click on the + button to the right of the form to launch the New Field modal.
Enter name as the Field name value, checking the Include in SAML assertion and Include in User Provisioning checkboxes. Then click Save.
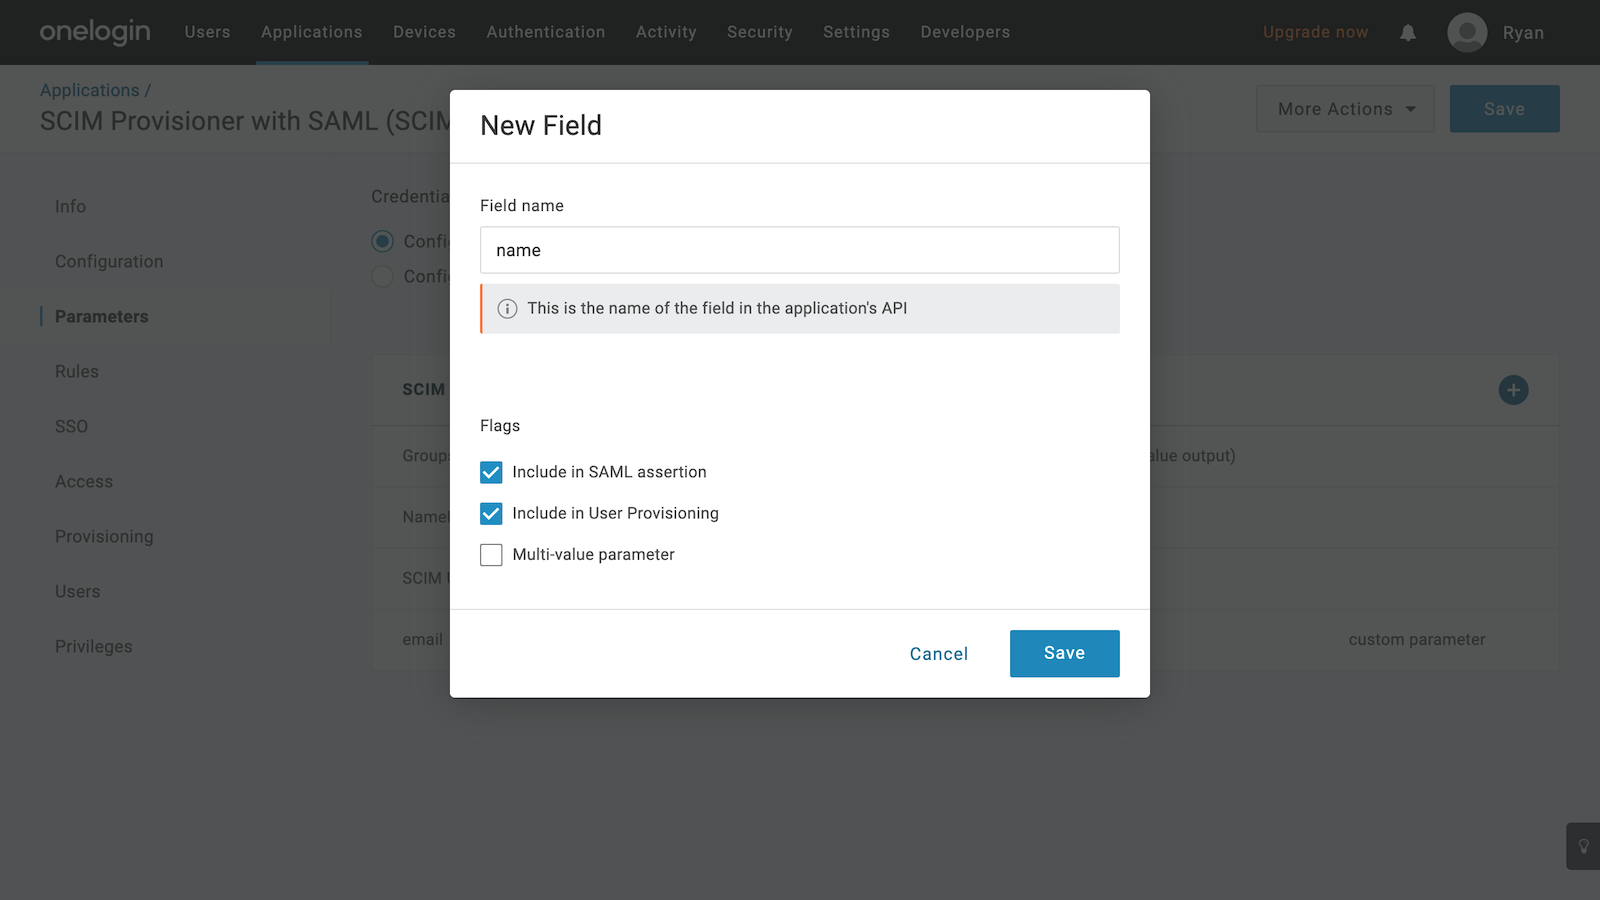
Select - Macro - for the Value field, and enter {firstname} {lastname} in the textfield below it. Check the Include in SAML assertion checkbox and click Save.
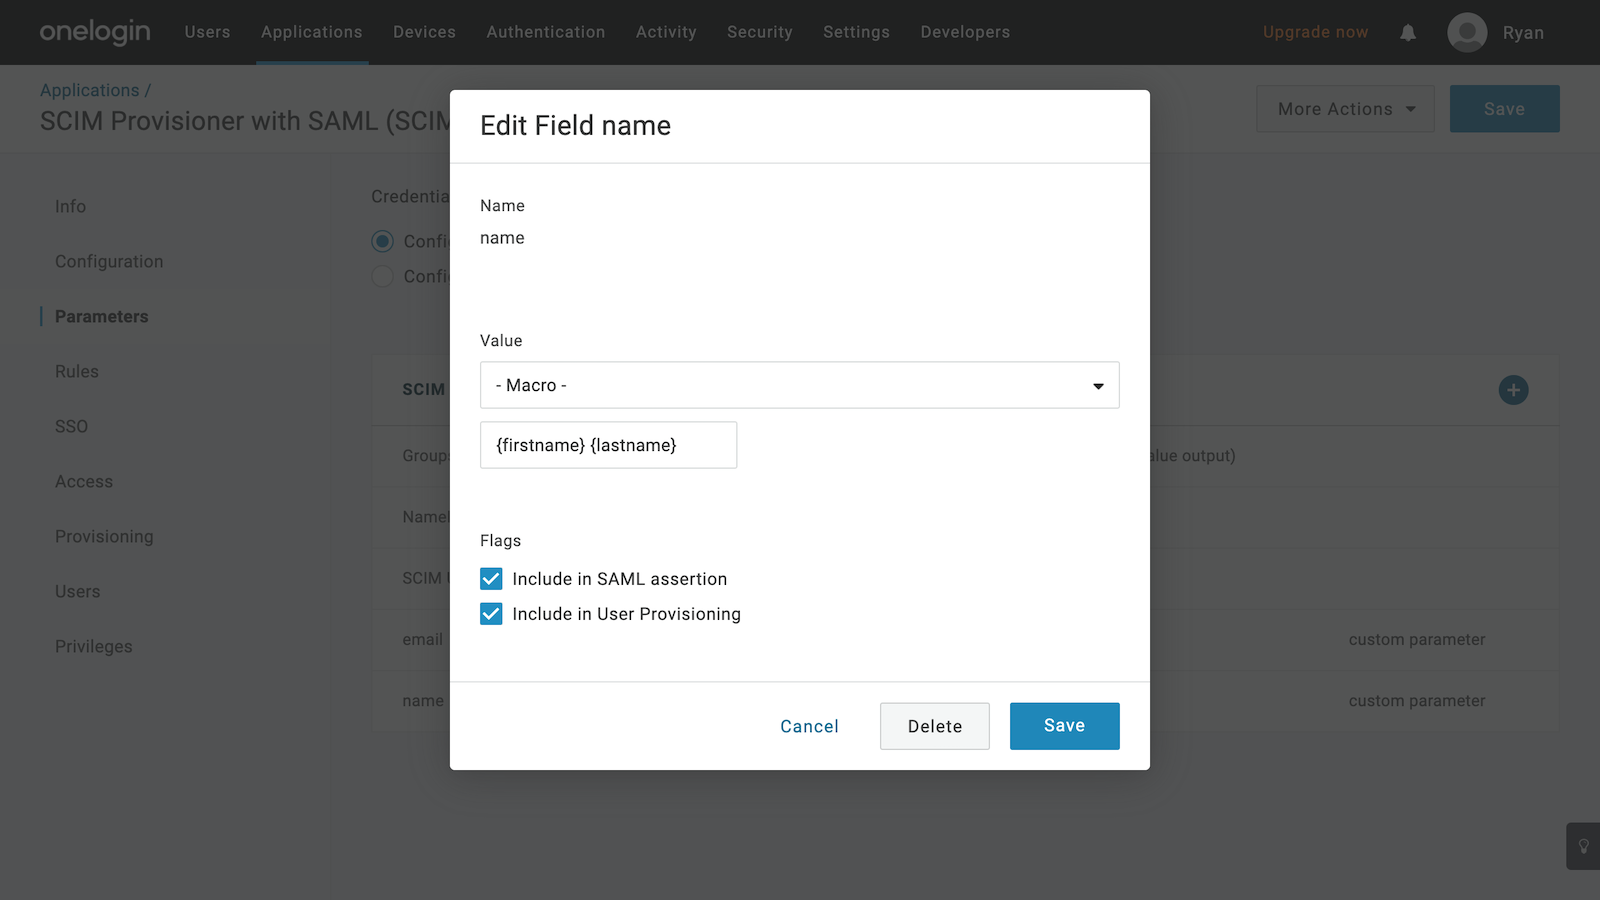
The list of parameters should now look like the following.

Provisioning
The final step is to enable the OneLogin application to automatically provision, update, and delete users in Doppler.
Click on Provisioning from the left menu, then adjust the form so it matches the below settings.
Then click Save.
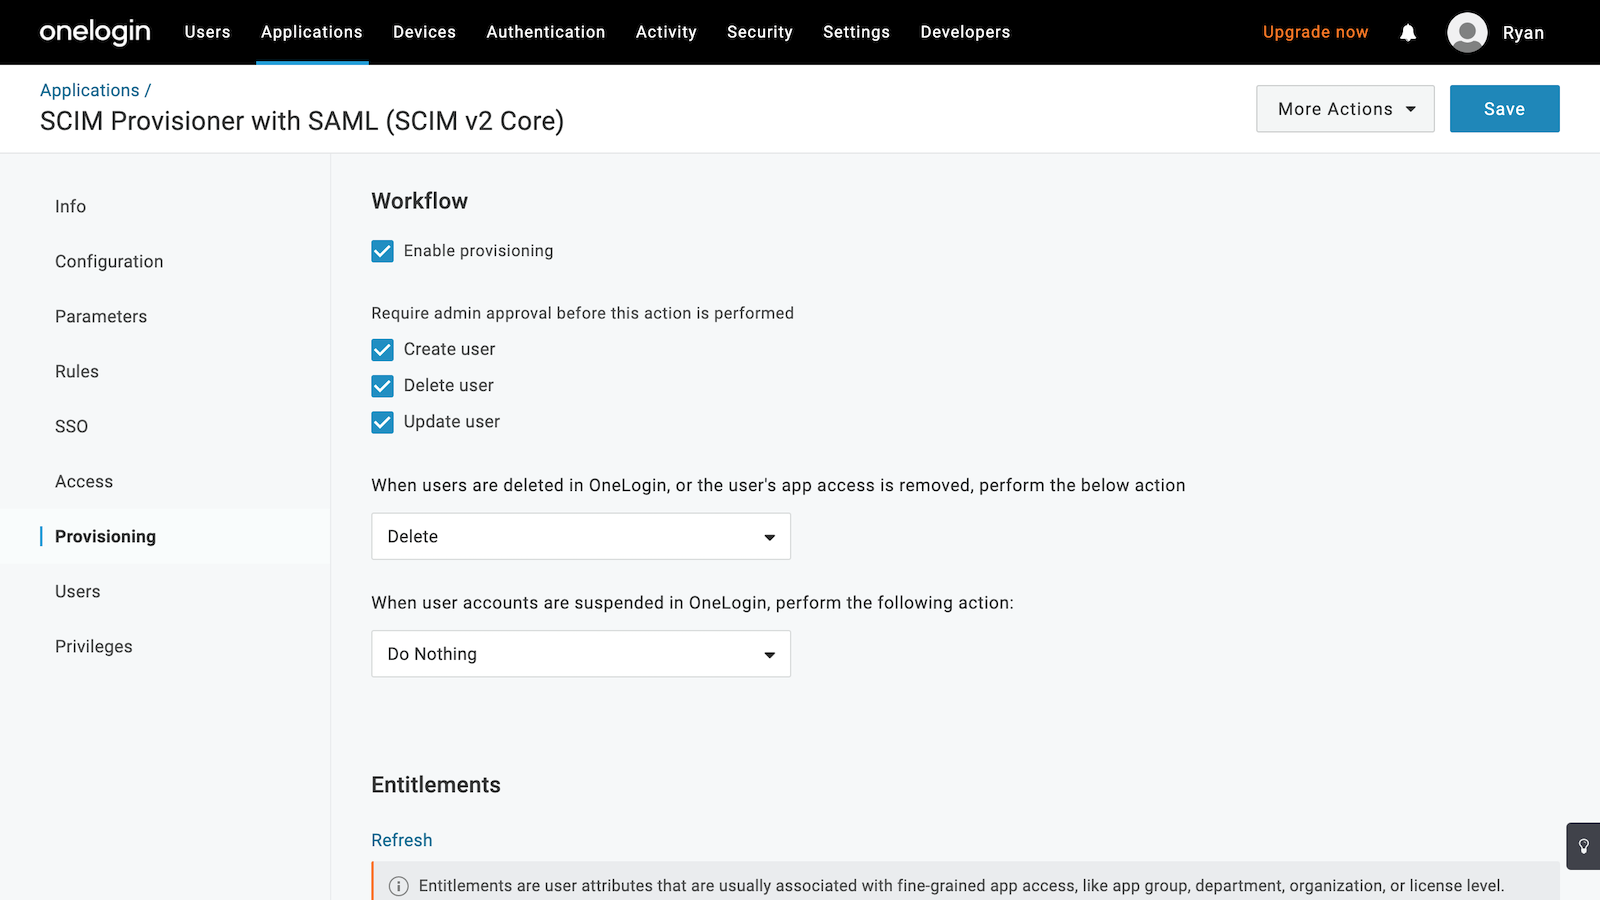
Suspend not supportedUsers should be deleted from the Doppler application (not suspended) as we do not support the concept of a suspended user.
Now, whenever new users are added, updated, or deleted from the application, Doppler will receive the relevant API call to sync changes to the user records for the workplace.
Test
To quickly test provisioning is working, create or use a test user account, then from the Applications section, manually add them to the Doppler application. Then click Continue.
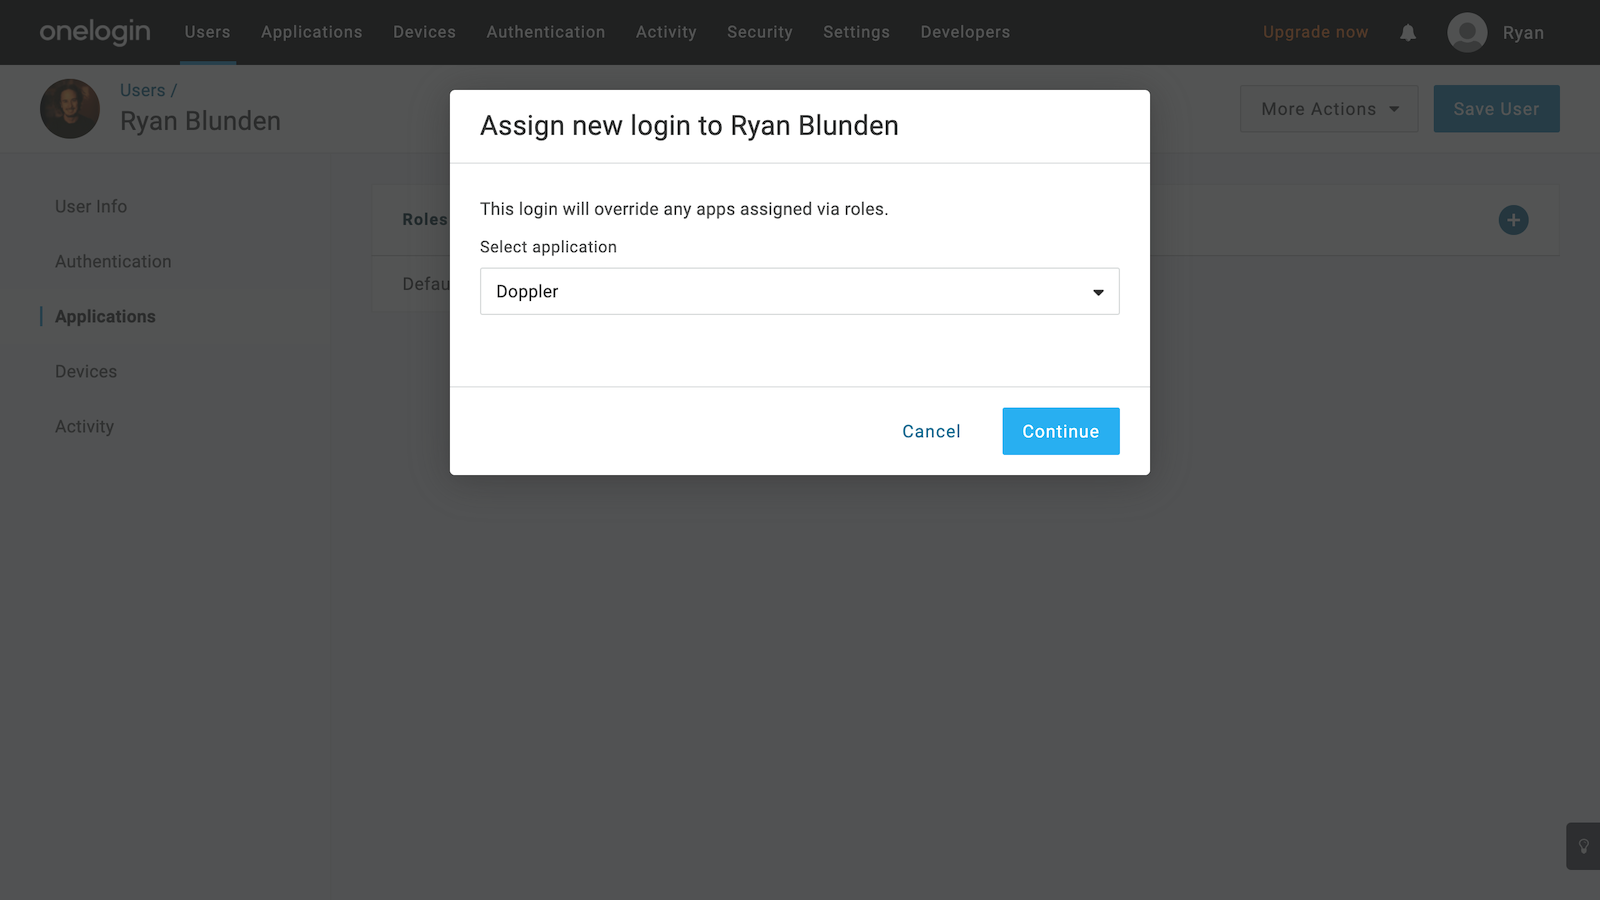
Confirm that the provisioned fields are correct but if not, don't change them here and instead, edit the User's record directly.
If everything looks good, click Save.
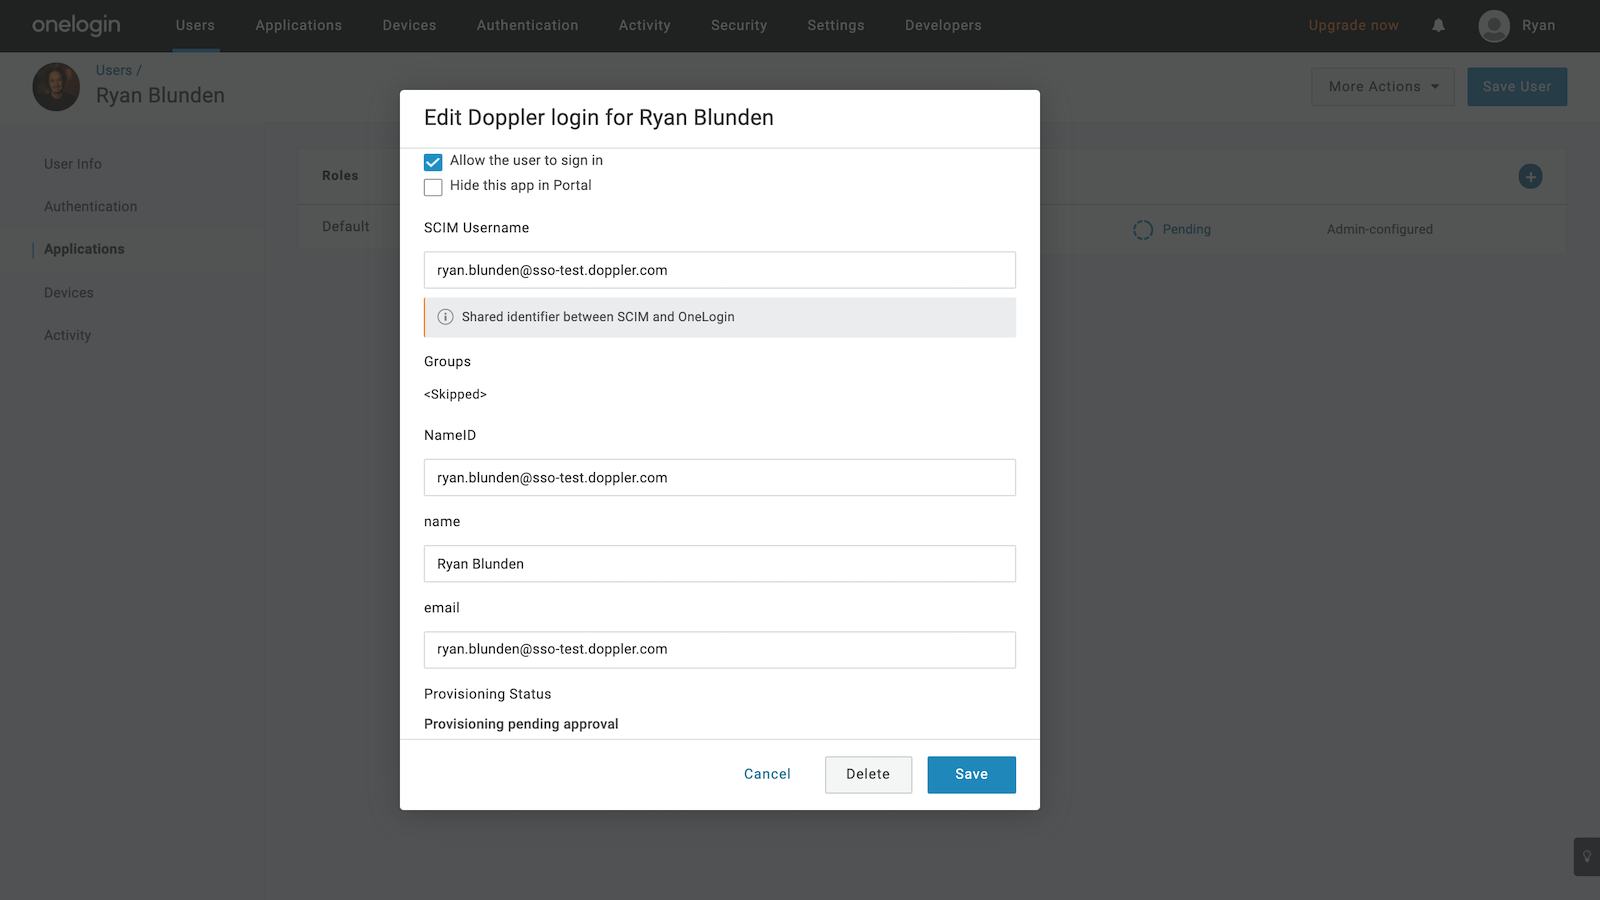
Once the page has reloaded, the user should be in the Pending state. Click on Pending from the user's record, then click Approve to confirm the user will be added to the Doppler application.

Upon page reload, the user should be in the Provisioning state.

Then after 10-20 seconds, the status should automatically change to Provisioned.

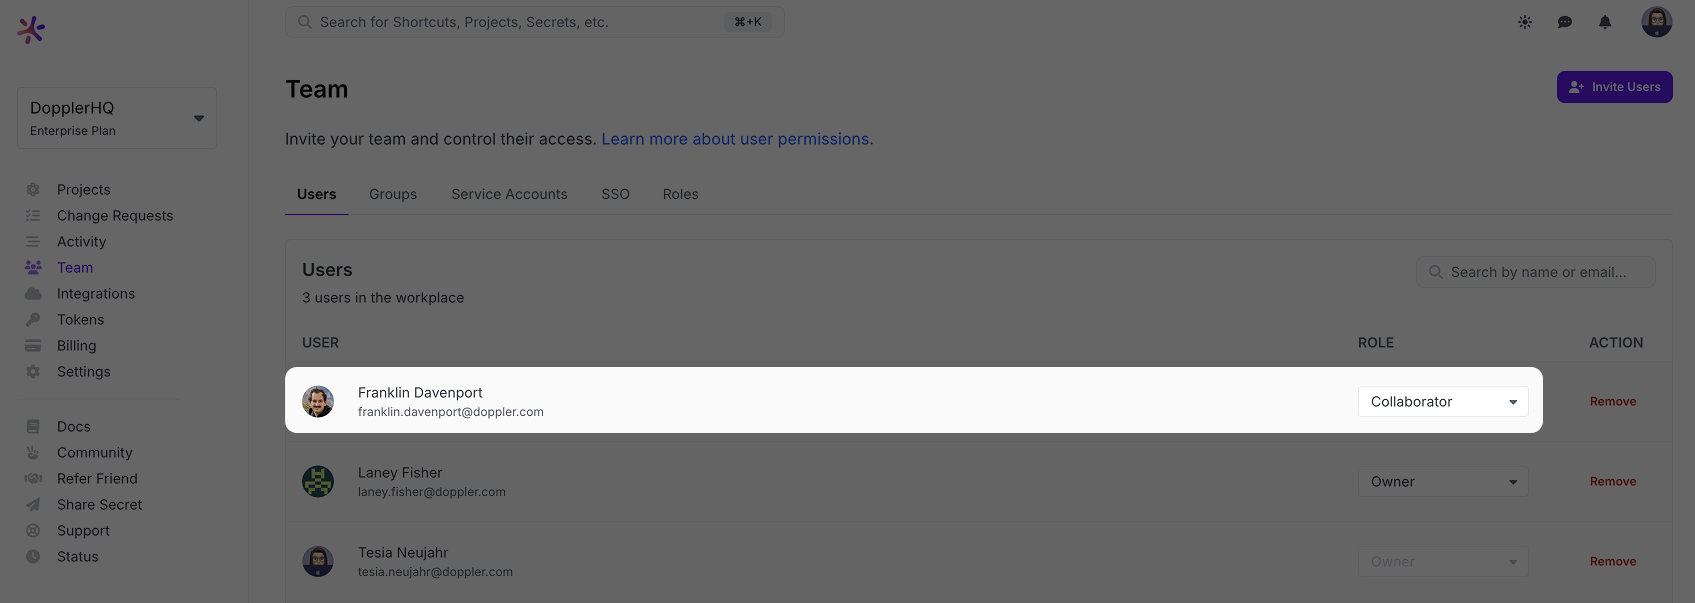
You should now see the new user added to the Team page.
The next step is using your Roles and Groups in OneLogin to bulk provide access to the OneLogin Doppler application.
Awesome Work!You've successfully configured a OneLogin SCIM 2.0 application to automatically provision and manage user access to Doppler.
Updated 5 months ago
