Webapp.io
This guide will show you how to use Doppler to provide secrets to CI jobs in Webapp.io.
Prerequisites
- You have created a project in Doppler
- You have a Webapp.io project and have access to set Webapp.io Secrets
Webapp.io Environment
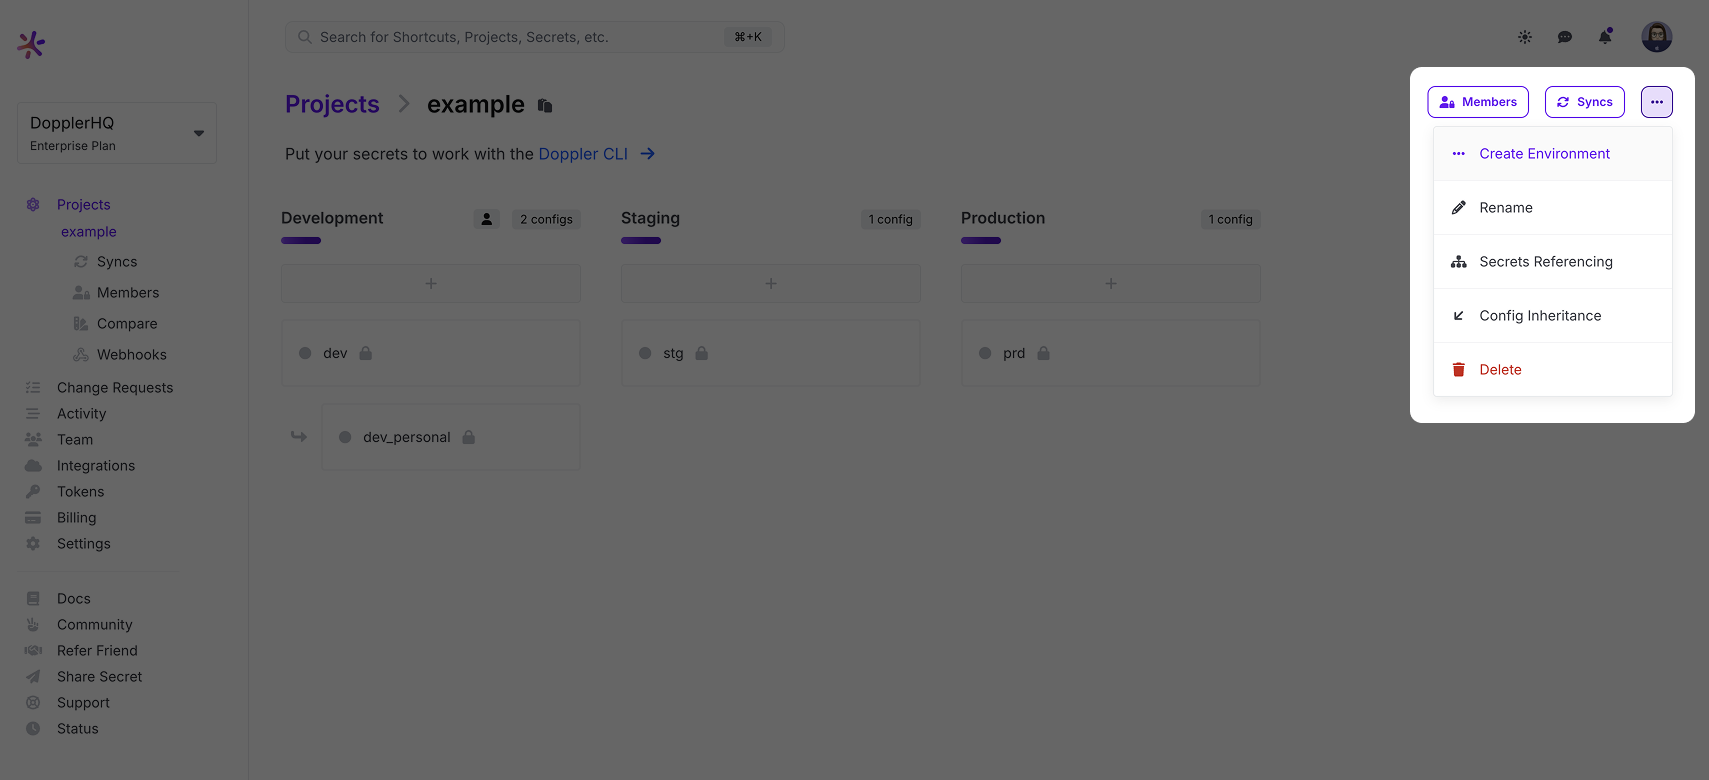
As Webapp.io doesn't exactly fit into Development, Staging, or Production, we'll create a custom environment. Head to the Project page, then click Options. Now click Create Environment.
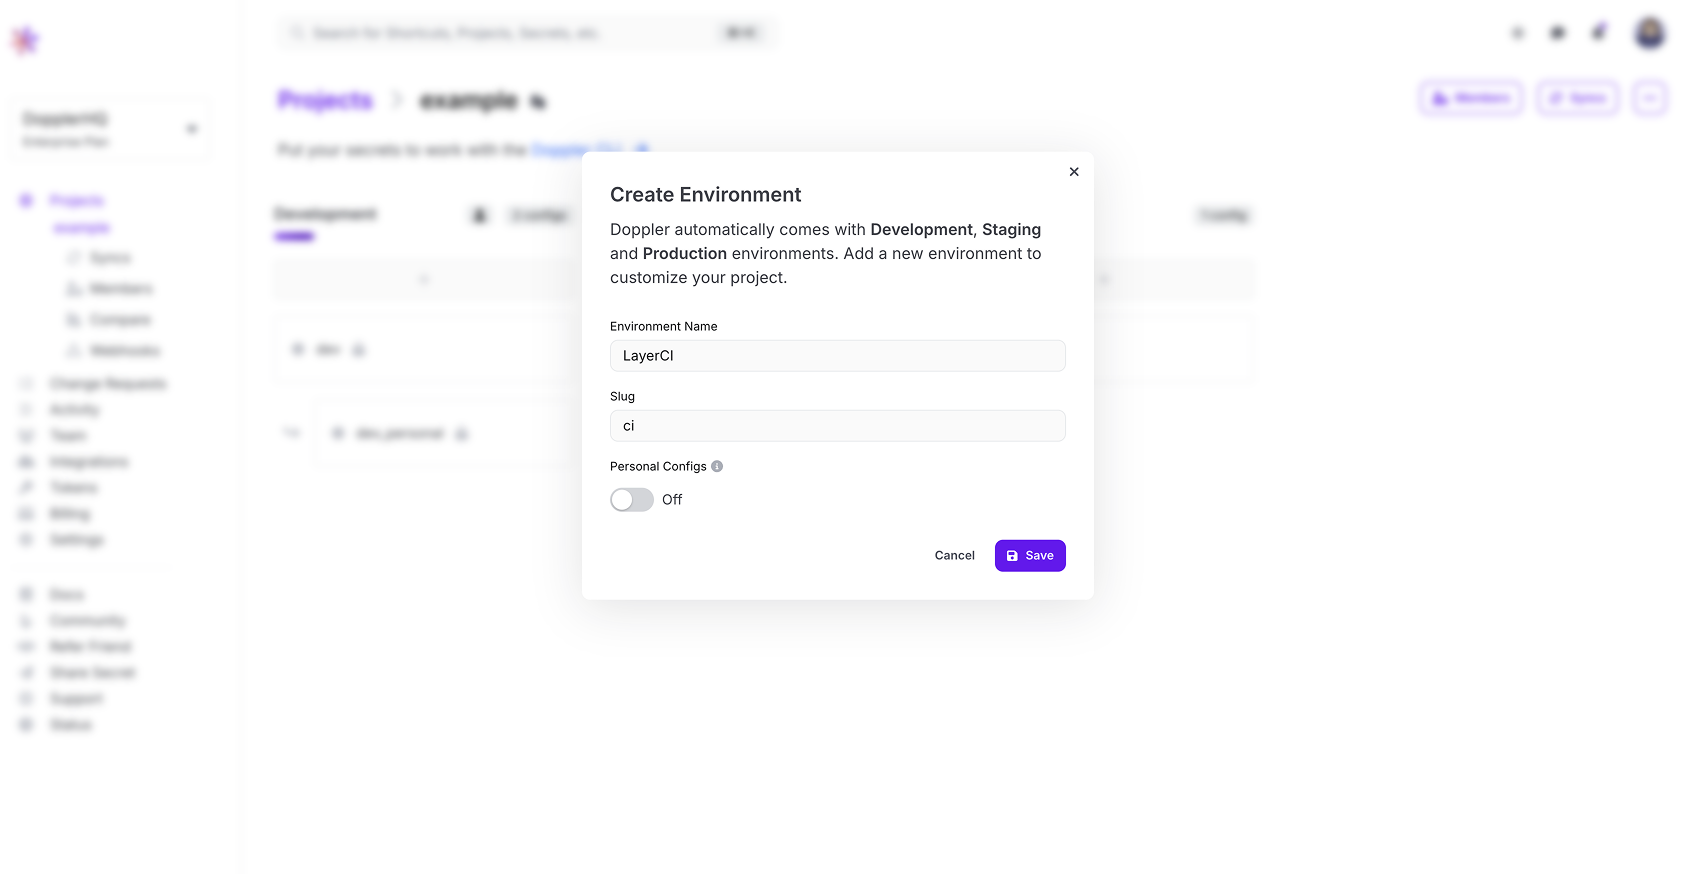
Give the environment a name, e.g. Webapp.io and a short name, then click Save.
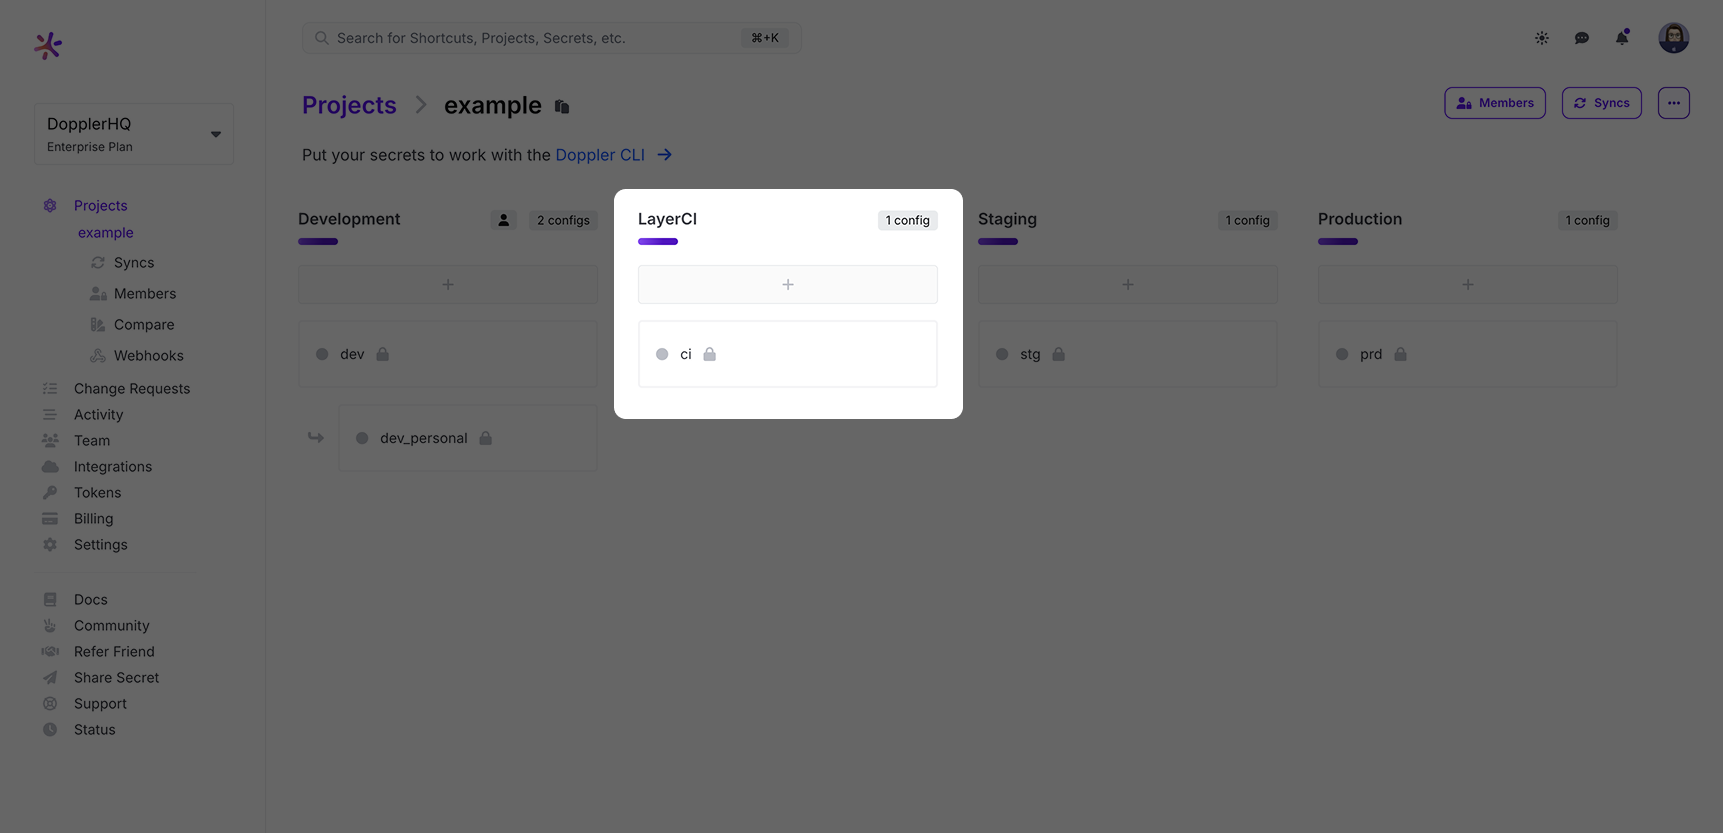
Next, you can drag-and-drop the Webapp.io environment to alter its position, e.g. before Staging.
Service Tokens
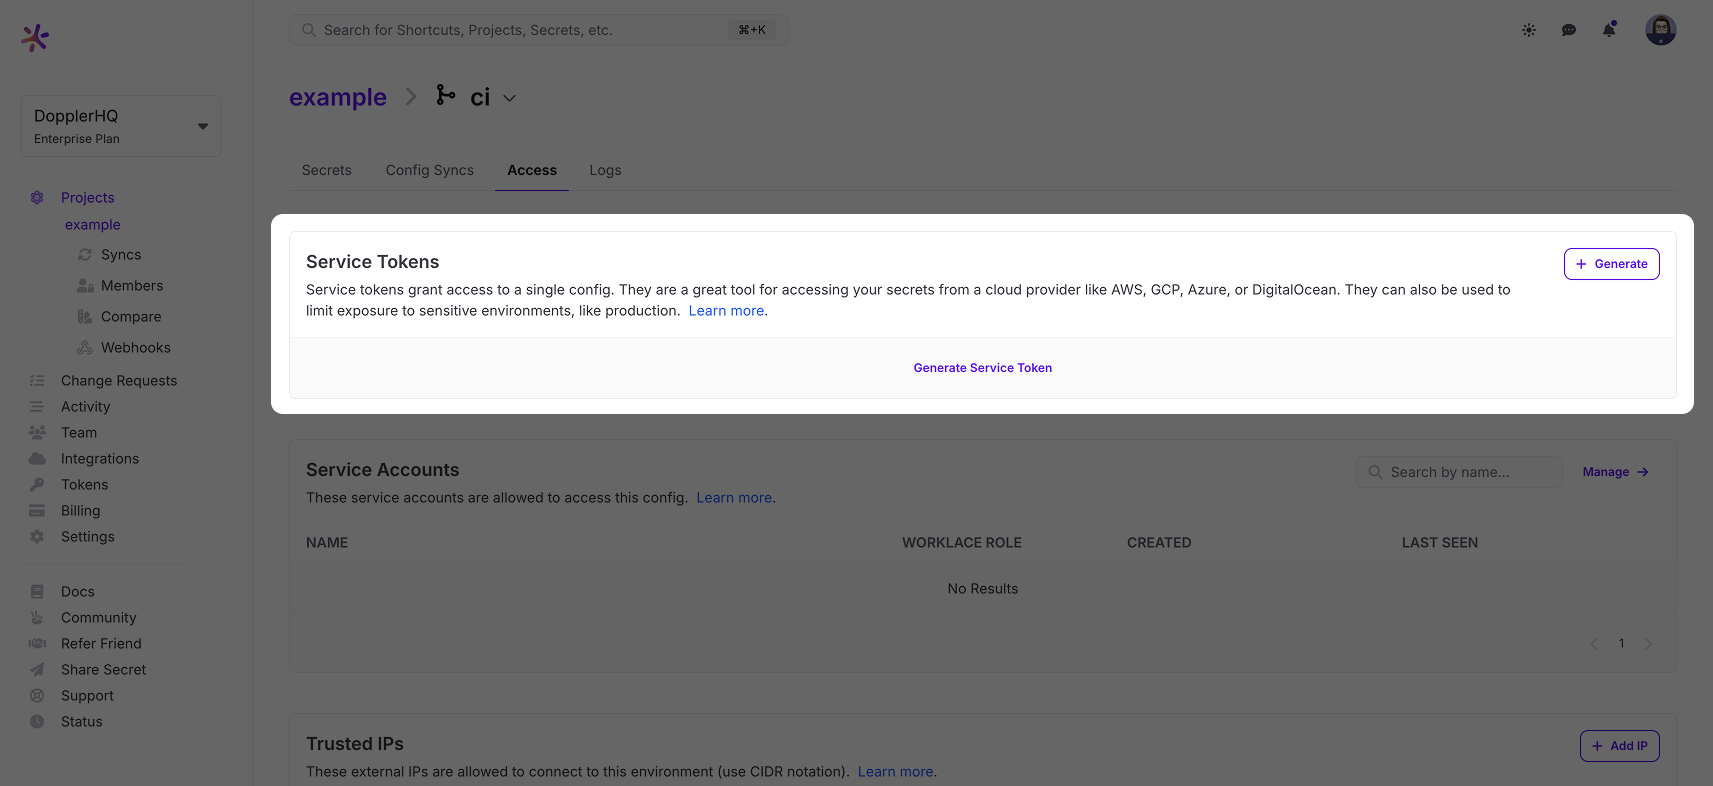
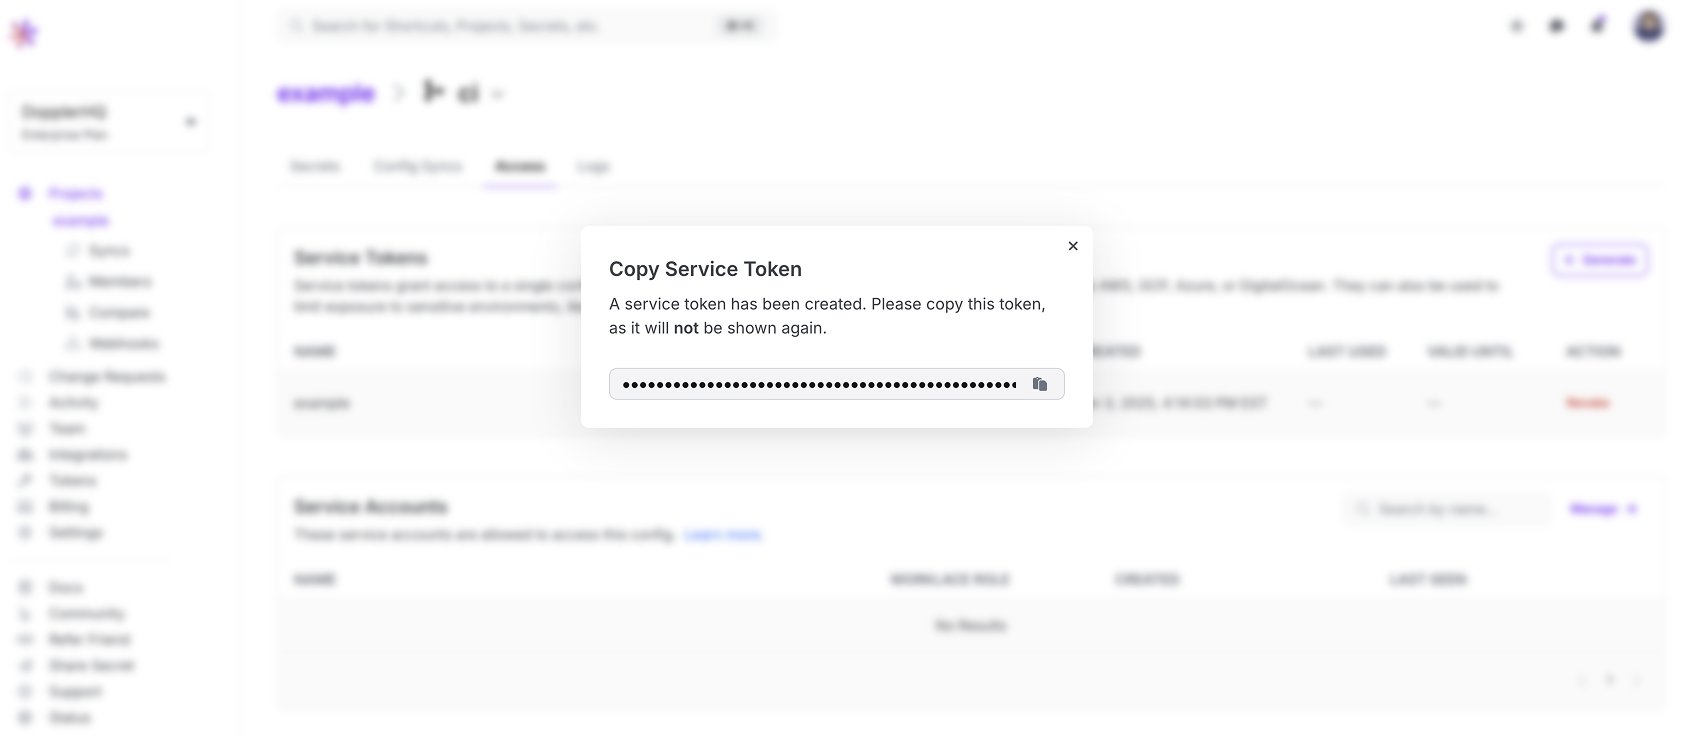
Create a Doppler Service Token that the Doppler CLI will use to access your secrets by selecting the Access tab, then click the Generate button.
Give the token a name like "Webapp.io", then copy the Service Token value which we will then use to create a new Webapp.io Secret.
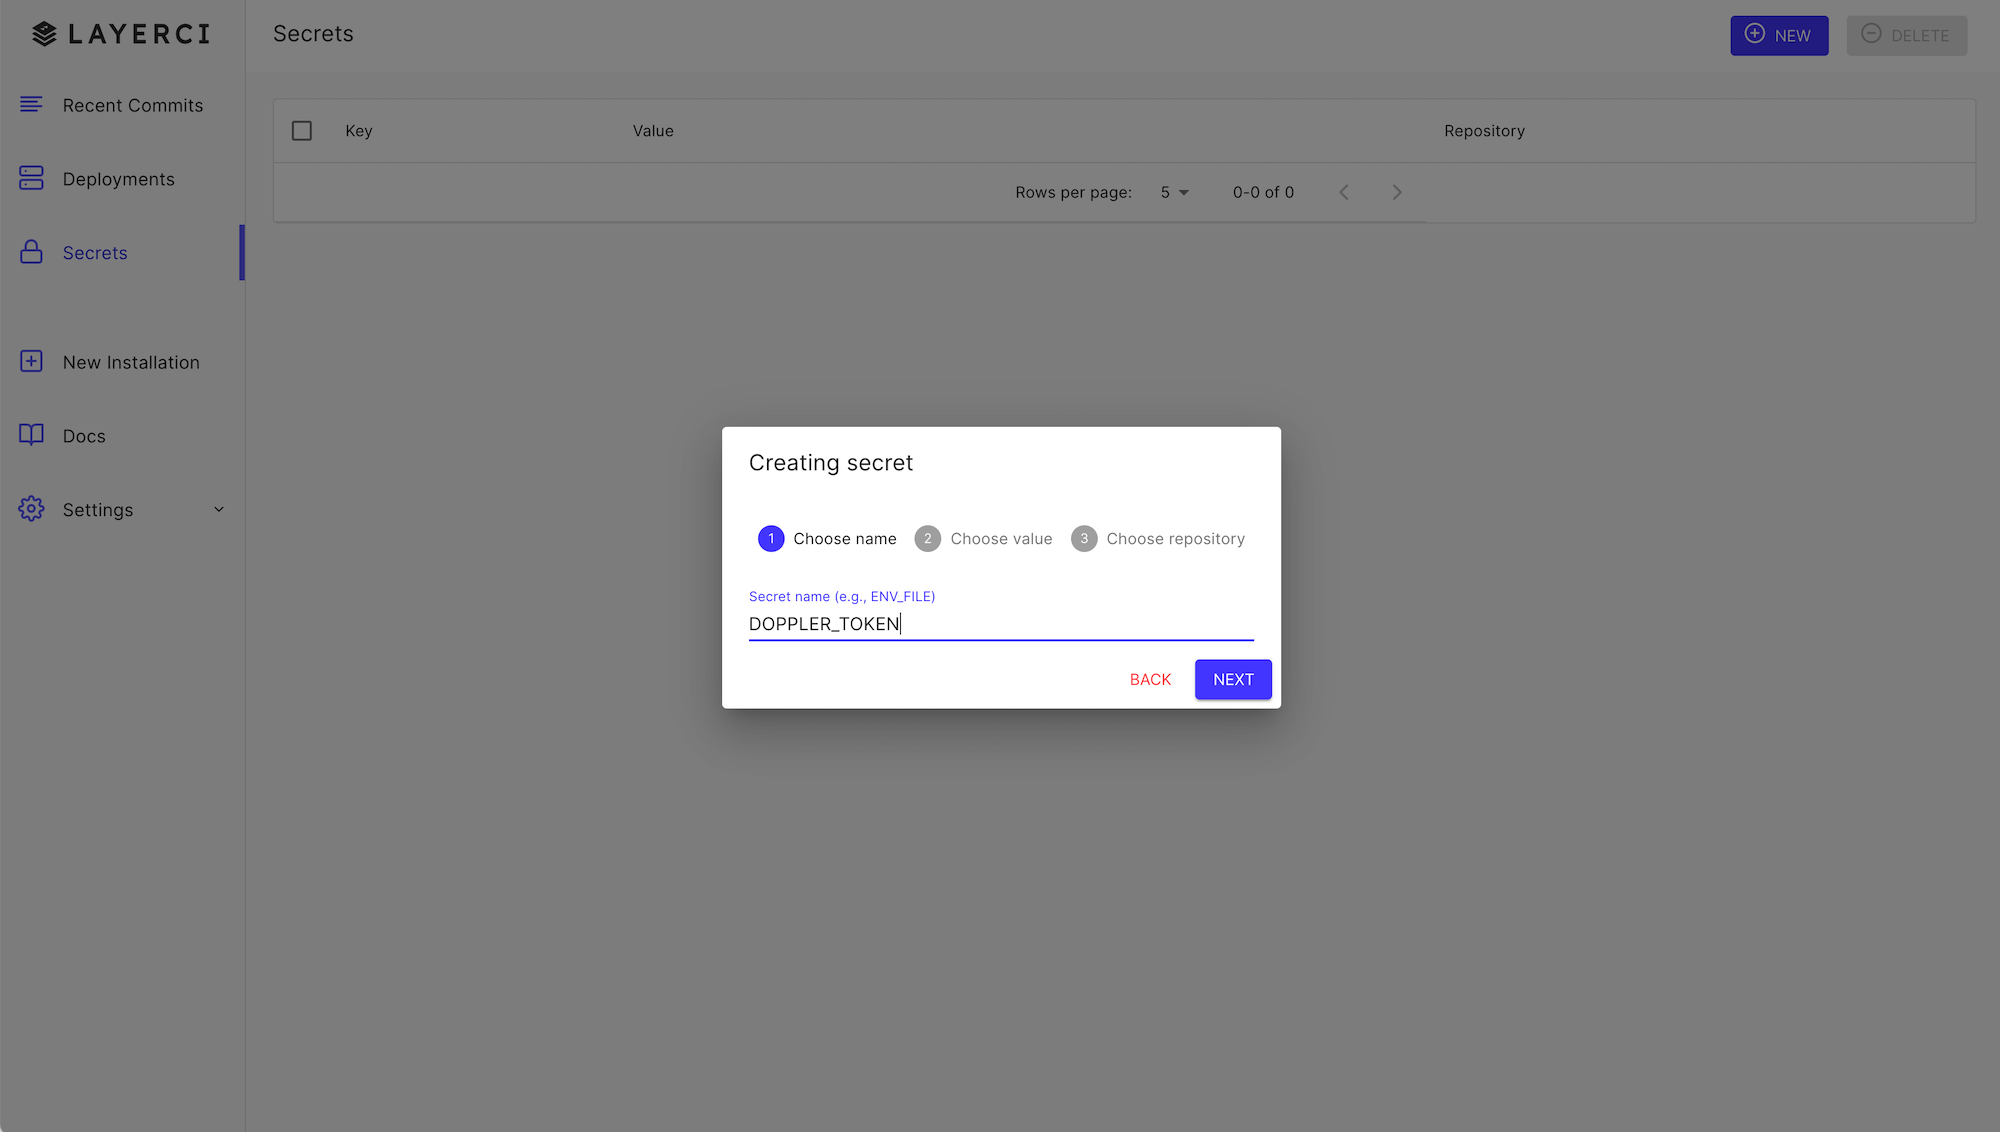
Now in Webapp.io, go to Secrets and add a new secret named DOPPLER_TOKEN using the token content copied to the clipboard. You can choose to expose this token to specific projects or all of them.
Usage
Now, let's create a simple Webapp.io Layerfile to show you how to access secrets from Doppler.
First, install the Doppler CLI, then load the DOPPLER_TOKEN variable from your Webapp.io secrets, and finally use doppler run to fetch the config secrets
FROM vm/ubuntu:18.04

# Install Doppler
RUN (curl -Ls --tlsv1.2 --proto "=https" --retry 3 https://cli.doppler.com/install.sh || wget -t 3 -qO- https://cli.doppler.com/install.sh) | sh

COPY . .

# Load DOPPLER_TOKEN secret from Webapp.io
SECRET ENV DOPPLER_TOKEN

# Test Doppler secrets access
RUN doppler run -- printenv | grep DOPPLER # Testing purposes only
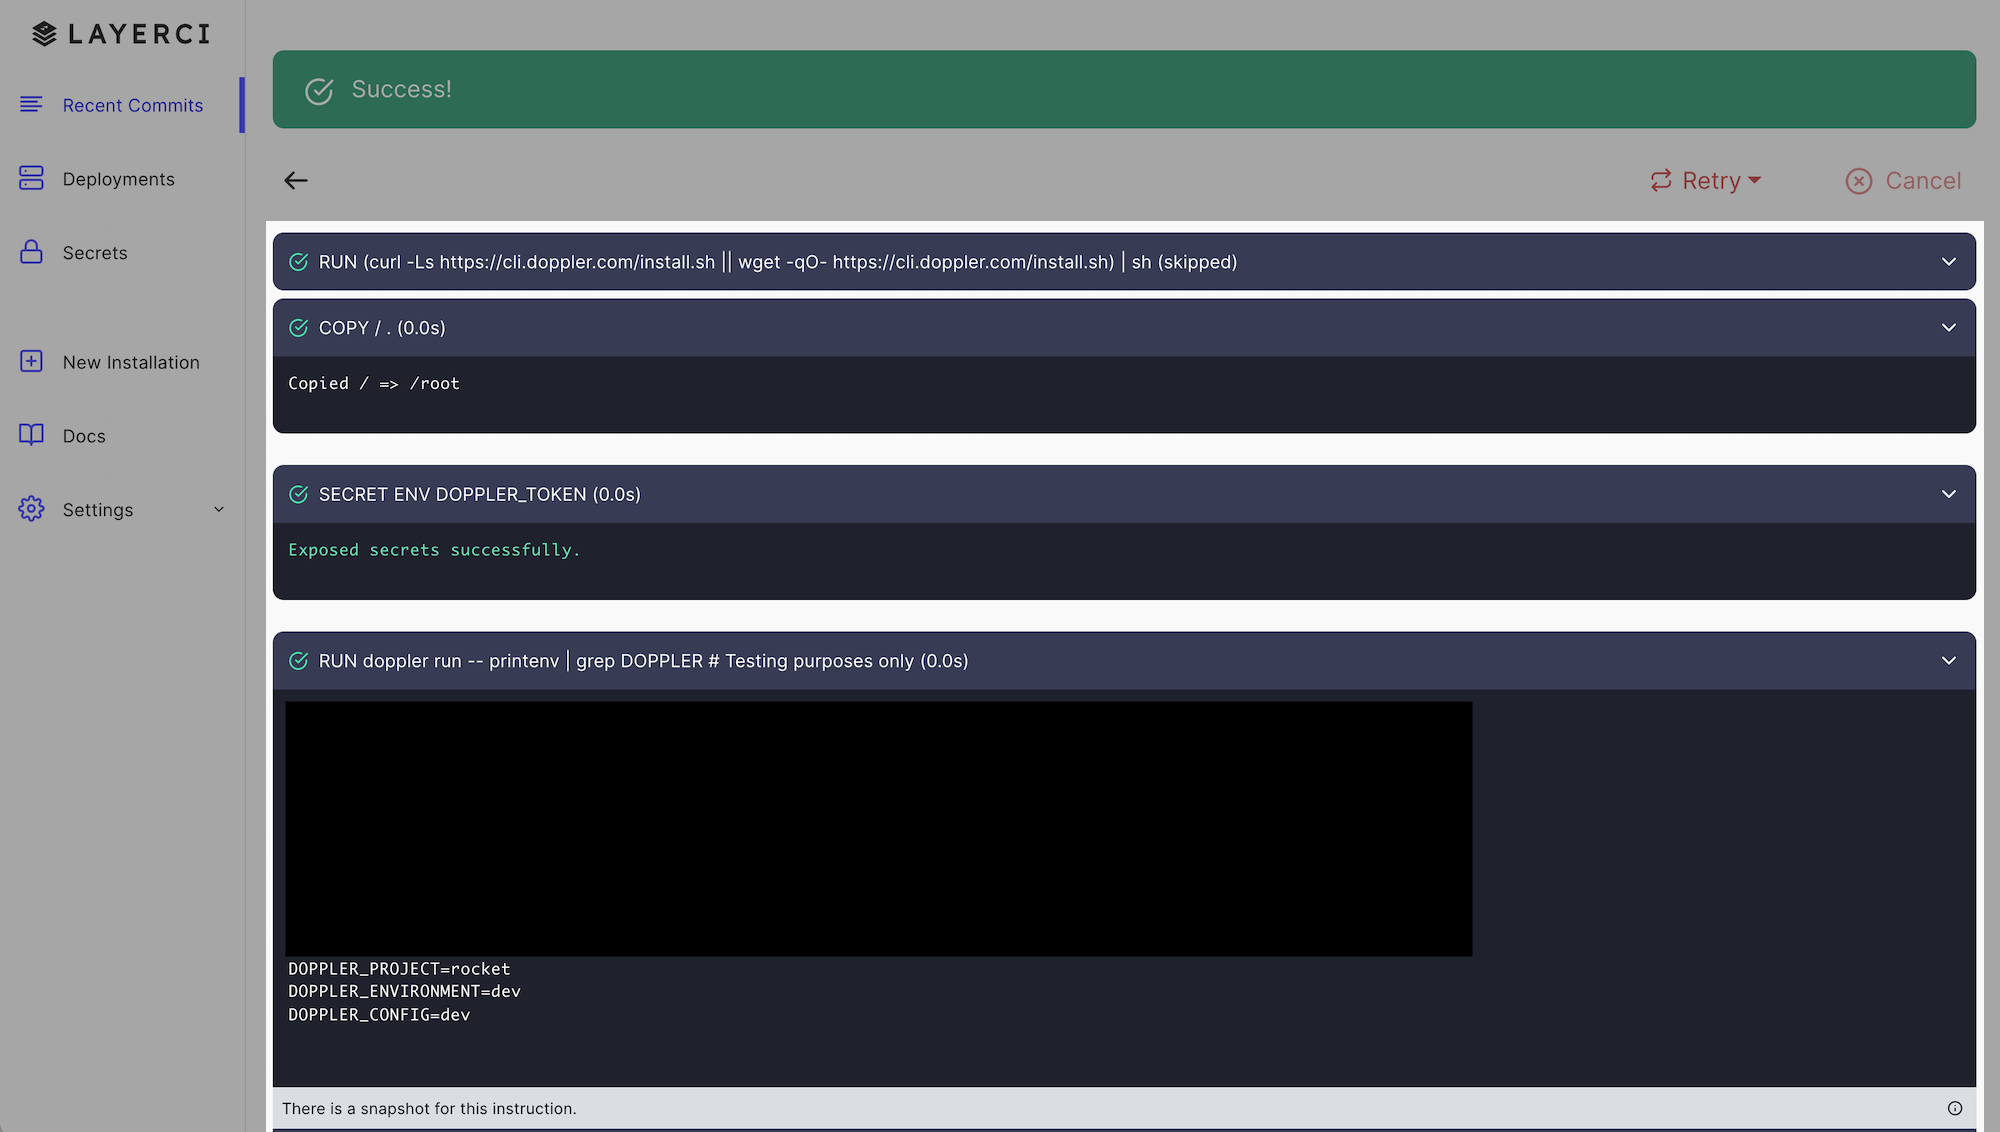
A successful run log should produce output similar to the following:
Multiple Environments
If your jobs require specific variables for different environments, e.g. preview vs. production builds, then you'll need a different approach than using a single DOPPLER_TOKEN environment variable.
The solution is to use Doppler branch configs to create environment-specific configs.
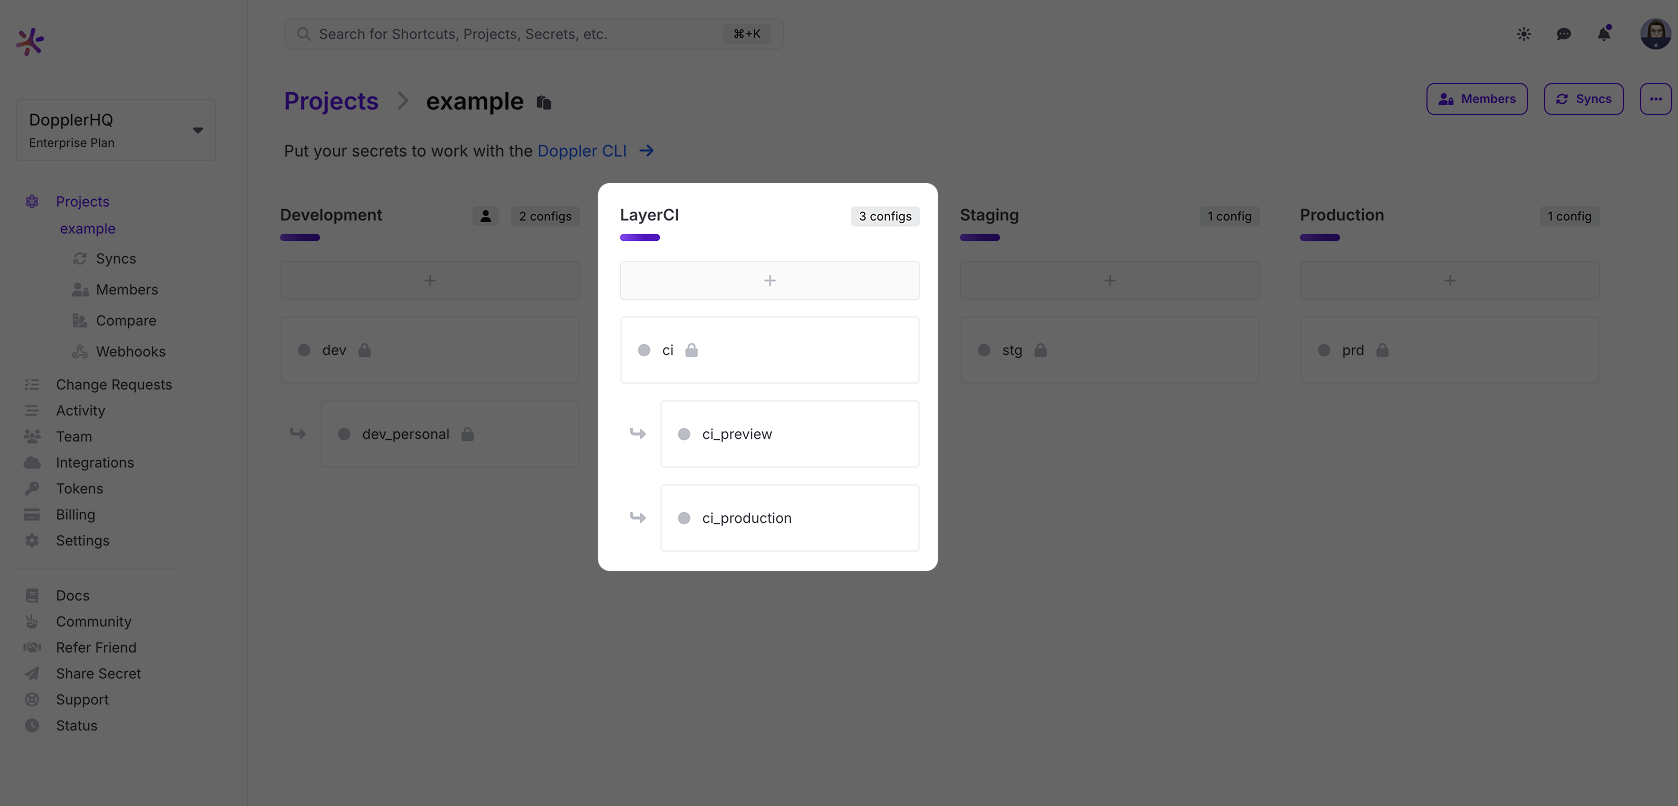
Then create a Doppler Service Token and Webapp.io Secret for each config.
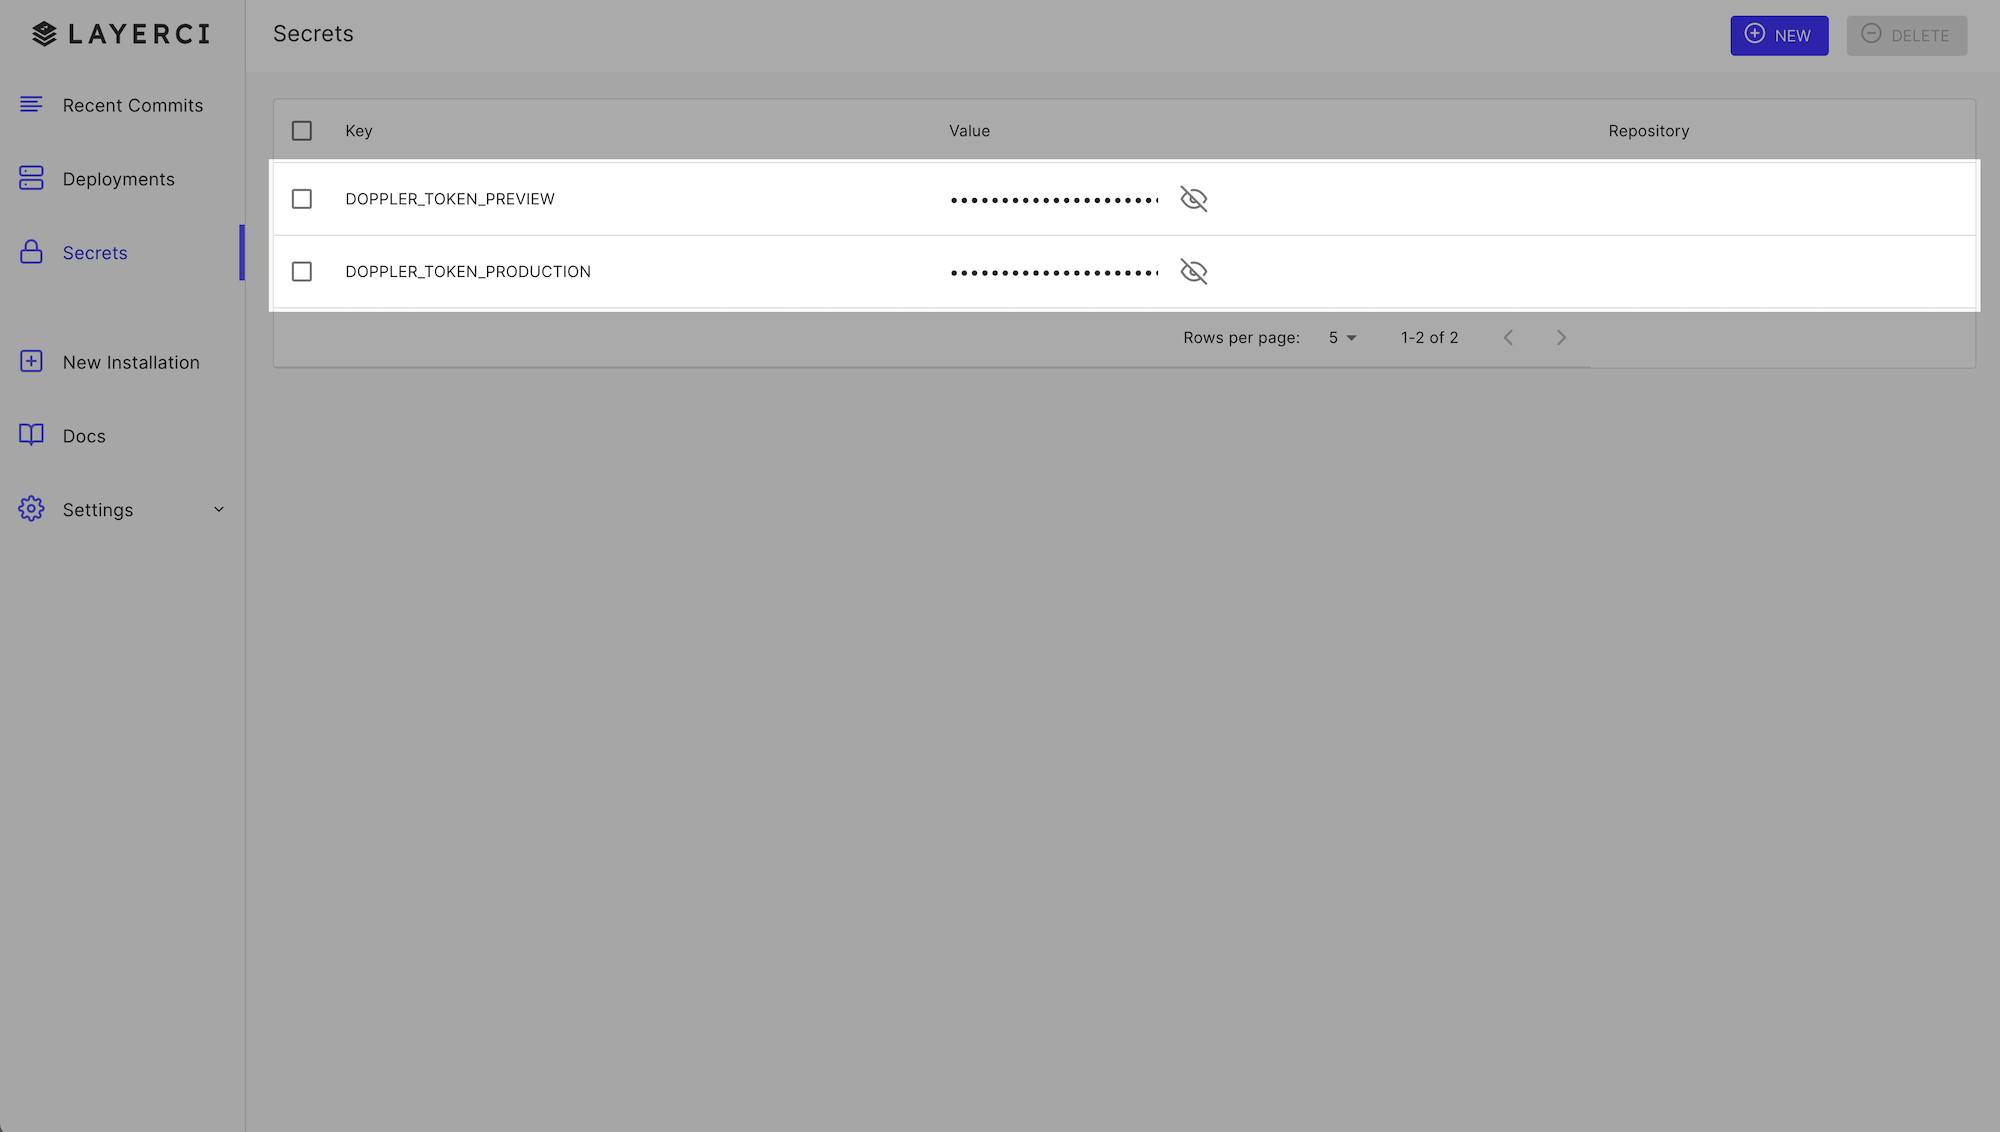
Then the doppler run command will need to use the --token flag as the DOPPLER_TOKEN environment variable does not exist. An example of a build that uses both our Preview and Production service tokens could look like the following:
FROM vm/ubuntu:18.04

# Install Doppler
RUN (curl -Ls --tlsv1.2 --proto "=https" --retry 3 https://cli.doppler.com/install.sh || wget -t 3 -qO- https://cli.doppler.com/install.sh) | sh -s -- --verify-signature

COPY . .

# Load several Doppler tokens from Webapp.io
SECRET ENV DOPPLER_TOKEN_PREVIEW
SECRET ENV DOPPLER_TOKEN_PRODUCTION

# Test Doppler secrets access for both
RUN doppler -t $DOPPLER_TOKEN_PREVIEW run -- printenv | grep DOPPLER # Testing purposes only
RUN doppler -t $DOPPLER_TOKEN_PRODUCTION run -- printenv | grep DOPPLER # Testing purposes only
Well Done!
Now you are all set up using the Doppler CLI to provide secrets to your Webapp.io builds in both single, and multi-environment workflows.
Updated about 1 month ago
