Netlify

reading time 5 mins

This guide is designed to get you set up with deploying your secrets to Netlify. We assume you already have some code deployed on Netlify.

Prerequisites

  • You have an account setup at Netlify and have deployed some code.

Authorization

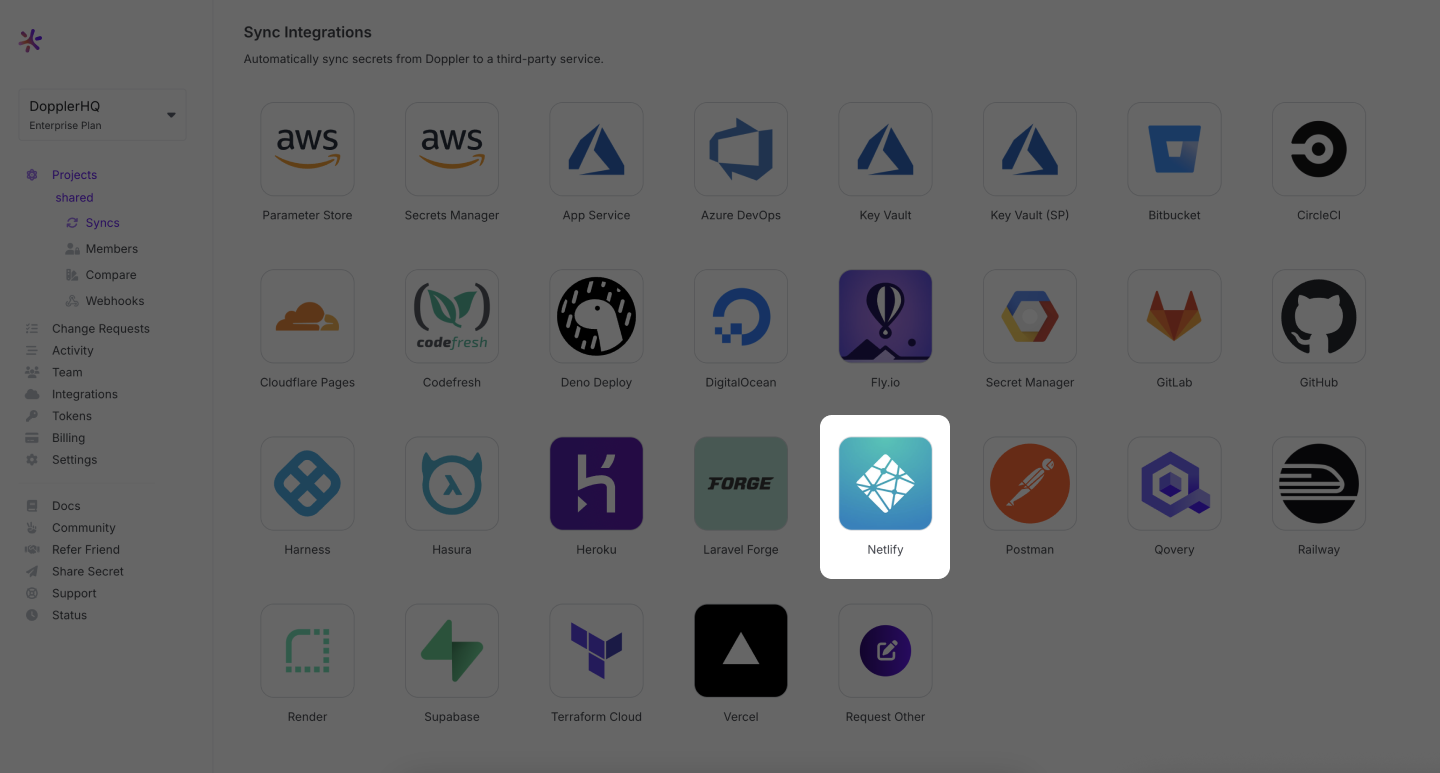
Navigate to the project you would like to integrate and click "Integrations" in the submenu. Click on "Netlify" to start the setup.
1005

We will redirect you to Netlify to authorize Doppler to your account:

1284

Click "Authorize" and you will be redirected back to Doppler. You have now successfully connected your Netlify account with Doppler!

Configuration

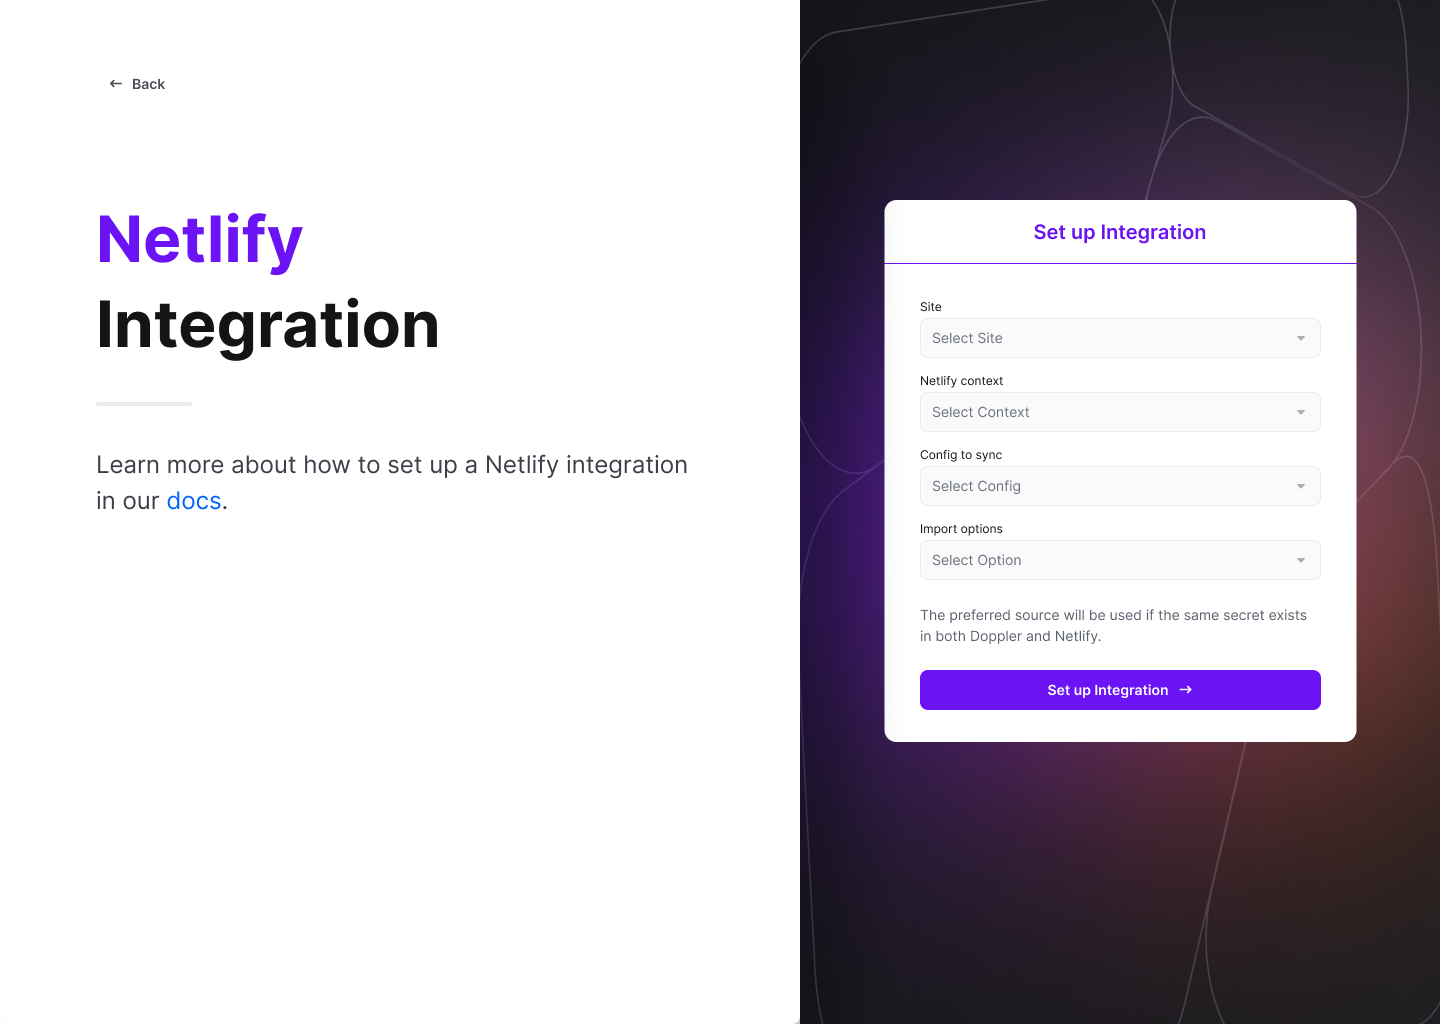
In the next screen, you can select your Netlify site you would like to integrate with a specific Doppler config.
1207

On the right side, select the Netlify site you would like to integrate with your Doppler config. Hit "Setup Integration" and you are all set!

Multiple Environments

While Netlify supports different deployment contexts (e.g. Preview and Production), configuring environment variables specifically for a context is only possible via the netlify.toml file.

This means our integration can't natively support secrets syncing for different contexts as a site can only have one set of environment variables. This limitation stems from Netlify's flexibility in each site being able to define a variable amount of contexts, e.g. production, preview, branch deploys, and even specific branches.

If your Netlify site needs context-specific environment variables (e.g. staging and production), you'll need to not use our integration and instead, install the Doppler CLI as part of your build command and use an environment-specific Doppler service token for each deployment context.

Node.js Example

Using a Node.js as an example, first, create a service token for the Staging and Production environments and manually add them to the environment variables for the site:

Then add a doppler-install script to your package.json (could also go in a Makefile to be more language agnostic) which will install the Doppler CLI to the current directory (as the build user does not have root privileges).

{
  "scripts": {
    "doppler-install": "(curl -Ls https://cli.doppler.com/install.sh || wget -qO- https://cli.doppler.com/install.sh) | sh -s -- --no-install --no-package-manager"
  }
}

Finally, your netlify.toml will need deploy context-specific commands in order to specify which service token should be used.

[context.production]
  command = "npm run doppler-install && ./doppler run --token $DOPPLER_TOKEN_PRD -- npm run build"

[context.deploy-preview]
  command = "npm run doppler-install && ./doppler run --token $DOPPLER_TOKEN_STG -- npm run build"

👍

Amazing Work!

Now you know how to sync secrets to Netlify for both single and multiple deployment contexts. Every time you update your secrets in Doppler, the latest version of your secrets will be available in Netlify.